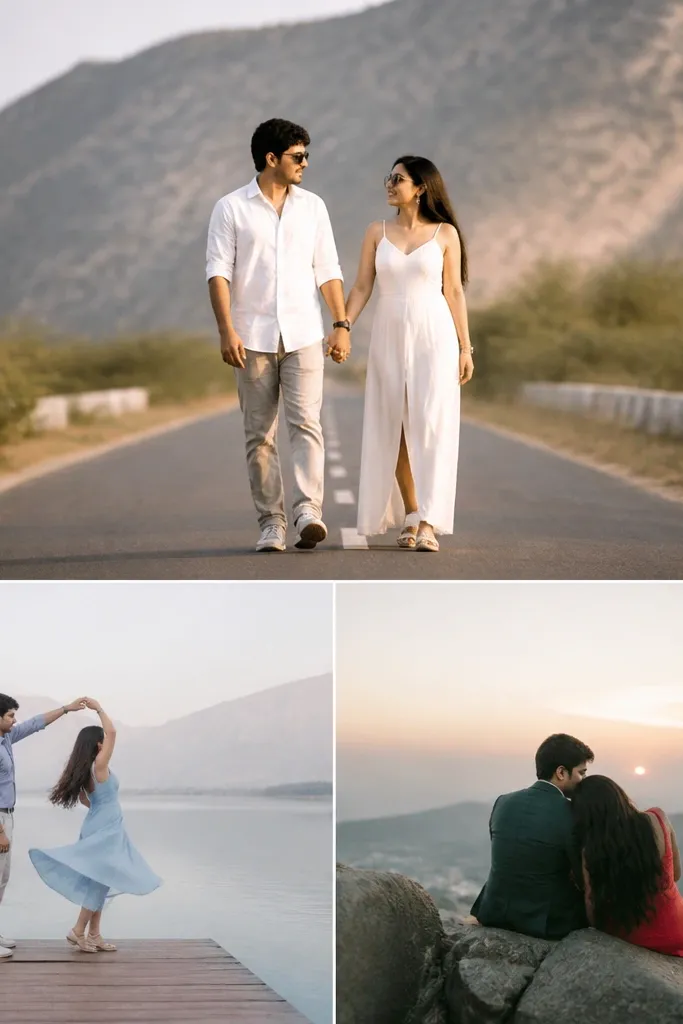
1. Golden Hour “Walk-and-Turn” Lane Scene
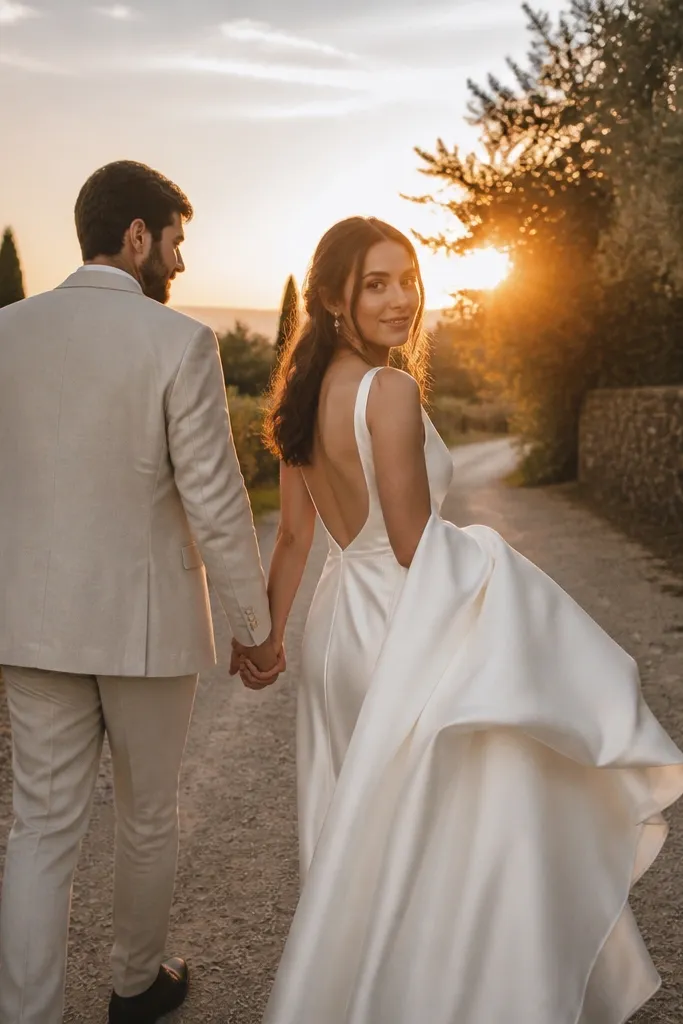
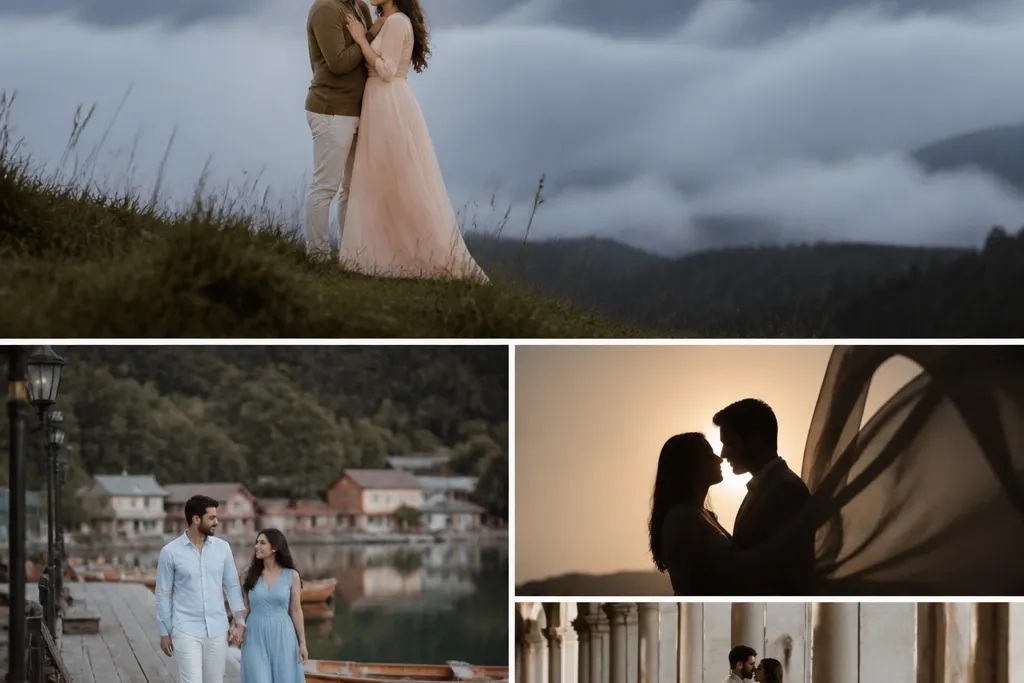
Shoot a slow walk for 20-30 seconds, then cue a single natural turn where the bride’s dress catches the light. The satin movement shows up beautifully in video, especially when the sun hits the fabric at a low angle. Keep the background uncluttered so skin tones and fabric texture stay the focus.
Mark your start and end points on the ground and rehearse the turn once so you don’t lose golden light waiting.
2. Veil-to-Wind Motion Close-Ups
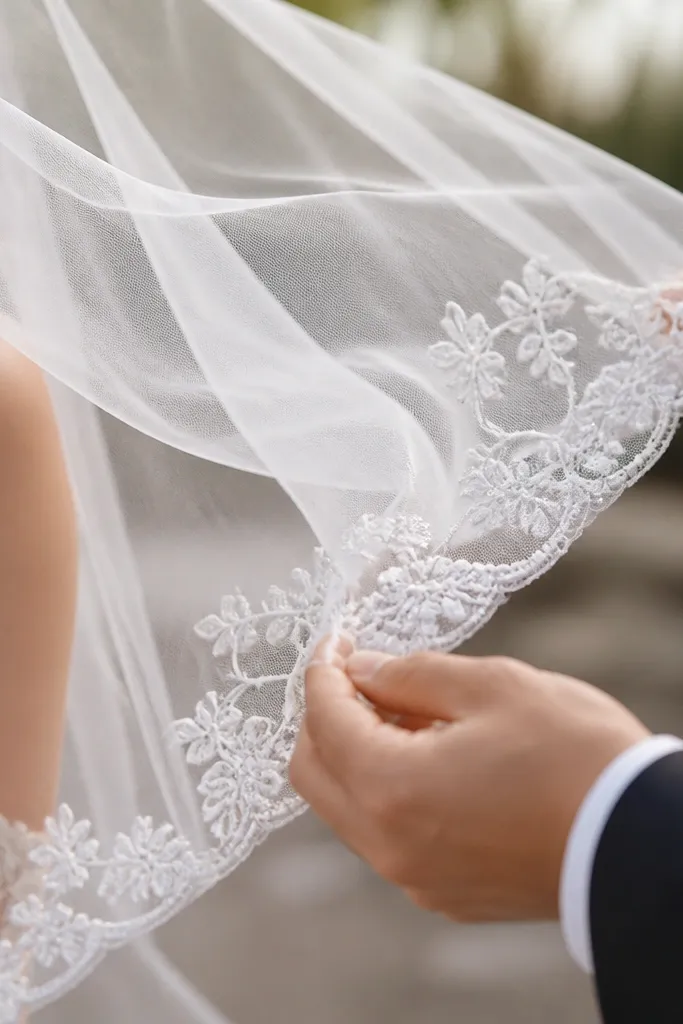
Use handheld moments for close-ups: veil flutter, hair strands moving, and hands smoothing fabric. These micro-actions look “high-end” because they create motion texture, not just still poses. Choose a veil with visible detail so the movement has something to read on camera.
Bring a small spray bottle with water to tame flyaway strands so the veil looks intentional, not messy.
3. Monochrome Suit + Bouquet Color Pop
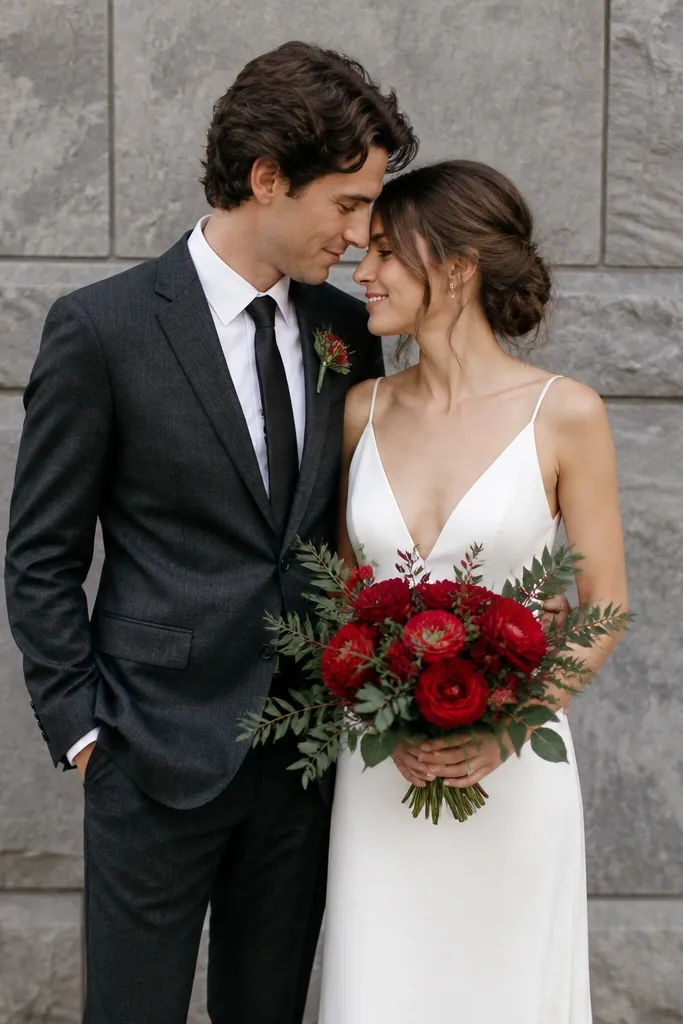
Pick a neutral base for both outfits (charcoal, white, cream) and add one bold color through the bouquet. In video, the bouquet becomes your visual anchor during hand movements and passing shots. This works especially well when editing because you can cut on the color pop.
Ask your florist for a bouquet with one dominant shade (like red or deep fuchsia) so it reads clearly in motion.
4. Calligraphy-Style Handwrite Vows on Screen
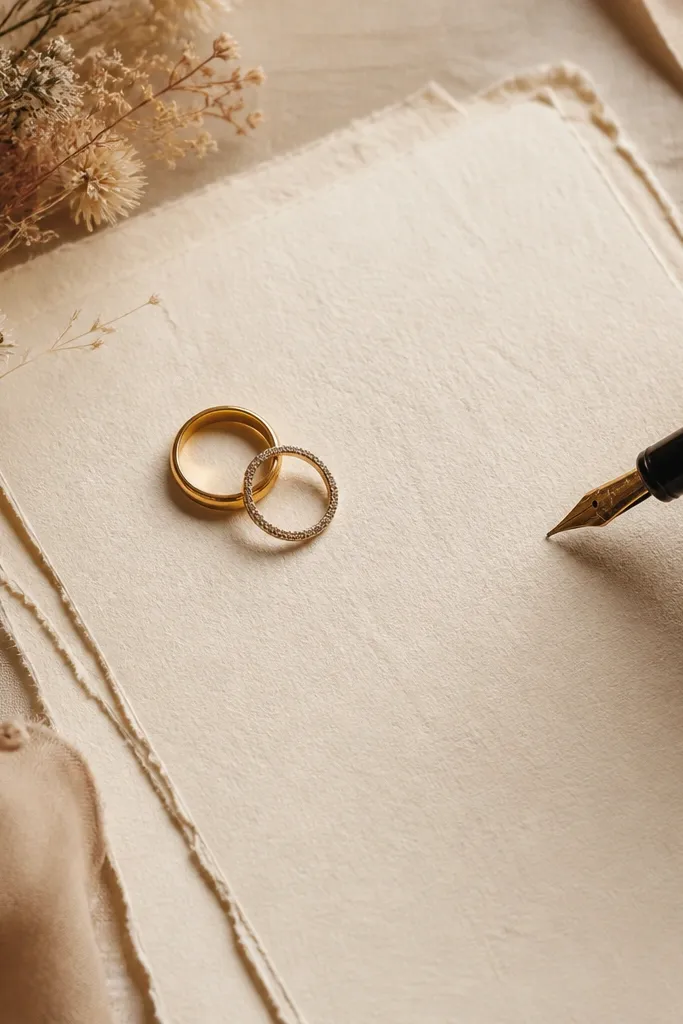
Build a short interlude: write vows or a short message on textured paper, then record close shots of the pen, ink, and rings. This gives your pre wedding video a story beat and makes the audio feel more personal. Use thick paper so the ink doesn’t bleed and the texture shows on camera.
Good to knowLight the paper with a window or soft lamp from the side to avoid glare on the pen nib.
5. Classic Car Door-Close Cinematic Entry
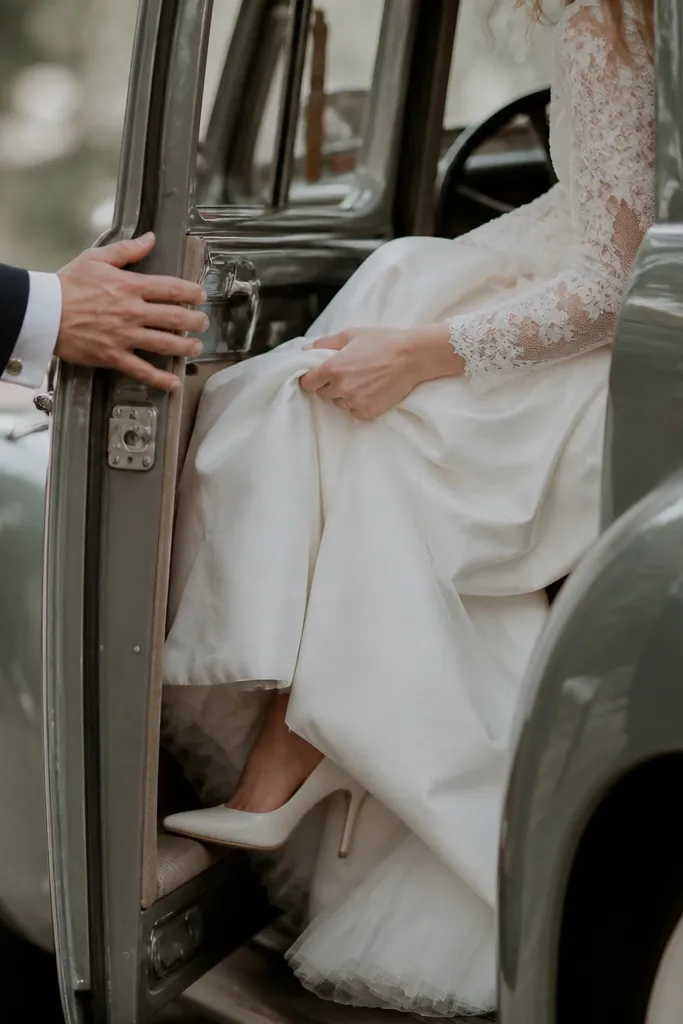
Cinematic videos love small, deliberate actions. Get a low-angle shot of the car door closing, then cut to the bride’s dress movement as she settles in. This creates a clean transition that doesn’t require long choreography.
Good to knowUse a 2-step cue: pause at the door frame for 1 second, then close — it makes editing easier.
6. Confetti-Free Petal Toss in Slow Motion
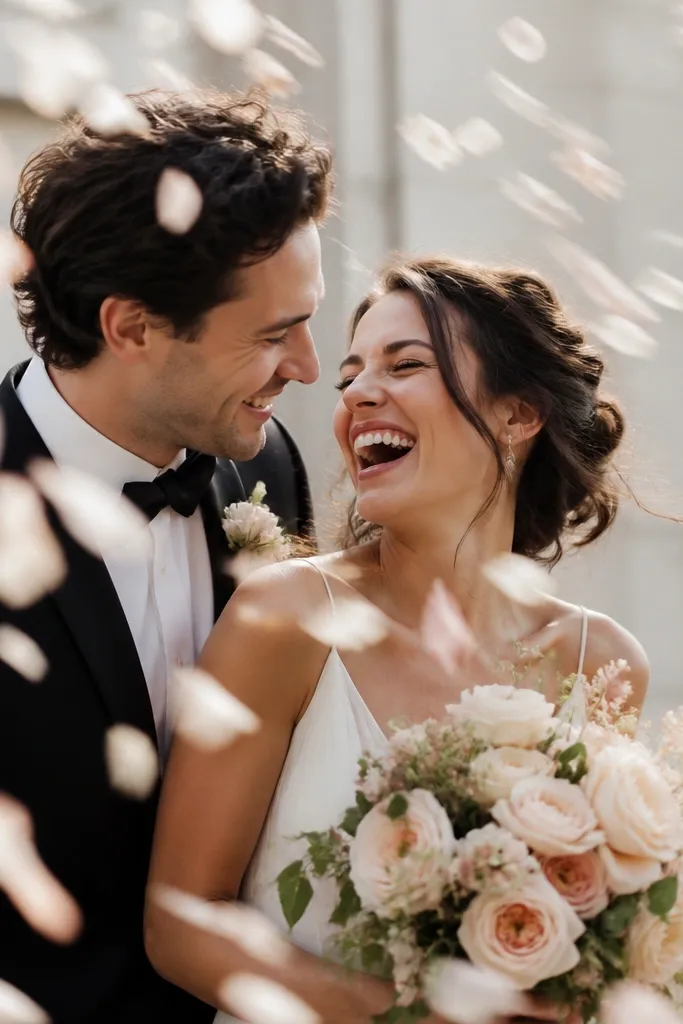
Instead of confetti, use real flower petals for a more romantic, less chaotic look. Petals create natural motion trails and look premium in slow motion. Choose petals that match your palette (champagne, blush, or deep rose) so the colors blend with skin tones and outfits.
Good to knowTest one toss before filming and adjust distance so petals land mostly in the frame, not on the ground only.
7. Wood Texture + Lace Dress Detail Wall
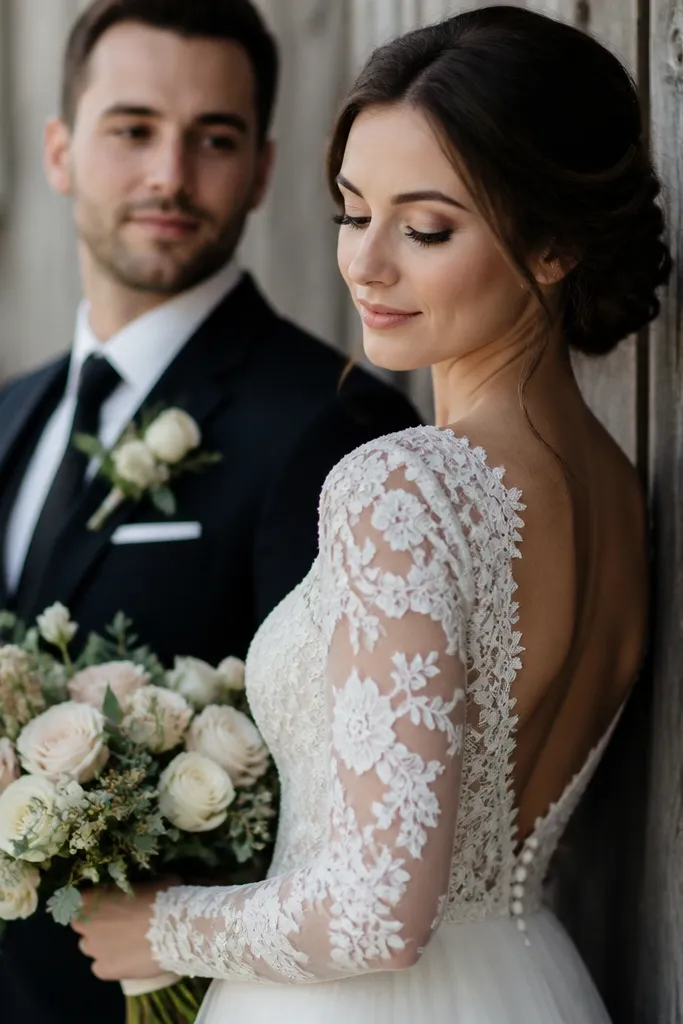
A rustic wood wall adds warmth and depth, which is perfect for lace and embroidery details. Keep one element crisp in focus — like lace sleeves or the groom’s watch — while the rest stays gently blurred. This gives your pre wedding video a “luxury detail” feel without needing expensive locations.
Good to knowAsk the photographer/videographer to lock focus on the lace for 3-5 seconds, then let the couple move slightly for natural motion.
8. Bottle-Green Satin Night Market Stroll
Night market vibes look stunning in video because the background lights create a cinematic bokeh. Satin catches highlights and makes movement feel fluid, while dark suits keep the frame balanced. Choose one rich tone (like bottle green) so the dress looks intentional under warm street lighting.
Good to knowWear comfortable shoes you can walk in for 20-30 minutes — night shots look best when you’re not stopping every few steps.
9. Same Outfit, Two Textures - Denim + Silk Cutaway
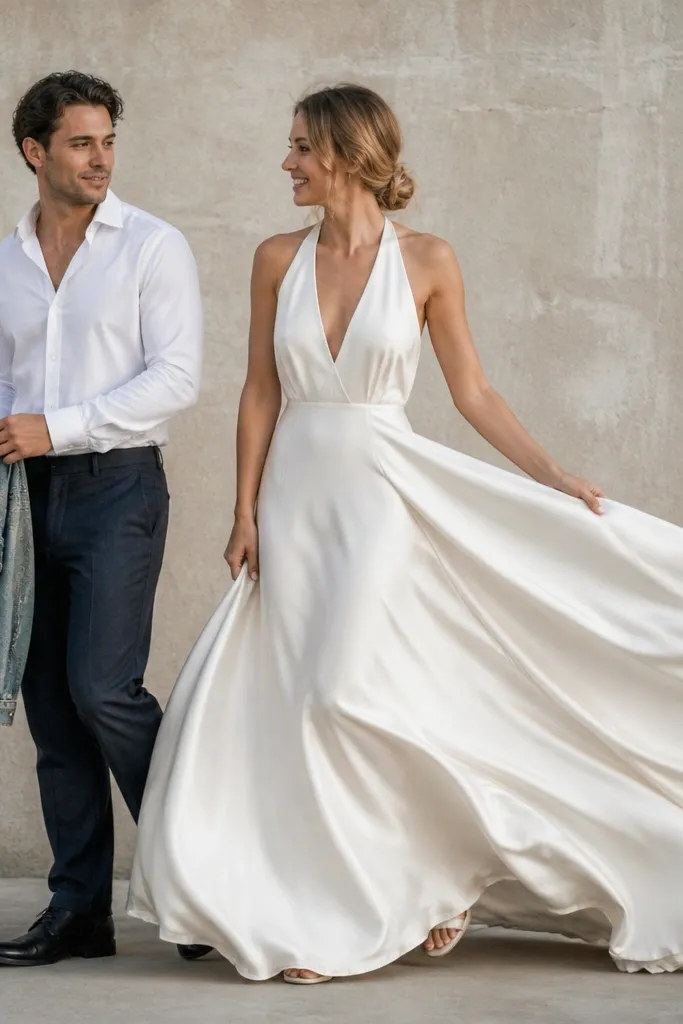
Make your video more interesting with an intentional texture shift. Start with a clean, elegant look, then add a denim layer (jacket or shirt) for a casual cutaway that still matches your color palette. Texture changes read clearly in motion and give editors easy “scene separators.”
Good to knowPlan where the jacket swap happens — right before a cut — so the transition looks smooth.
10. Sunlit Window “Reflection” Mirror Play
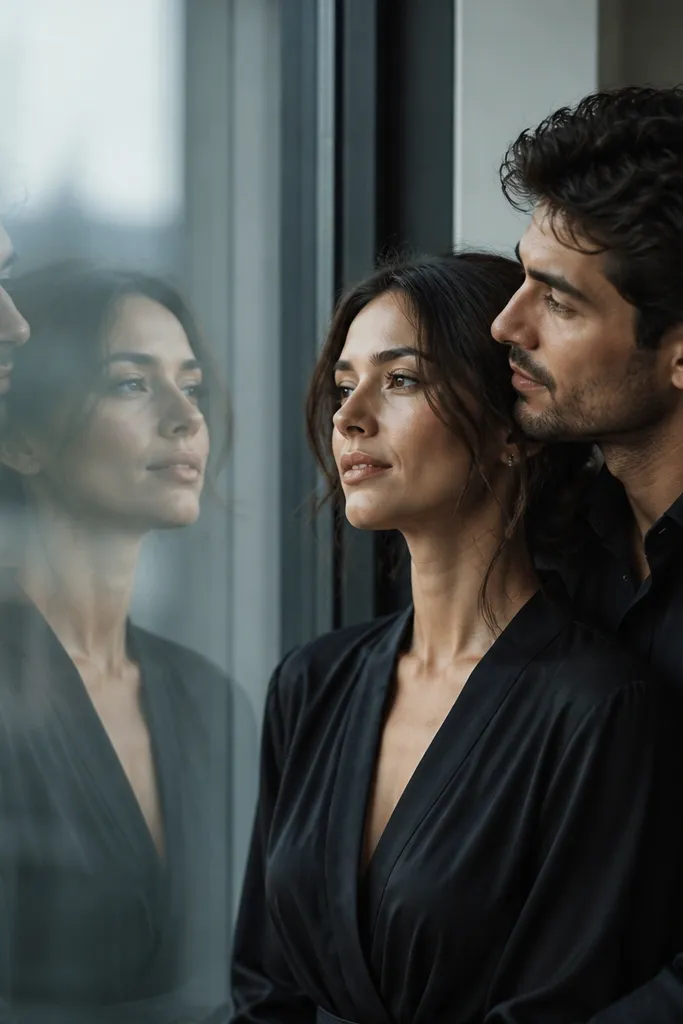
Reflections are an aesthetic cheat code for pre wedding video. Shoot near a large window with bright daylight and position the couple so both the face and reflection appear. It adds depth without changing locations, and it looks artsy even with simple outfits.
Move 1-2 steps left/right until the reflection aligns — the best take happens when reflections are crisp, not smeared.