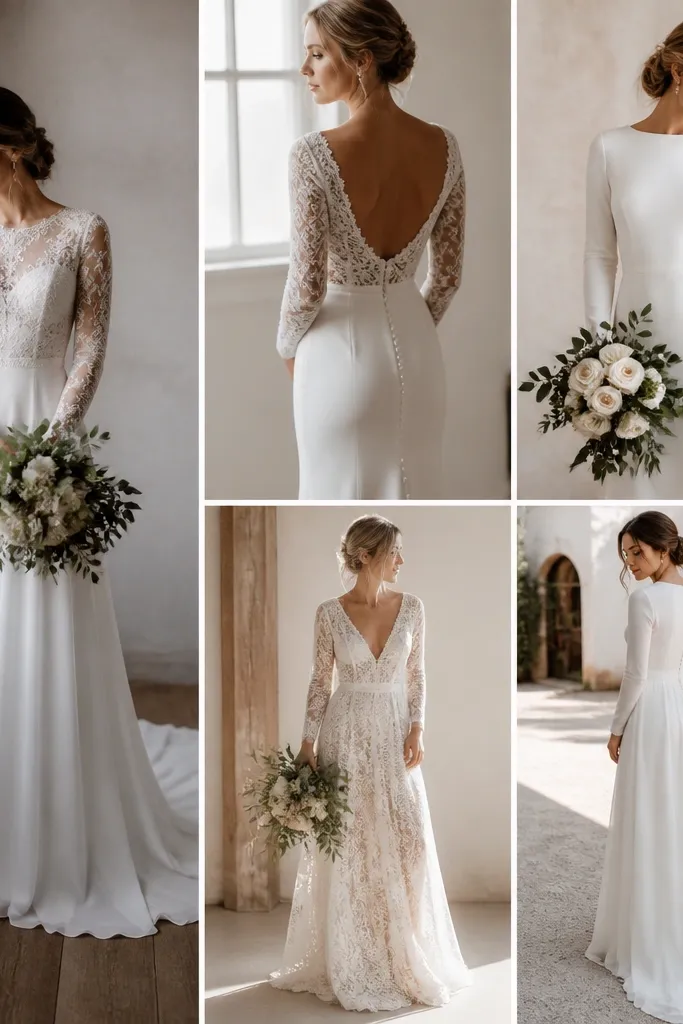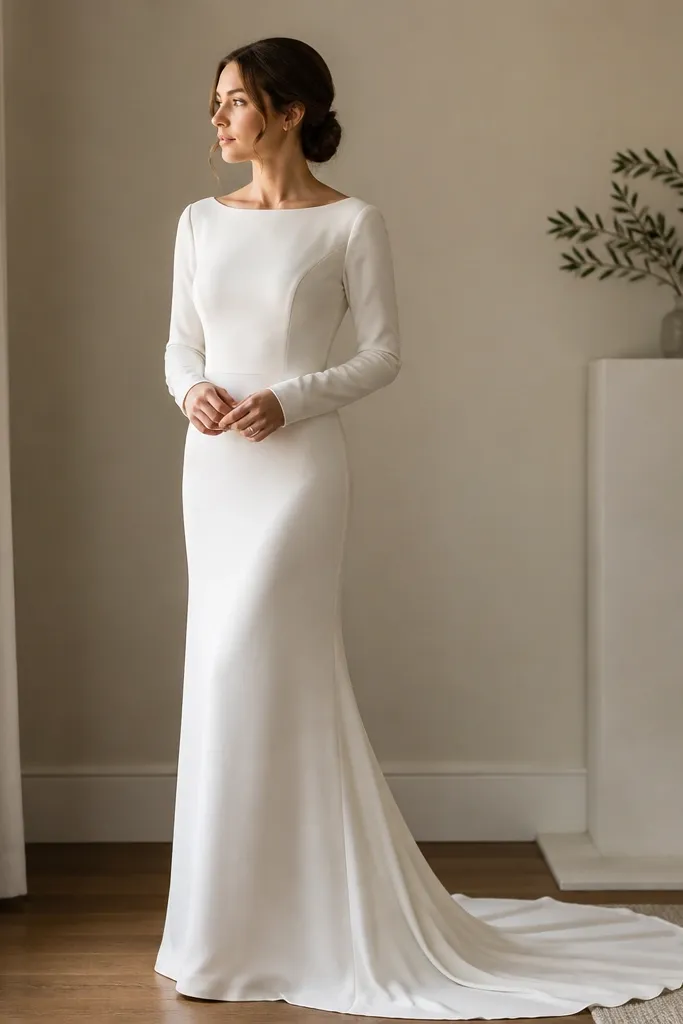
1. Cuff-Upgrade: Add 1-Inch Lace to Hide Cheap Hem Lines
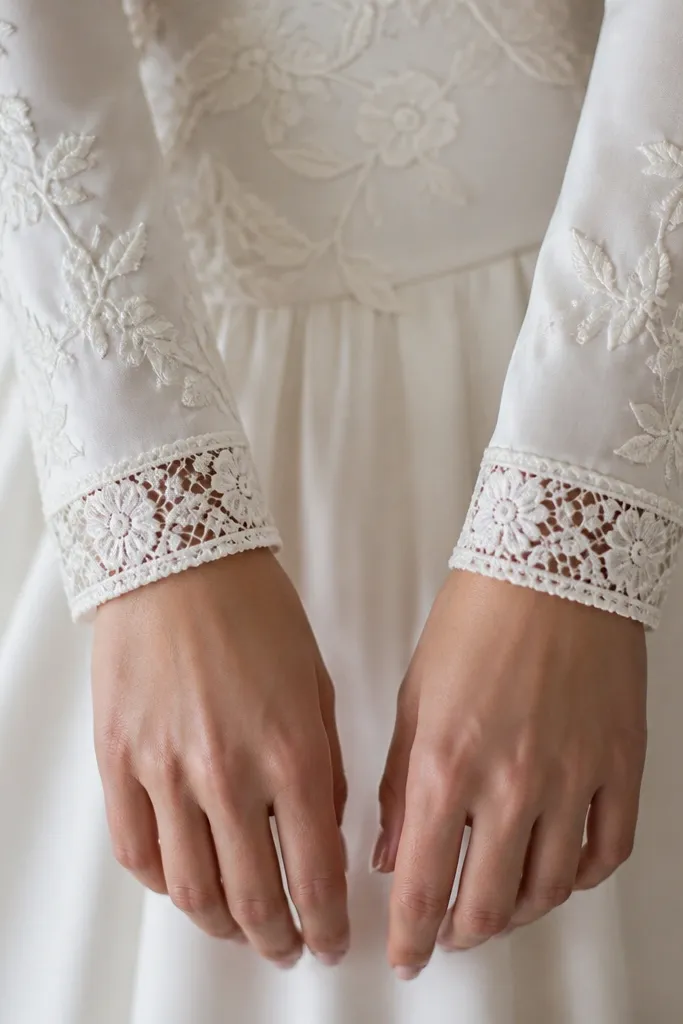
Budget sleeves often show a thin, unfinished hem or a slightly wrinkly edge. A simple lace cuff band (chantilly or floral guipure) instantly creates a bridal finish and draws attention to the wrist instead of the seam. Choose lace that matches your dress tone — ivory for warm whites, white for cool whites.
Buy lace trim by the yard, then hand-stitch or use fabric glue + a few discreet stitches along the inner seam for a clean finish.
2. Belt Illusion: Create a Higher Waist with a Removable Satin Sash
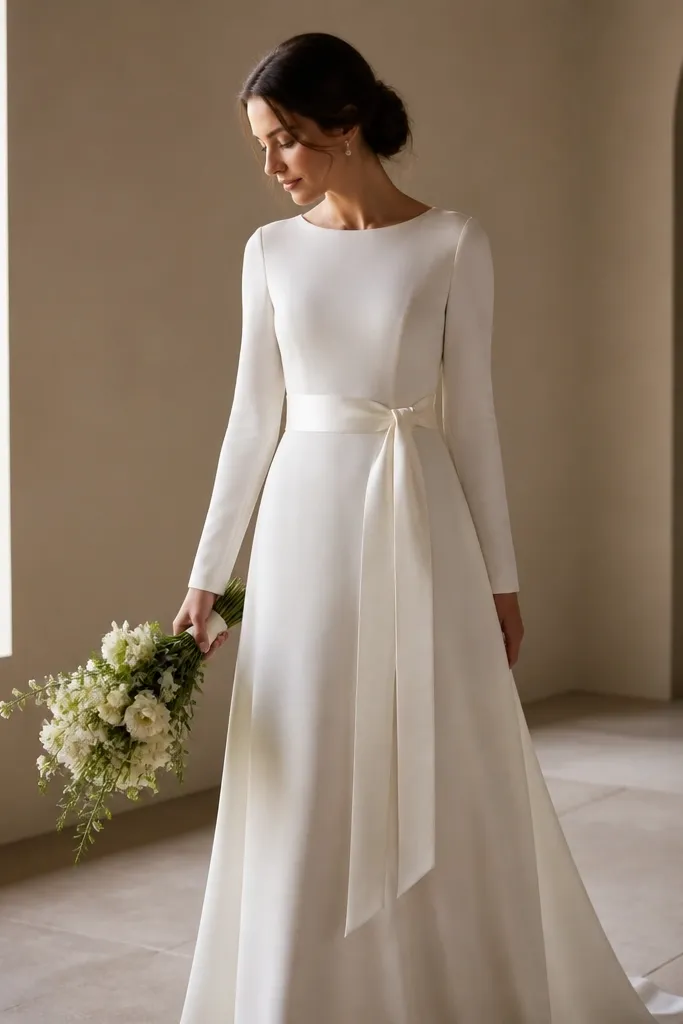
If your budget dress is one solid silhouette, the waist can look vague in photos. Tying a removable satin sash slightly higher (about 1-2 inches above your natural waist) creates a flattering shape and makes the dress look intentionally styled. Satin also catches light beautifully in long sleeve portraits.
Pin the sash in place while standing in front of a mirror — adjust until your waist looks highest without pulling the fabric.
3. Neckline Pop: Add a Stick-On Pearl Lace Appliqué at the Collar
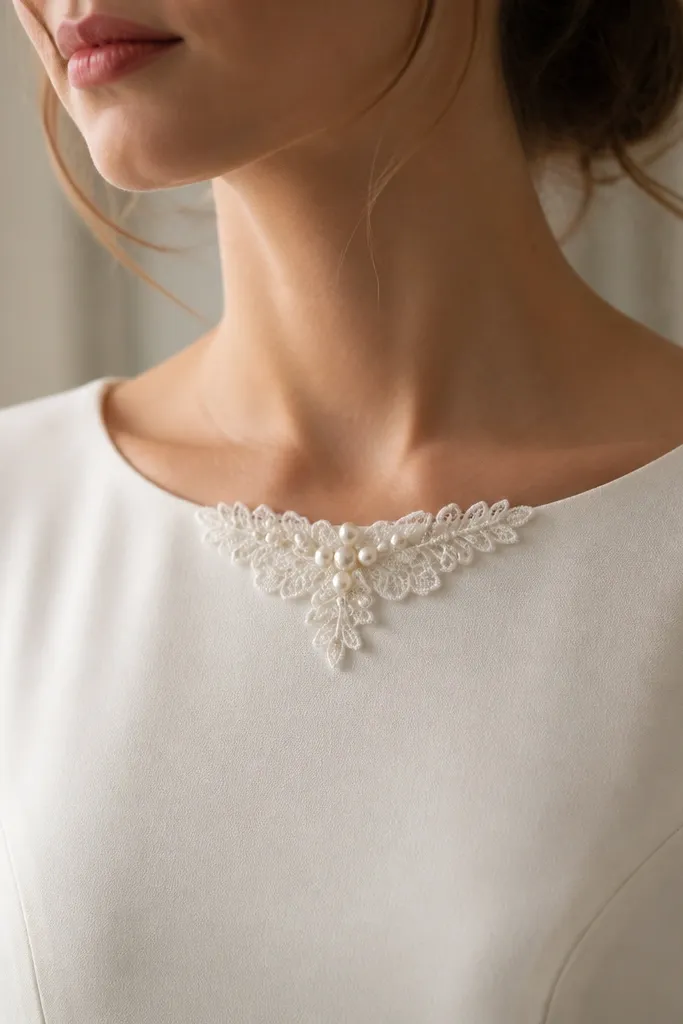
A plain neckline is where “budget” can read first, especially with long sleeves that draw the eye upward. A small collarbone appliqué (lace + pearl dots) adds bridal sparkle without changing the whole dress. Keep it compact so it looks like a design detail, not a patch.
Use fabric-safe adhesive for a temporary test, then sew only the edges you want permanent.
4. Sheer Sleeve Upgrade: Layer a Lightweight Tulle Under-Sleeve
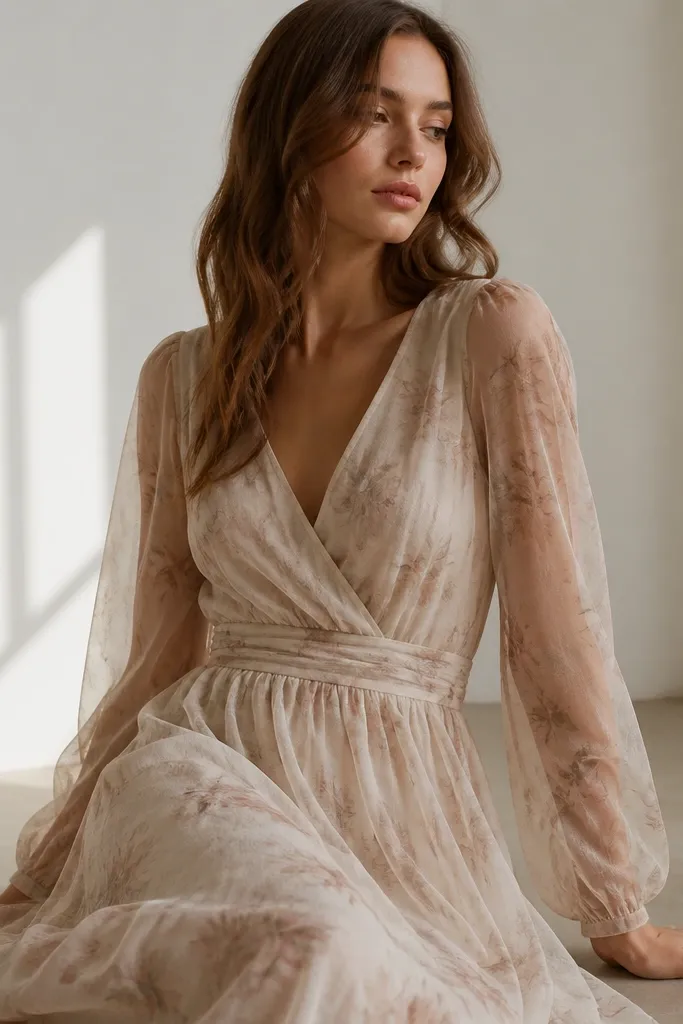
If your sleeves look too opaque or flat, a thin tulle under-layer makes them look more romantic and dimensional. Choose skin-tone nude tulle to avoid a stark contrast. This hack works especially well for fitted sleeves because it adds movement and softness when you raise your arms.
Measure your sleeve length and trim the tulle so it ends where you want the bridal finish — usually just above the cuff.
5. Bust Structure Fix: Add a Strapless Bra + Boning-Style Support
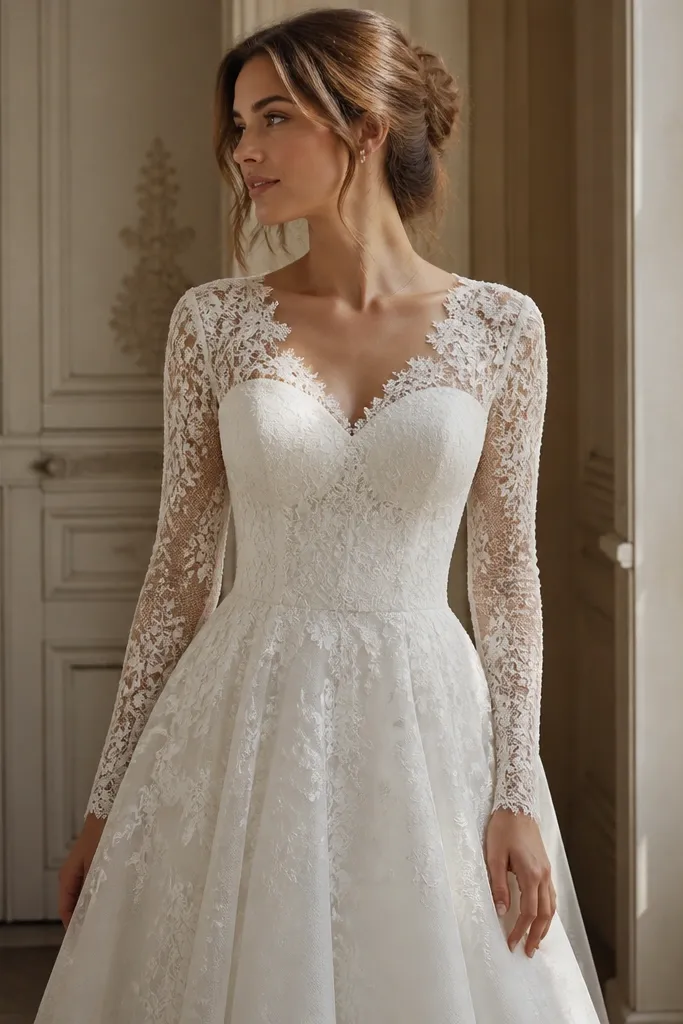
Cheap long sleeve dresses can cling and crease around the bust if the support isn’t right. A strapless bra with strong cups (or a plunge longline bra) helps the bodice sit smoothly, so your photos look polished. Pair it with a lightly supportive slip or smoothing shorts to reduce lines.
Good to knowDo a quick “walk test” in your bra before the wedding — if the bodice shifts, your dress will show creases in photos.
6. Hemline Lift: Shorten the Skirt by 1-2 Inches for a Cleaner Look
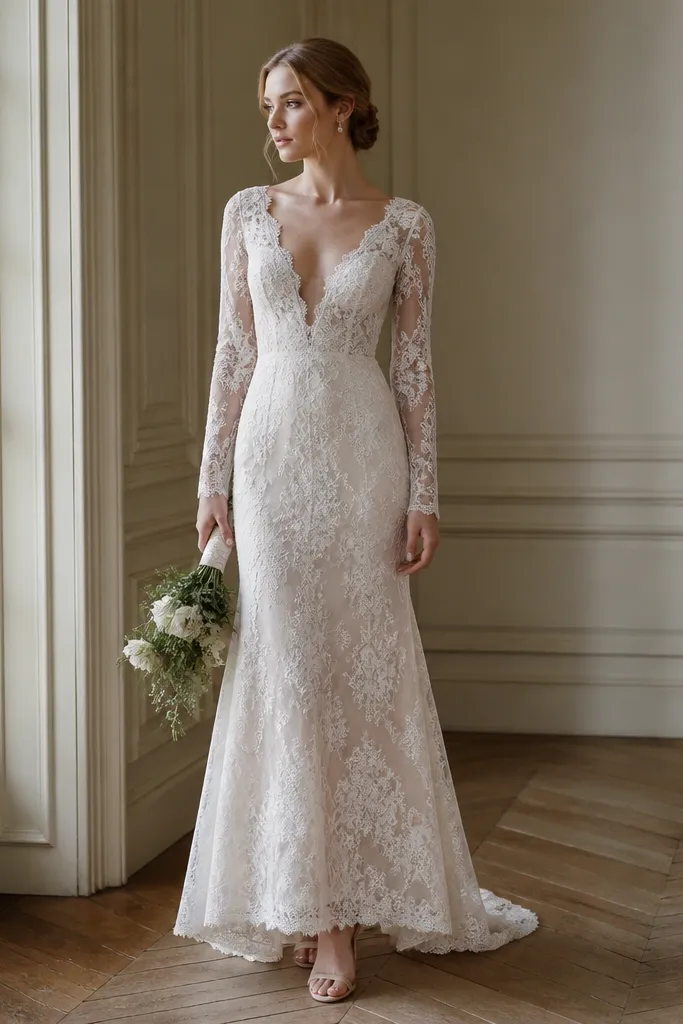
Pooling can look romantic, but on a budget dress it can also hide uneven hems and cheap fabric edges. Shortening the skirt slightly (or adding a controlled bustle) gives a crisp silhouette that reads “tailored.” For photos, a cleaner hemline reduces scuffs and keeps the fabric from bunching near your ankles.
Take a short video walking and turning — pause at different angles and check for dragging or twisting.
7. Back Detail Cheat: Add a Lace Tie-Back Ribbon for Instant Bridal Drama
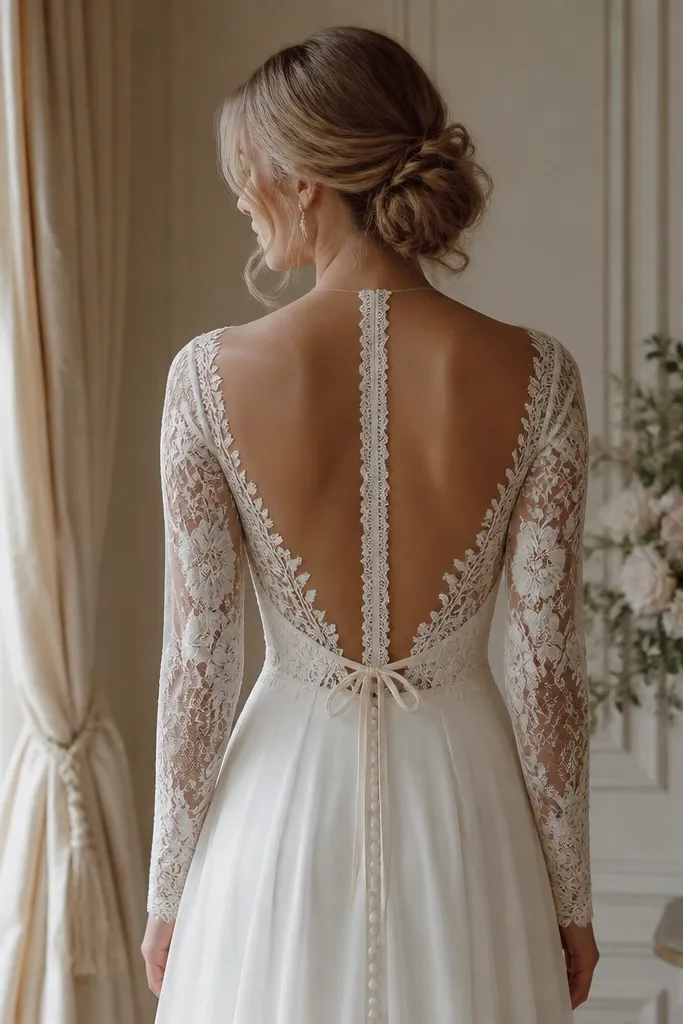
Even if your front looks simple, the back is what guests remember. A lace ribbon detail creates vertical lines and makes the dress feel designed. Pick ribbon in ivory/soft white and match the sleeve metal tone if you’re adding any jewelry or hair pins.
Use ribbon that’s wide enough to look intentional (about 1 inch) and secure the ends so they don’t slip during photos.
8. Texture Match: Use a Satin Slip Under a Lace-Pattern Dress
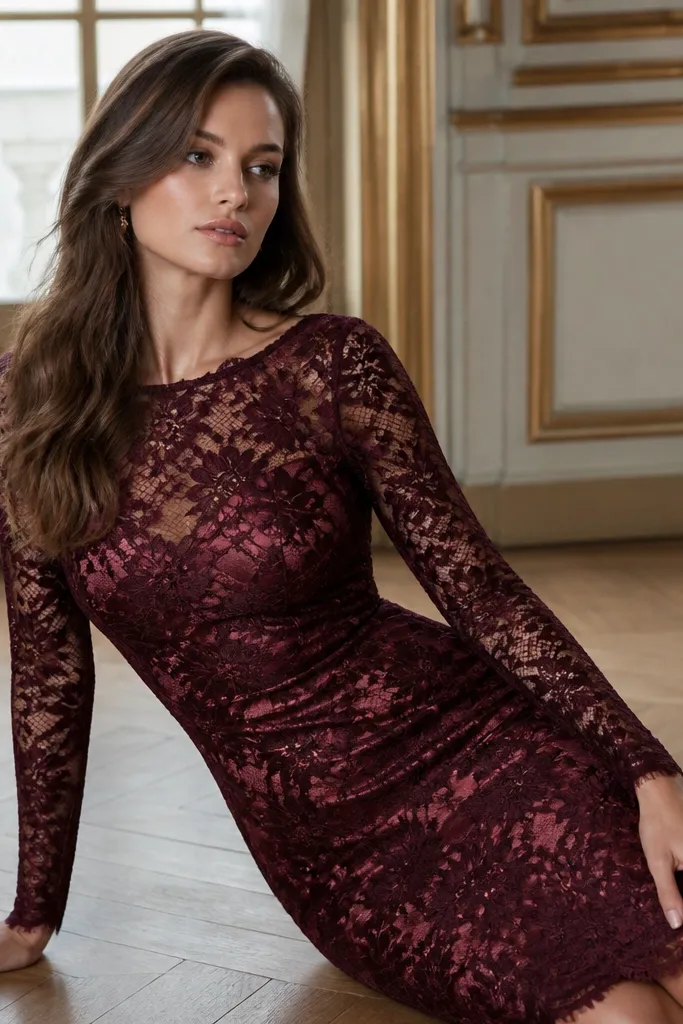
Some budget lace-pattern dresses look flat because the underlayer doesn’t reflect light. A satin slip in ivory adds depth, making the lace appear more dimensional and “higher-end.” This is a photo hack: satin catches flash and candlelight better than matte lining.
Good to knowChoose a slip that’s slightly lighter than your dress so the lace texture pops instead of looking shadowed.
9. Sleeve Crease Control: Steam + Pin the Elbow Seam Shape
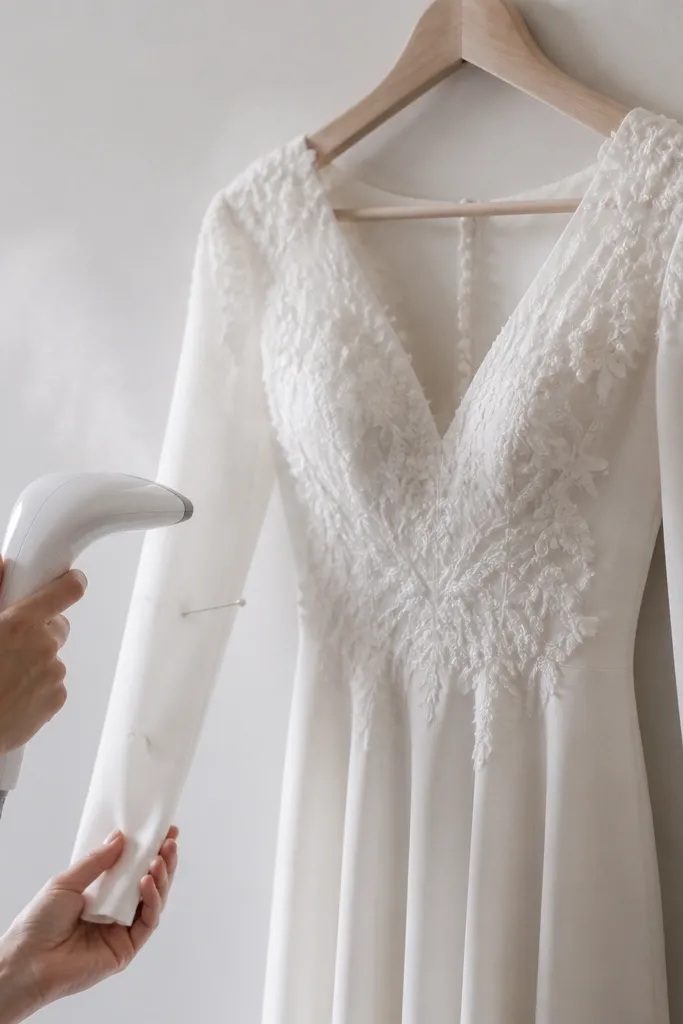
Long sleeves crease easily, and those wrinkles show especially along the elbow and forearm. Steam the sleeves while they’re on a hanger, then pin the shape at the elbow so the fabric dries smooth. This makes even inexpensive fabric look freshly pressed.
Good to knowPin for 10-15 minutes while cooling — it locks the shape faster than letting it air dry.
10. Color Correction: Swap to Ivory Accessories if Your Dress Pulls Yellow in Photos
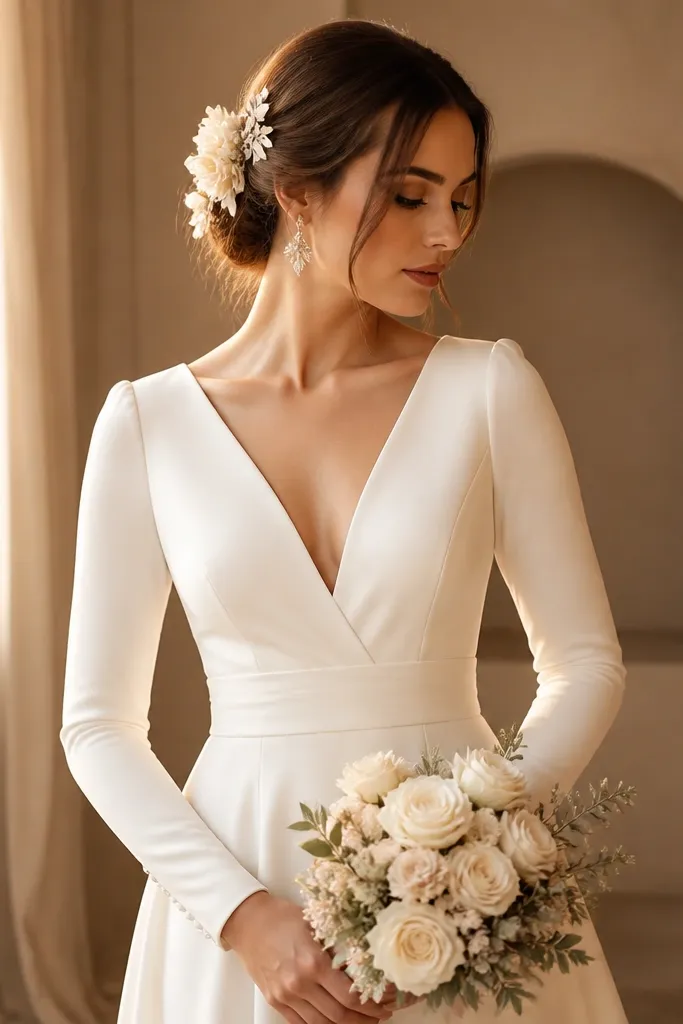
Sometimes budget dresses photograph slightly yellow under indoor lighting. If that’s happening, warm it up intentionally with ivory (not stark white) accessories so the whole palette feels cohesive. This trick is subtle but effective: eyes read “planned” when tones match.
Take a quick phone photo in the room where the ceremony will be — compare ivory vs white jewelry and pick the better tone.
11. Lace-Edge Repair: Add a Thin Satin Bias Tape to Clean Seams
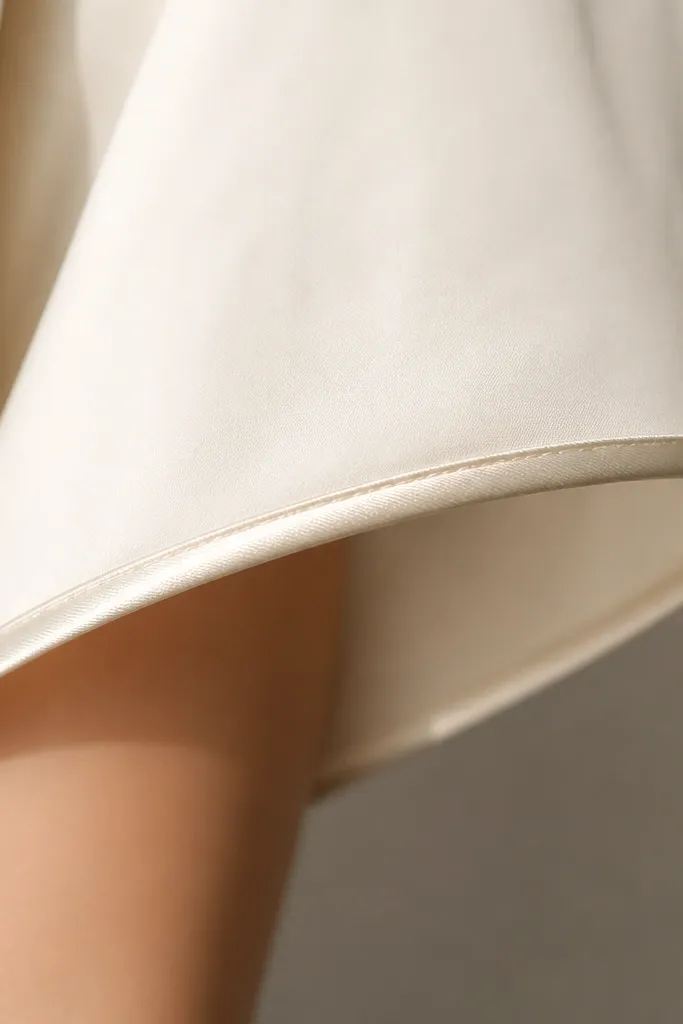
If your sleeves have visible raw edges or uneven trim, thin satin bias tape creates a neat, designer-looking finish. It’s also a great fix for “itchy” seam edges that bother you during the ceremony. Choose a tape color that matches your sleeve trim or closest lace tone.
Good to knowSew bias tape with small stitches along the inside edge for a clean front view.