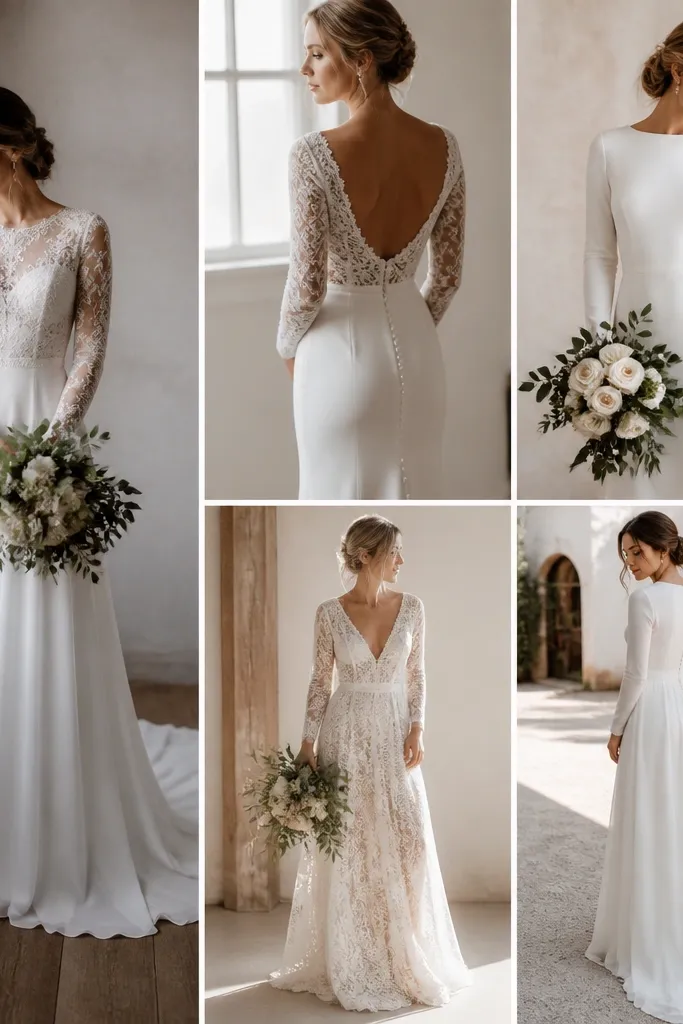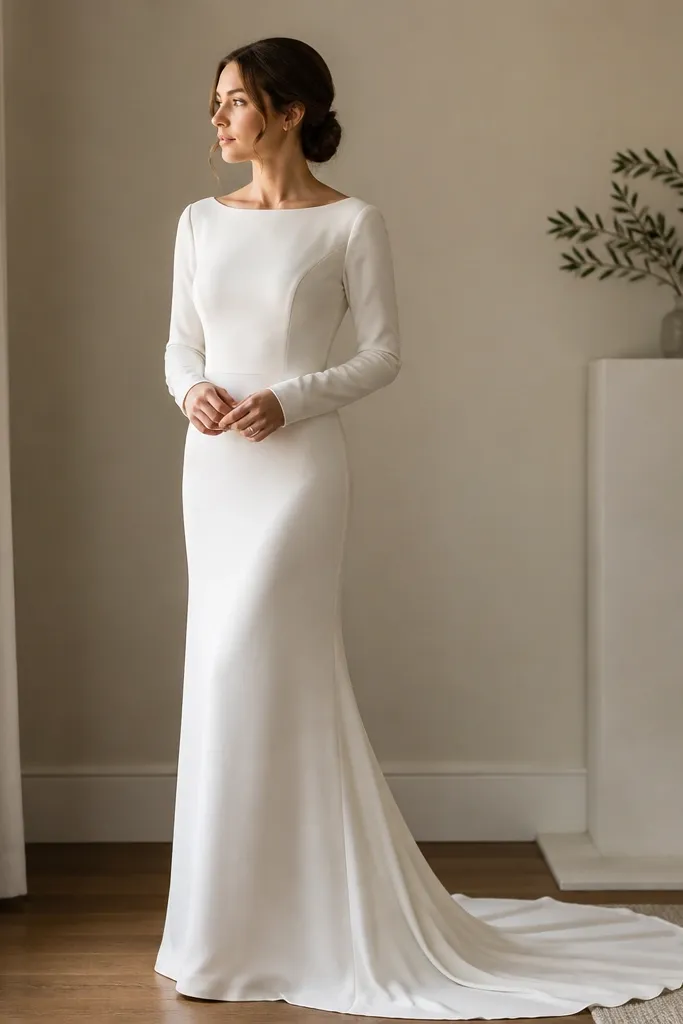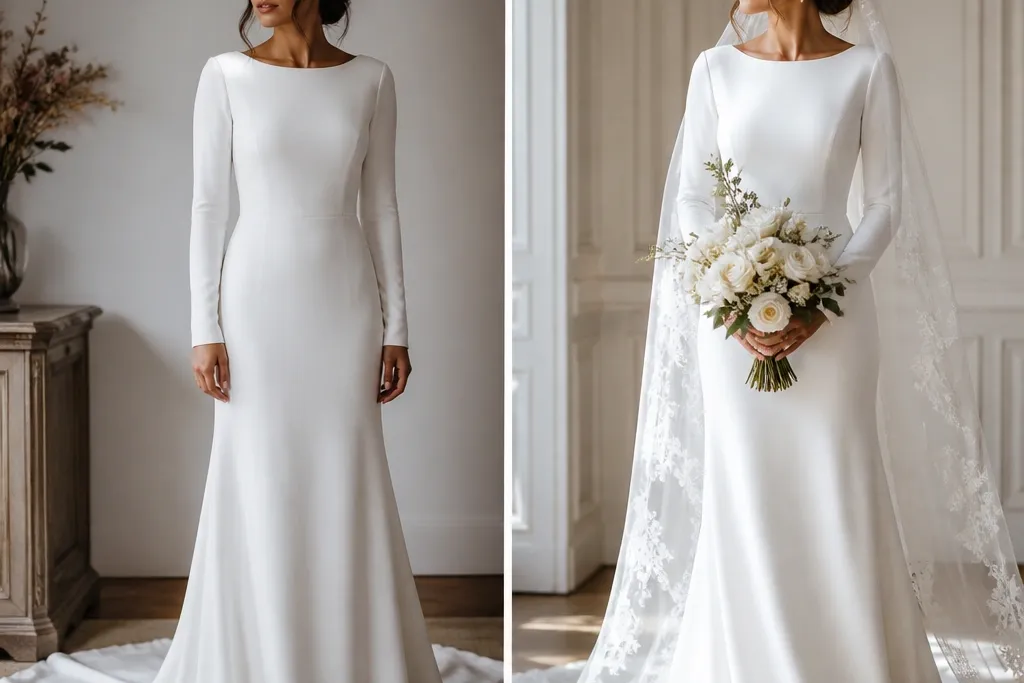
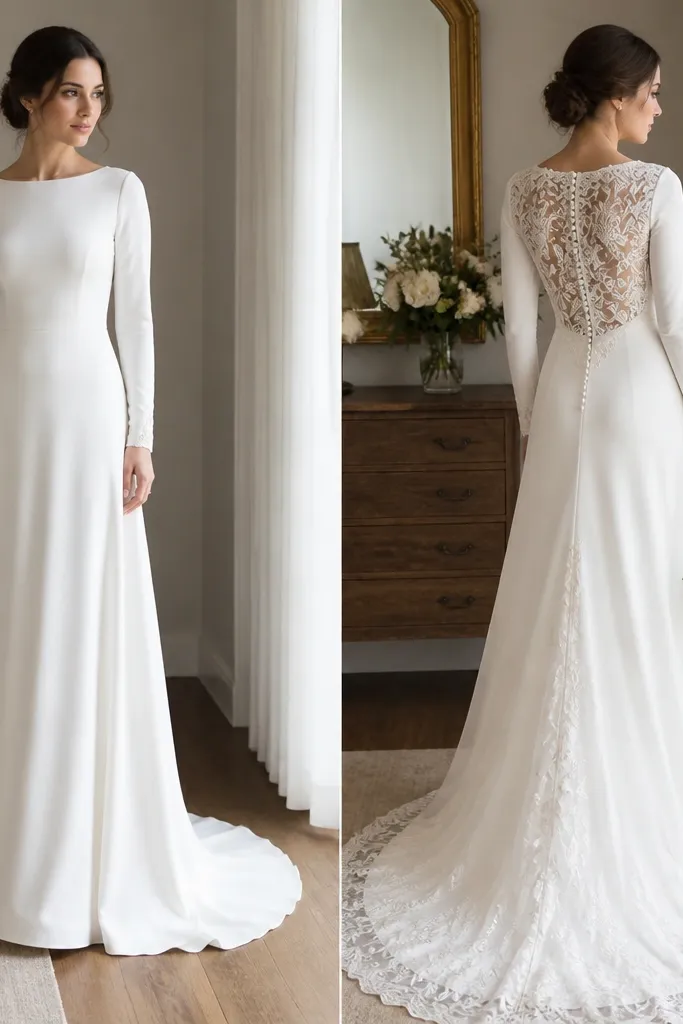
1. Sheer to Satin Sleeves - Softer to Structured
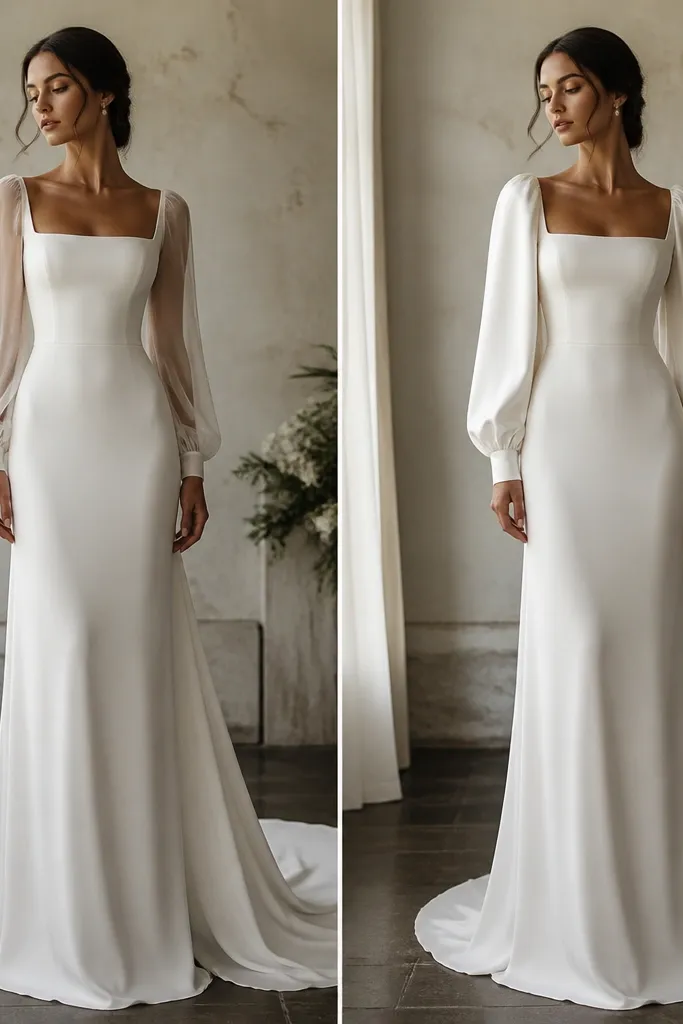
The “before” looks light and airy because the chiffon lets skin show through. The “after” feels more bridal and polished because satin reads smoother, holds shape better, and reduces sleeve flutter in photos. This swap is especially flattering if your dress bodice is already structured.
If you’re adding satin sleeves, match the satin sheen to your dress fabric (matte vs glossy) so the transition doesn’t look like a patch.
2. Hemline Weight Add - Flowy to Editorial
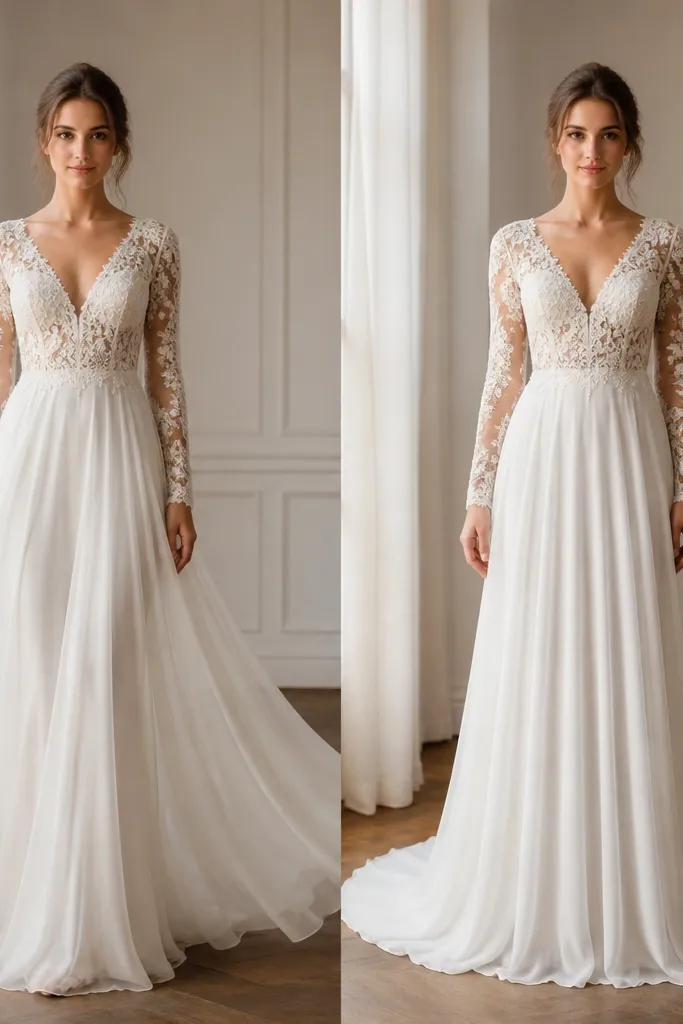
A lot of long sleeve wedding dresses look “off” in motion because the hem is too light, so it sways instead of landing. Adding a small amount of hem weight (or a light lining panel) helps the skirt fall cleanly and frames the sleeves. The result is an after look that photographs like a magazine shot.
Good to knowTest on one side first: pin a few weights under the hem, walk around for 2 minutes, then decide if you need more.
3. Detachable Lace Cuff - Plain Sleeve to Romantic
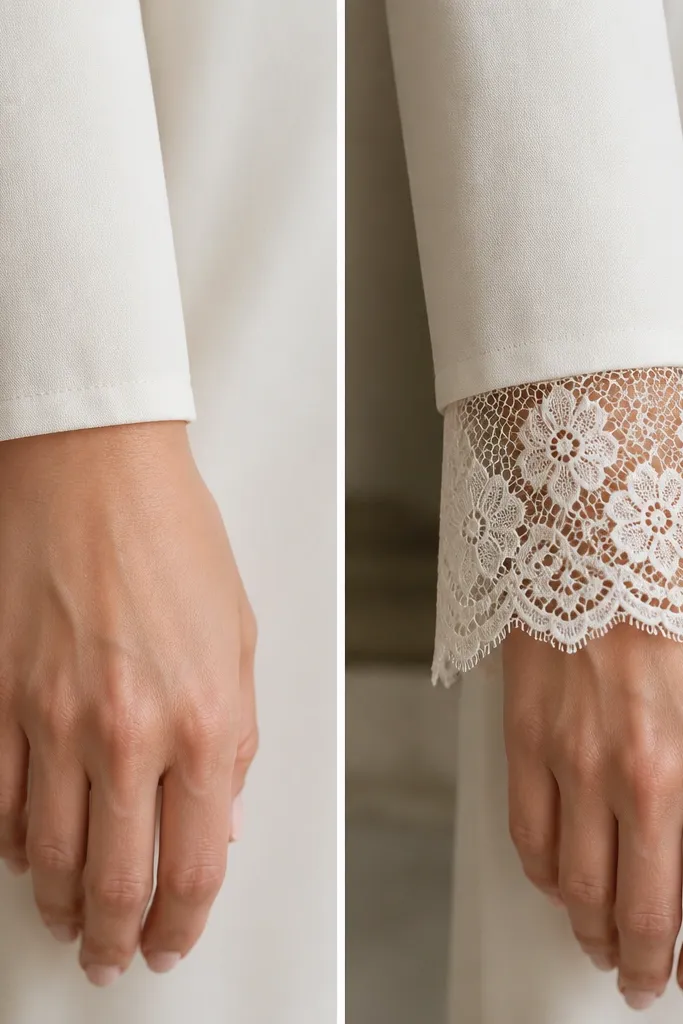
The before sleeve is minimal and can make the dress feel unfinished. The after cuff adds texture exactly where cameras catch it — your hands during vows and ring moments. Lace cuffs also let you keep the original sleeve silhouette while upgrading the visual interest.
Good to knowChoose lace with a similar thread color to your dress (ivory vs stark white) to avoid a “two-tone” look in flash photos.
4. Square Neck Overlay - Modernize the Bodice
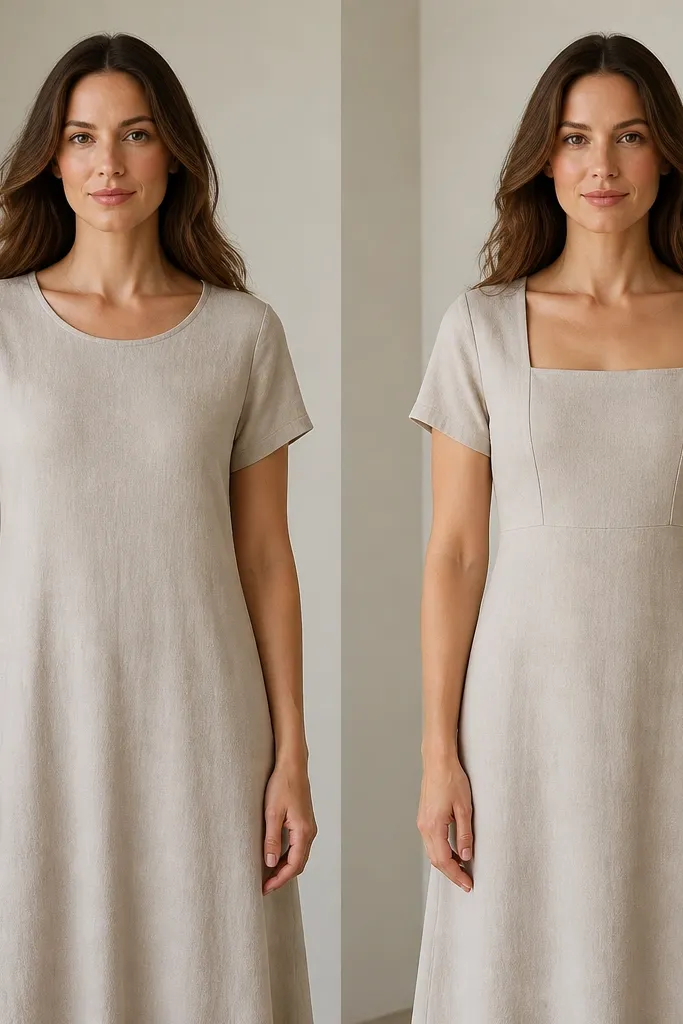
Round necklines read classic and gentle; square necklines read modern and flattering, especially on long sleeves because they open the upper frame. The overlay works like a facelift: it redefines your collarbone area without changing the sleeves. The clean seams help the bodice look tailored and intentional.
Good to knowKeep the overlay depth similar to your current bodice — too deep can pull fabric at the bust and create puckering.
5. Bodice Lace Panel Inset - Add Dimension Without Bulk
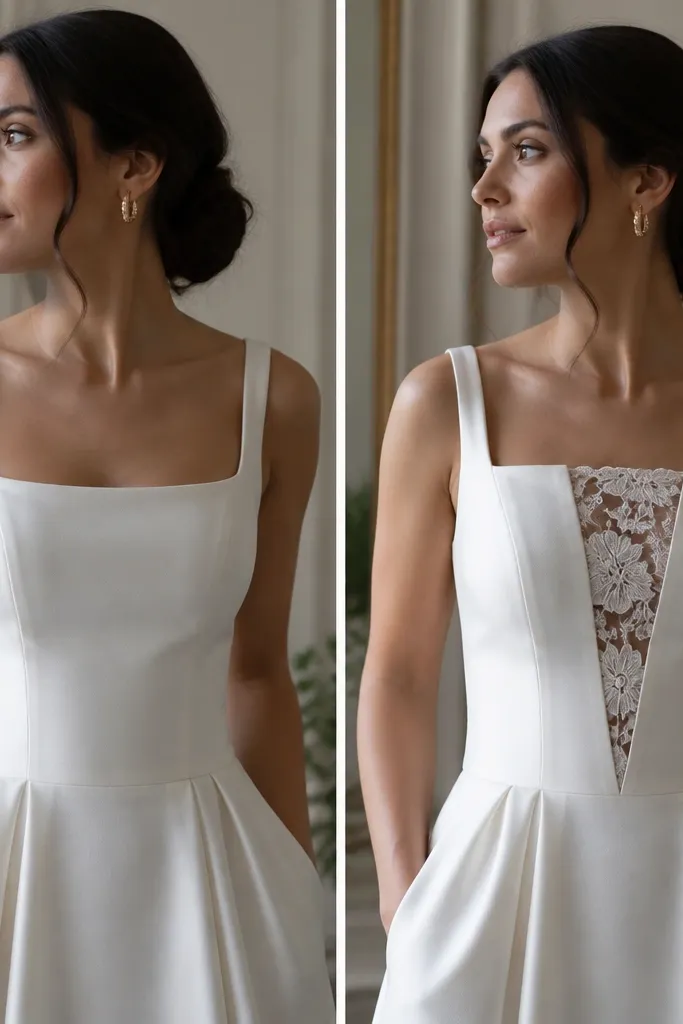
A solid bodice can look flat next to long, detailed sleeves. Adding a lace inset creates vertical dimension and draws the eye to the waist and centerline. Because the lace is localized, it upgrades the dress without adding heavy layers that can feel bulky under long sleeves.
Pin the lace panel with the motifs spaced evenly before you sew — alignment is everything for that “intentional couture” look.
6. Waist Belt Shift - From Loose to Defined
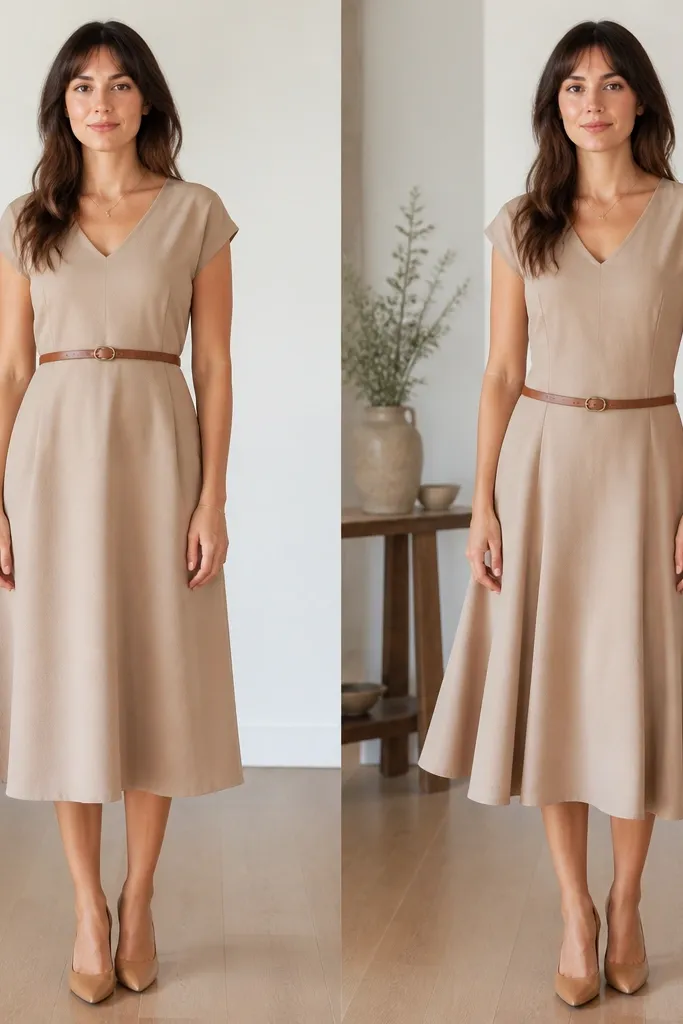
When a belt sits too high, the torso can look longer and the skirt starts earlier than you want. Shifting the belt down to your natural waist (and smoothing the gathered fabric) makes the silhouette feel balanced with long sleeves. The after effect is a clearer hourglass line with less “in-between” volume.
Good to knowUse a mirror test: tie a ribbon at your natural waist, then step back and check where the skirt begins in relation to your hips.
7. Underlayer Swap - Prevent Sleeve Cling
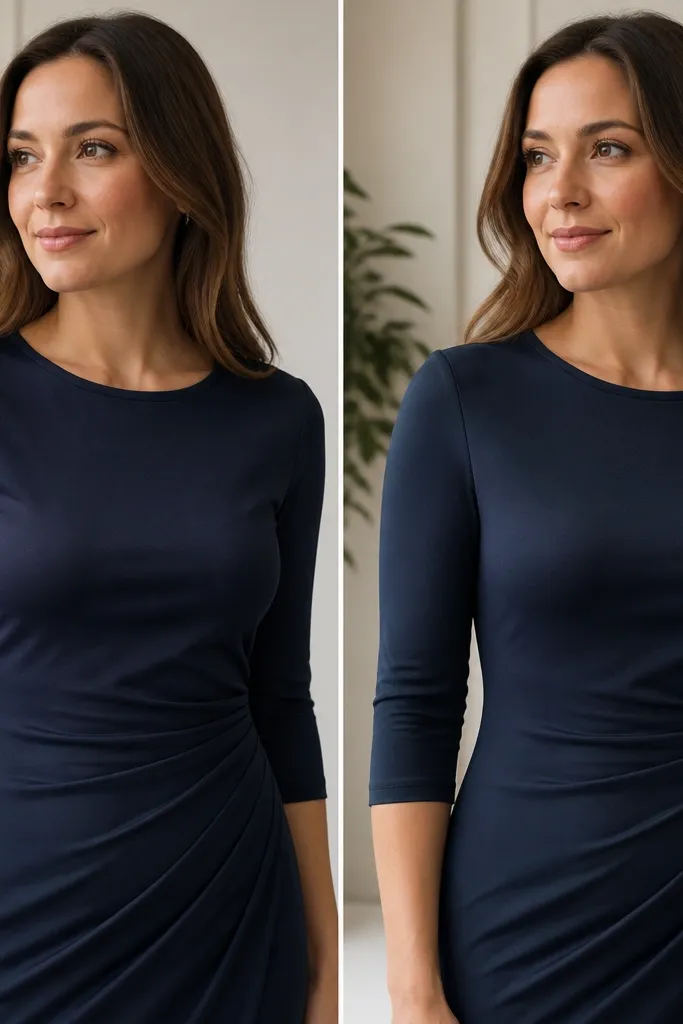
Even if the outer dress is perfect, the wrong slip or lining can cause sleeve cling and wrinkling. Switching to a smoother, non-grippy underlayer helps the fabric glide instead of catching, which makes long sleeves look more elegant and intentional. The after look often feels “new” because it eliminates distracting texture.
Choose a slip fabric that’s slippery (like satin or smooth microfiber) and avoid heavy cotton underlayers for long sleeve styles.
8. Sleeve Length Adjustment - Wrist to Tea-Length Magic
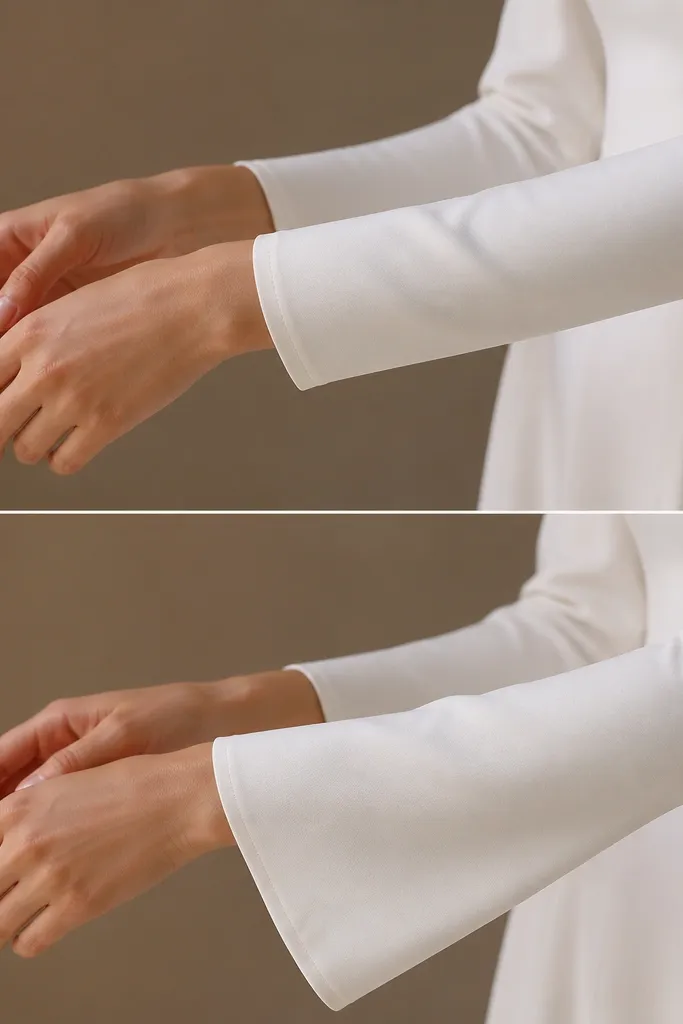
Shorter sleeve endings can make long sleeve dresses feel like they’re missing something — especially in photos where your hands move. Extending to a tea-length creates a graceful frame and makes the cuff details look deliberate. A small hem extension also helps the sleeve fall more naturally with your posture.
Wear the shoes you’ll use on the day and check sleeve length while standing — don’t measure sitting.
9. Back Bow Upgrade - Simple to Statement
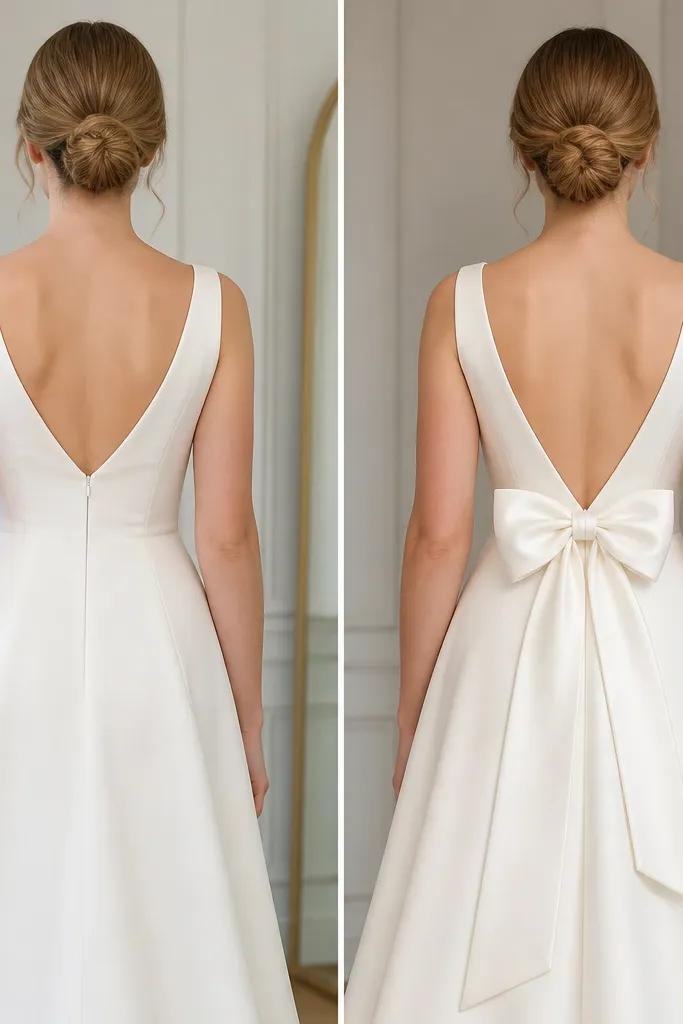
A plain back can make the dress feel beautiful from the front but forgettable when you turn. Adding a satin bow creates a focal point for candid photos and adds a romantic touch that matches long sleeves well. The after version looks more “wedding” because the back detail balances the front elegance.
Good to knowSecure the bow with hidden snap buttons so it stays flat and doesn’t twist when you walk.
10. Color Match Repair - Ivory Lace on White Dress
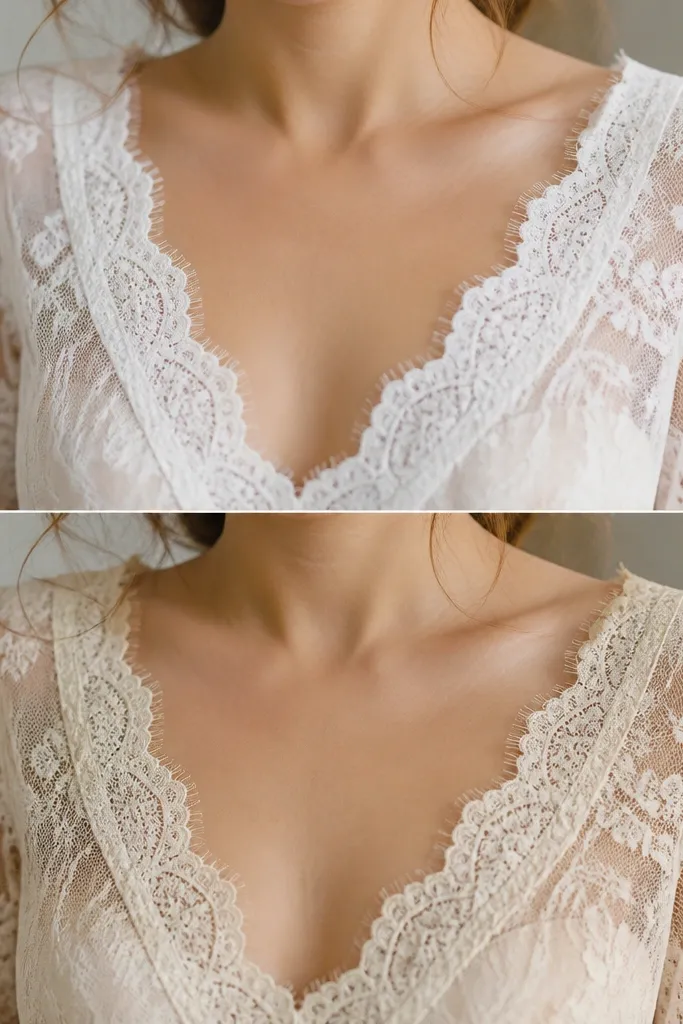
Color mismatch is one of the quickest ways a dress can look “almost right” instead of perfect. If your lace overlay or sleeve detail is too bright, it can look harsh in indoor lighting. The after fix is all about undertone — ivory lace often blends more naturally with warm-white dresses, especially in long sleeve areas near your face.
Good to knowBefore you commit, test lace against the dress under both daylight and warm room light.