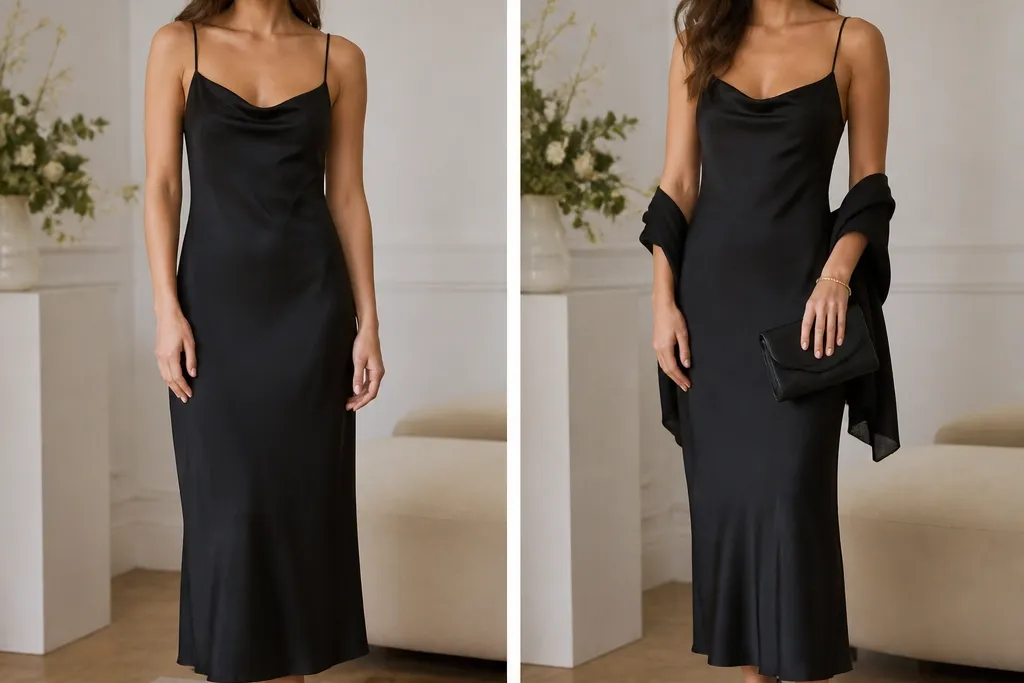
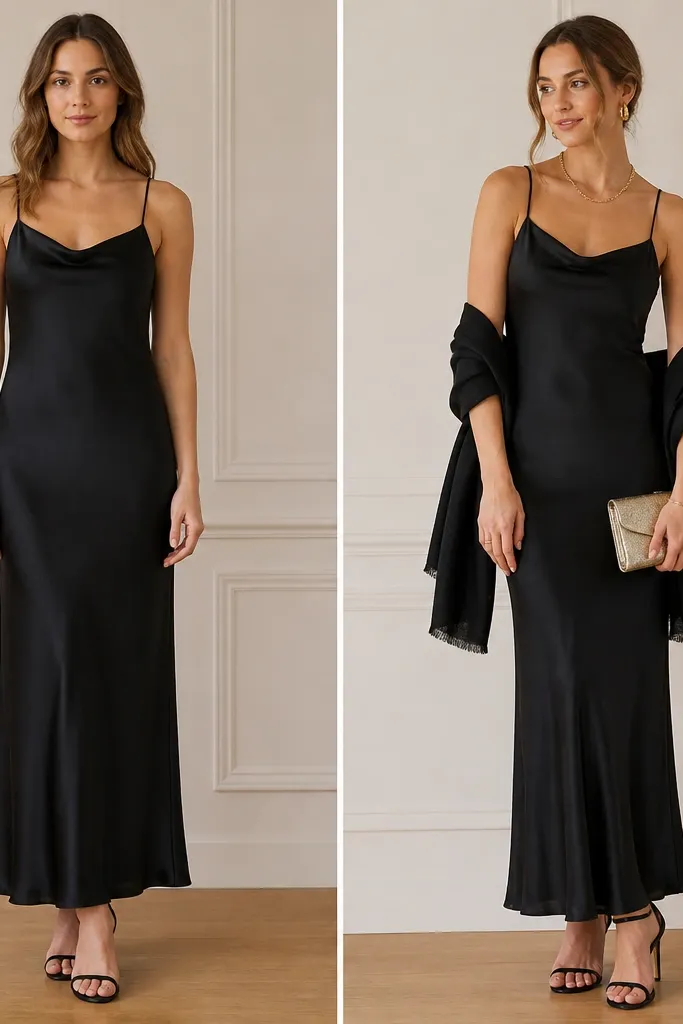
1. Satin Slip Upgrade With a Structured Bra-Friendly Fit
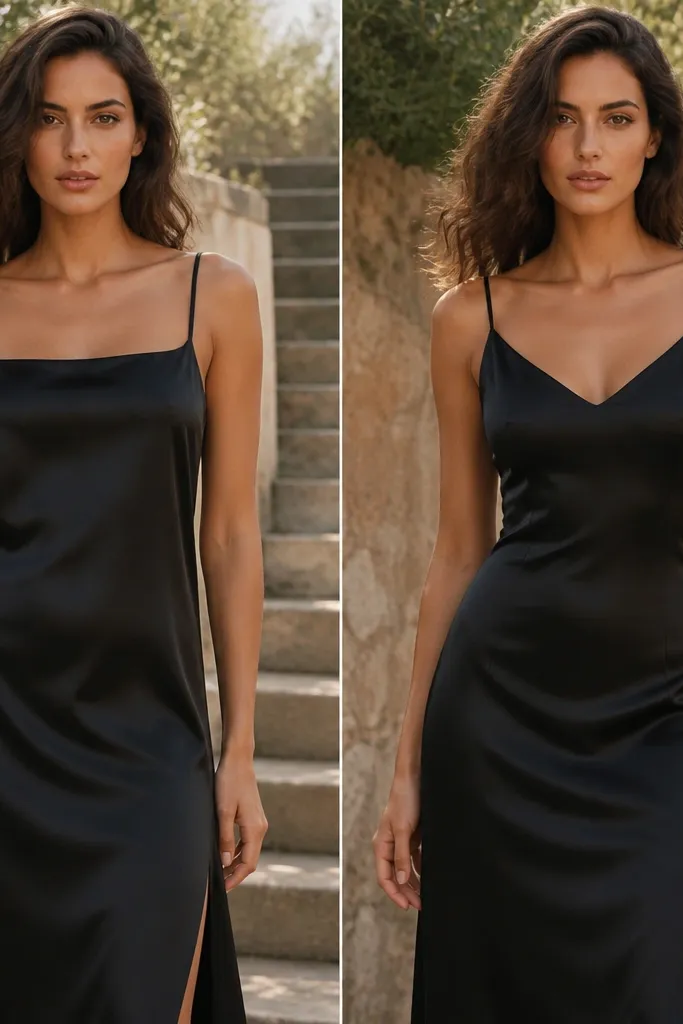
The before look reads a bit casual because the straps and bust area sit unevenly, so the satin drapes in a wrinkled way. The after version uses a more supportive bra and a subtle waist cinch (belt or hidden paneling) to make the satin fall in longer vertical lines. That’s what makes it look truly “black tie” in pictures.
Good to knowUse fashion tape to anchor the neckline edges and straps, then add a thin black belt or satin waist tie to sharpen the silhouette without altering the dress.
2. Velvet Dress From “Dark” to “Luxe” With Warm Jewelry Contrast
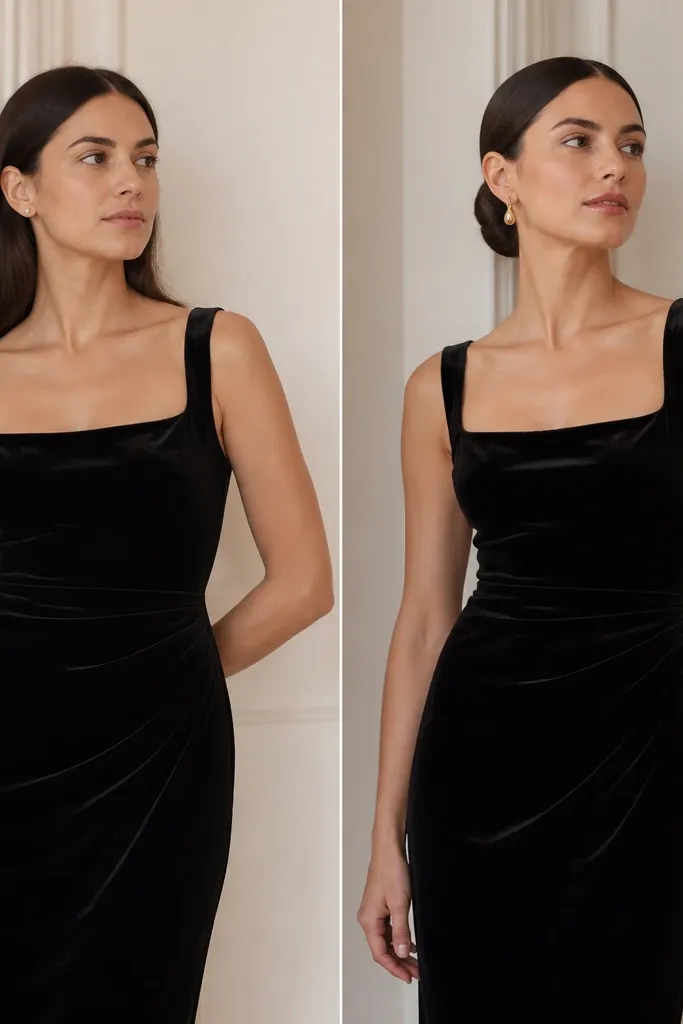
Velvet can look flat under certain lighting when the accessories are too cool-toned. Switching from silver studs to warm gold drop earrings adds contrast that catches flash photography and makes the fabric look richer. A glossy lip and sleeker hair also reduce “matte” absorption, so the overall look photographs brighter.
Good to knowIf your velvet looks dull in photos, swap to warm-toned metal (gold or champagne) and pair with a high-shine lip.
3. Lace Midi Before-and-After With a Smooth Underlayer
Lace reads romantic, but it can emphasize bumps and seams if the underlayer isn’t smooth. The after look adds a matte, seamless under slip (or smoothing bodysuit) so the lace sits cleanly over the body. Steaming the hem makes the lace pattern fall evenly instead of curling.
Choose a seamless slip in black (matte finish) and steam the hem for 60 seconds before you leave.
4. One-Shoulder Twist: From Soft to Sculpted With a Waist Belt
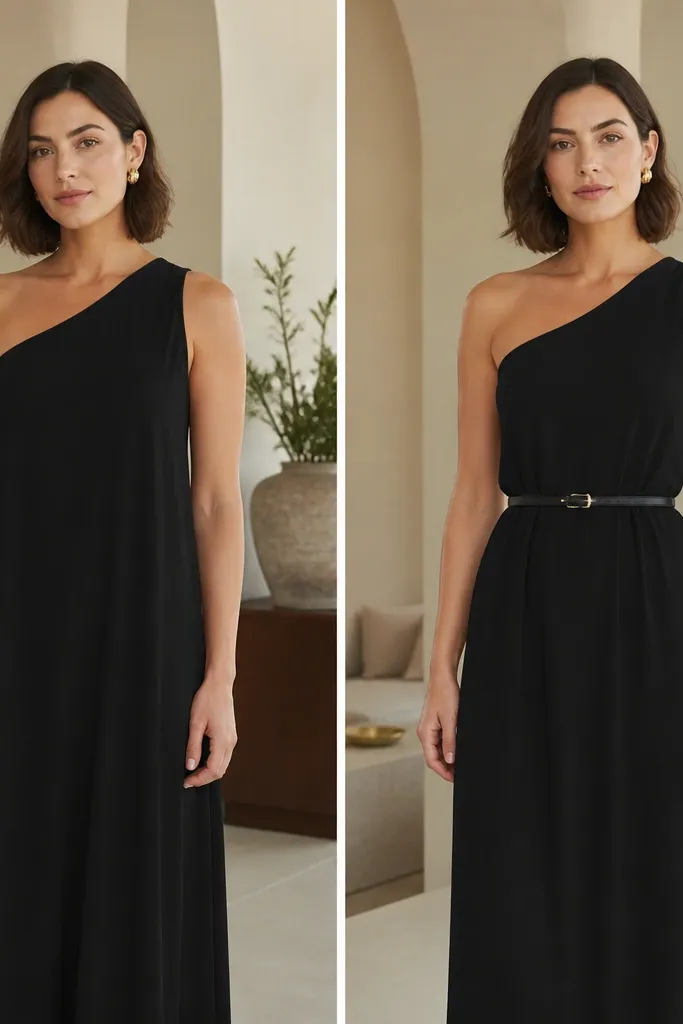
One-shoulder styles look best when the waistline is intentional. In the before shot, the dress drapes straight down, so it doesn’t create a formal hourglass silhouette. Adding a slim belt (or a satin sash) at the natural waist tells the eye where the shape is, upgrading the dress to true black tie wedding guest territory.
Belt at your smallest point, not your hips — then use fashion tape on the shoulder to keep the neckline crisp.
5. Chiffon Overlay From “Wrinkled” to “Event-Ready” With a Steam + Weight Trick
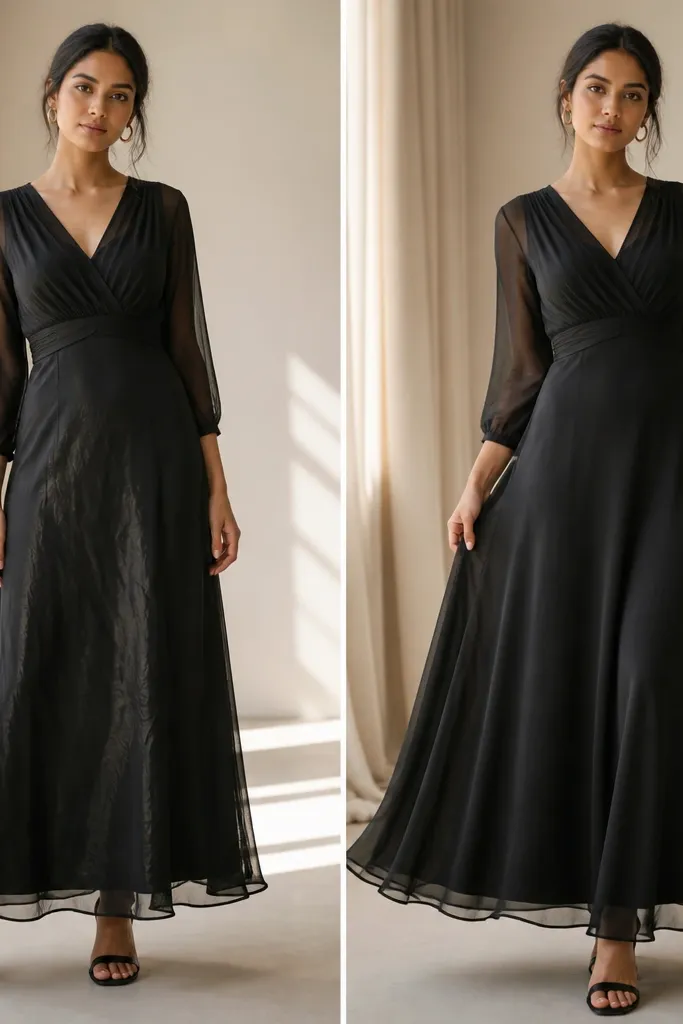
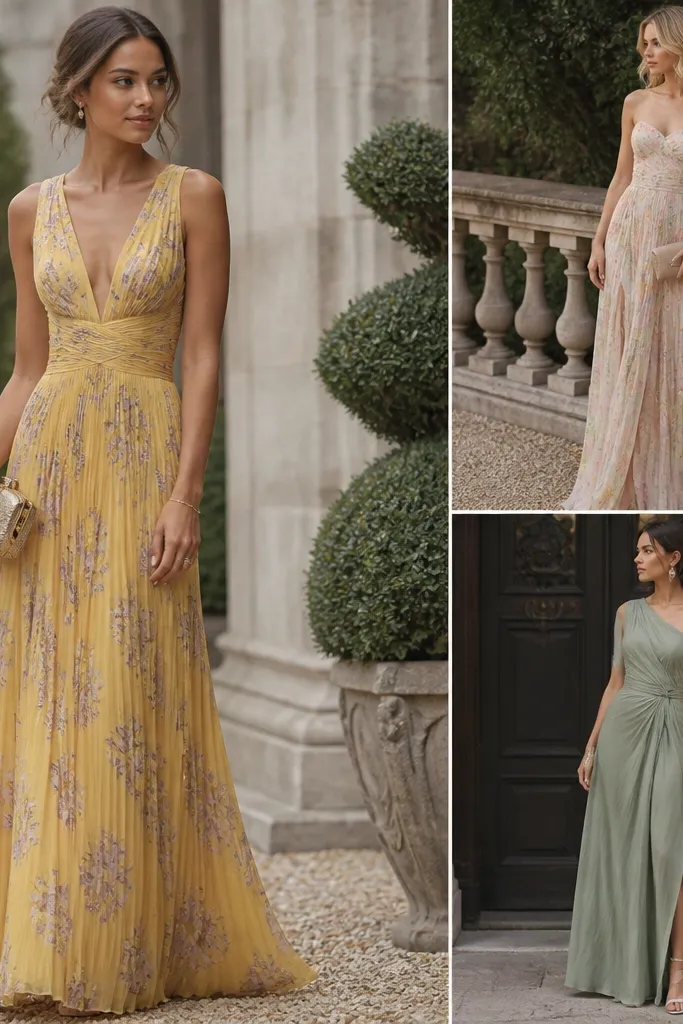
Chiffon creases fast and can look casual when it bunches at the skirt. The after transformation is basically “fabric behavior”: steam the bodice and sleeves first, then hang the dress for 20 minutes so gravity pulls the overlay into clean drapes. If the hem still floats weirdly, add a subtle weight at the inside hem to keep it from twisting.
Good to knowSteam from a distance and hang after steaming — for extra control, add a small hem weight hidden inside the lining.
6. Halter Neck Black Tie Upgrade With a Sleeker Back Strap Setup
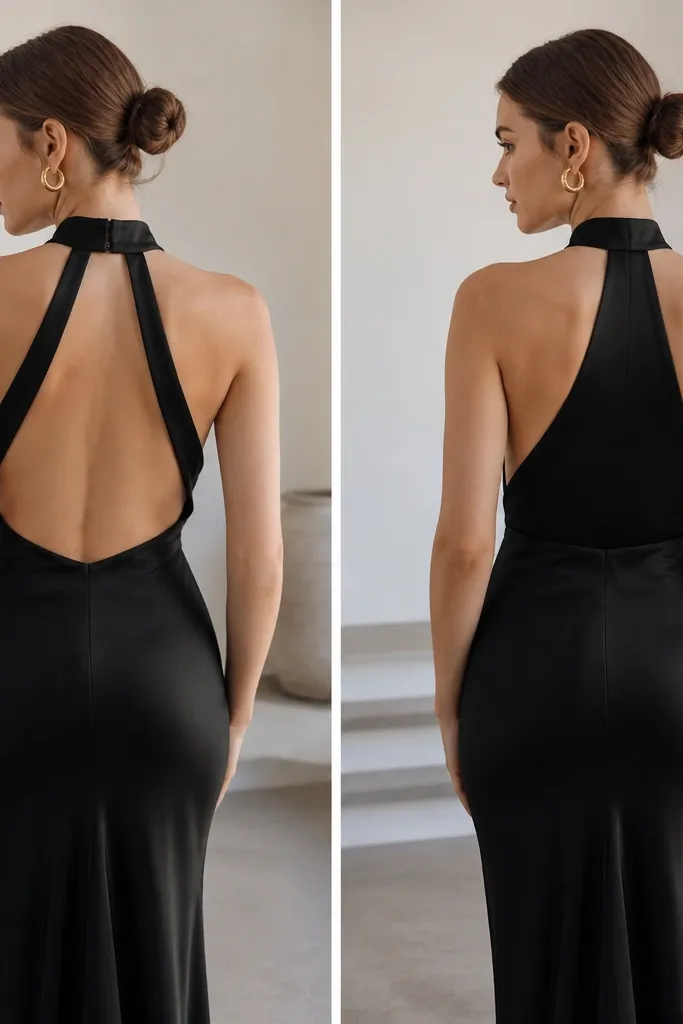
A halter can look off when the back straps sit too low, causing the neckline to sag. The after look uses strap adjustment plus a small loop of fashion tape to keep the back centered, so the halter sits higher and frames the collarbone. That small fix makes the dress look more tailored and formal.
Before the wedding, do a 2-minute “back fit check” in a mirror — adjust straps so the neckline sits level, then tape the center if needed.
7. Ruching Magic: From Flat to Figure-Highlighting With Correct Placement
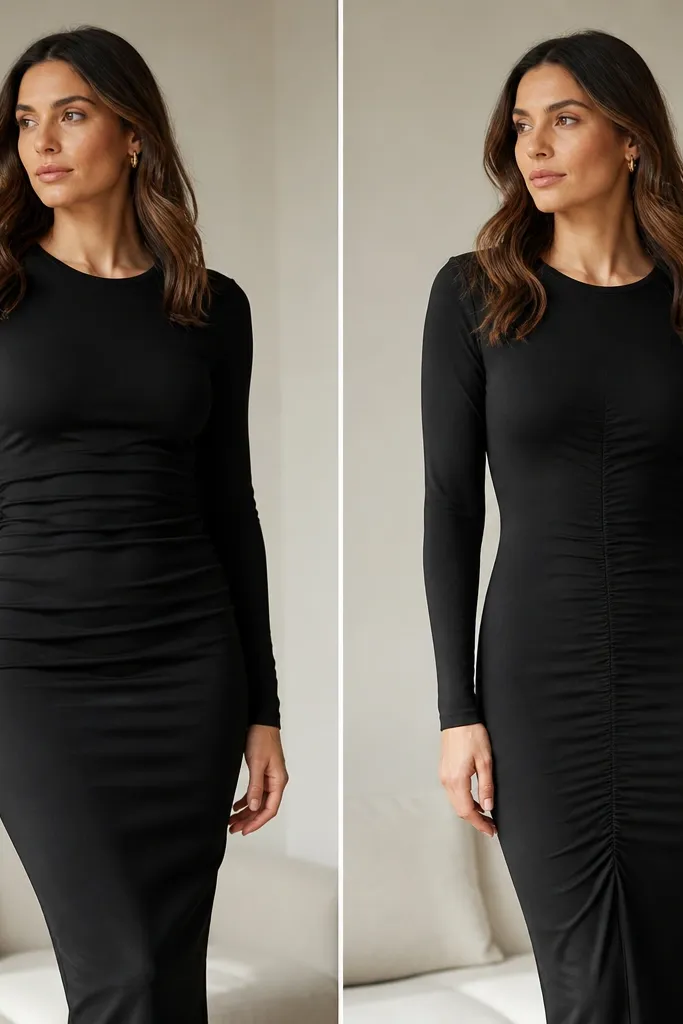
Ruching looks amazing when it sits evenly — but if it’s gathered too tightly in one spot, it creates lumps. The after transformation loosens and redistributes the ruching so it forms a gentle diagonal or vertical line. That makes the dress look more expensive and flattering without changing the garment.
Good to knowGrab the ruching at the seams, smooth it outward, then re-tie or adjust so the fabric gathers evenly instead of pooling.
8. Black Tie Pantsuit to Dress-Level With a Satin Camisole Layer
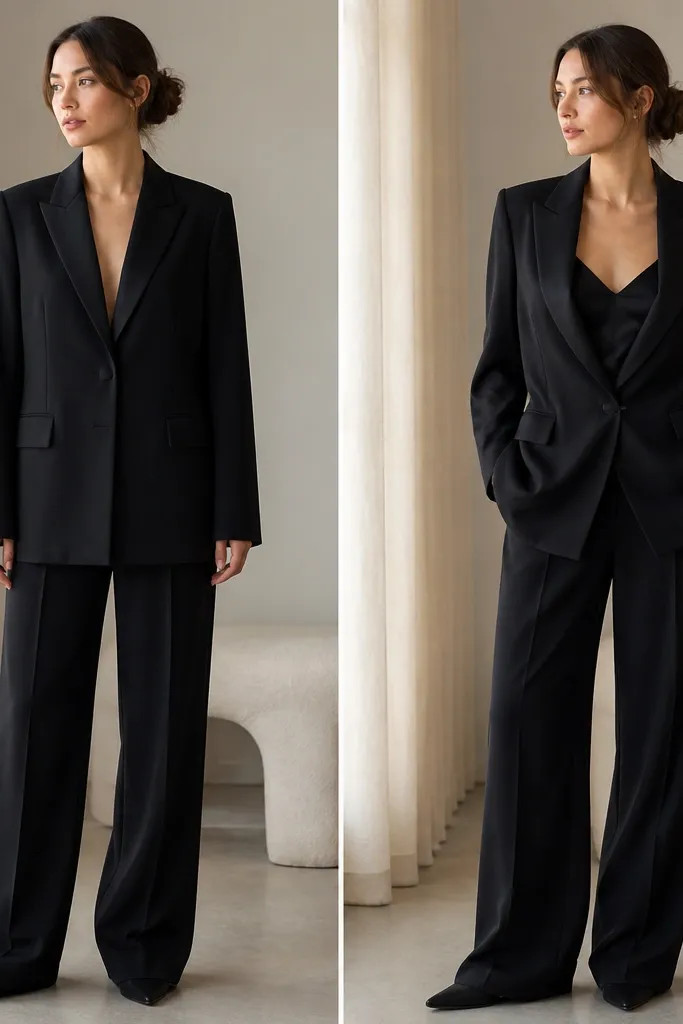
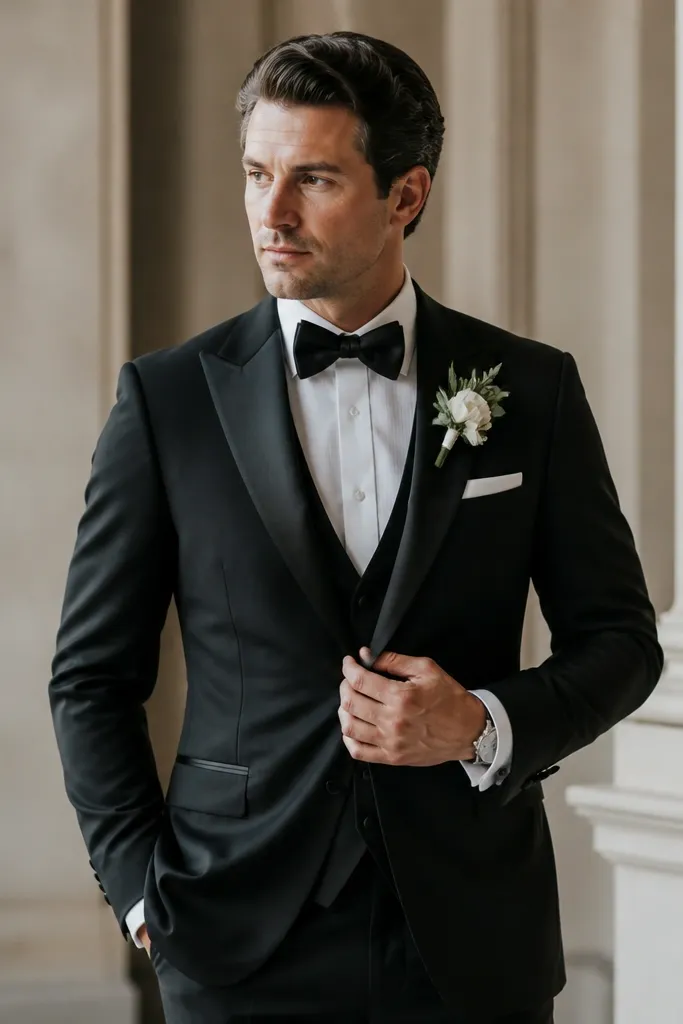
A black suit can read formal, but it can also look “workwear” if everything is matte and flat. Adding a satin camisole underneath creates shine where the eye expects elegance — around the neckline and center chest. The after look also tightens the waist with tailoring or a fitted layer, so it moves like a dress rather than a jacket-and-pants combo.
Good to knowChoose a satin camisole with thin straps and a neckline that matches your lapel width — then add a pocket square for instant black tie polish.
9. Capelet Moment: From Simple to Dramatic With a Short Satin Shawl
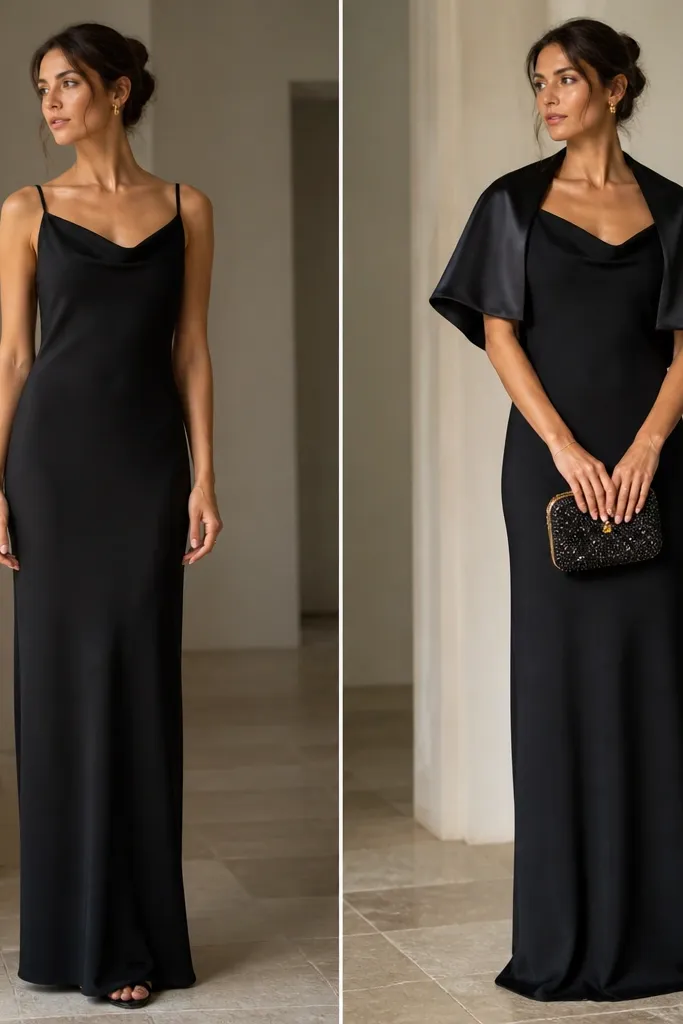
A column dress can look stunning, but it needs something to add ceremony. The after look uses a short satin capelet so the fabric frames the shoulders and adds movement in photos. Satin on top also creates a subtle contrast against matte areas of the dress, making the outfit feel intentional for a black tie wedding.
Good to knowDrape the capelet so it hits around upper arm — too low can look like a blanket, too high can look costume-y.
10. Gloves-Optional: From Everyday Earrings to Flash-Photography Statement
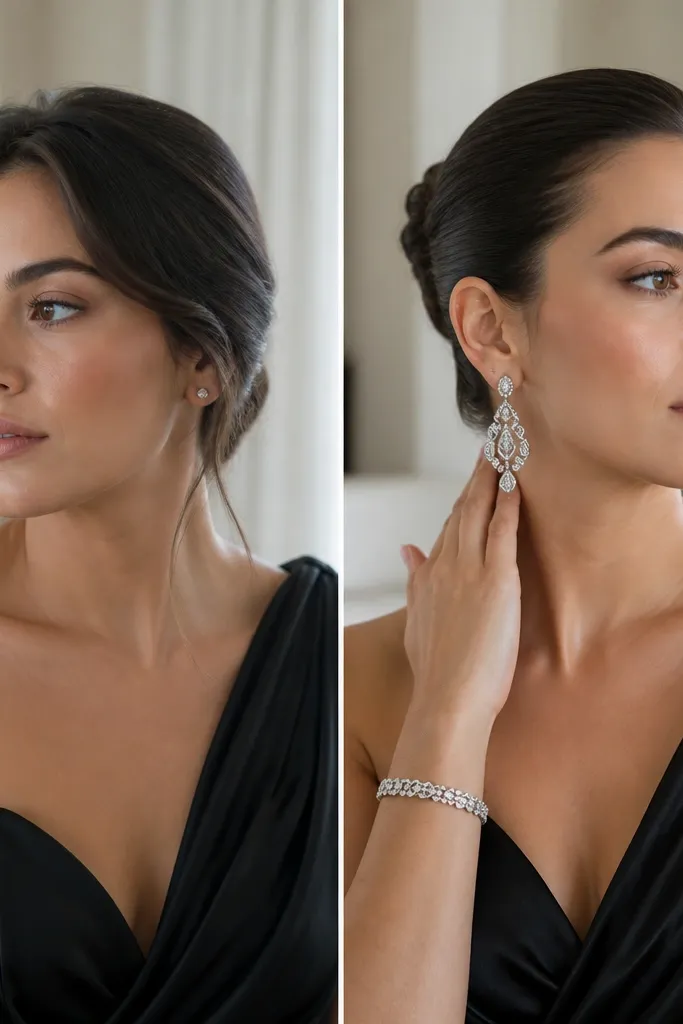
If your outfit is already black tie formal, the fastest transformation is light-catching accessories. Small studs get swallowed in wedding flash, while chandelier crystals or rhinestone drops reflect and create a focal point. The after look also tightens the hairstyle (sleek pony or bun) so the earrings sit cleanly in the photo frame.
Good to knowDo a quick “flash test” in your phone camera — if your earrings look dull, size up to a chandelier or add a matching bracelet.