1. Satin Ribbon Welcome Sign with Faux Pearl Border
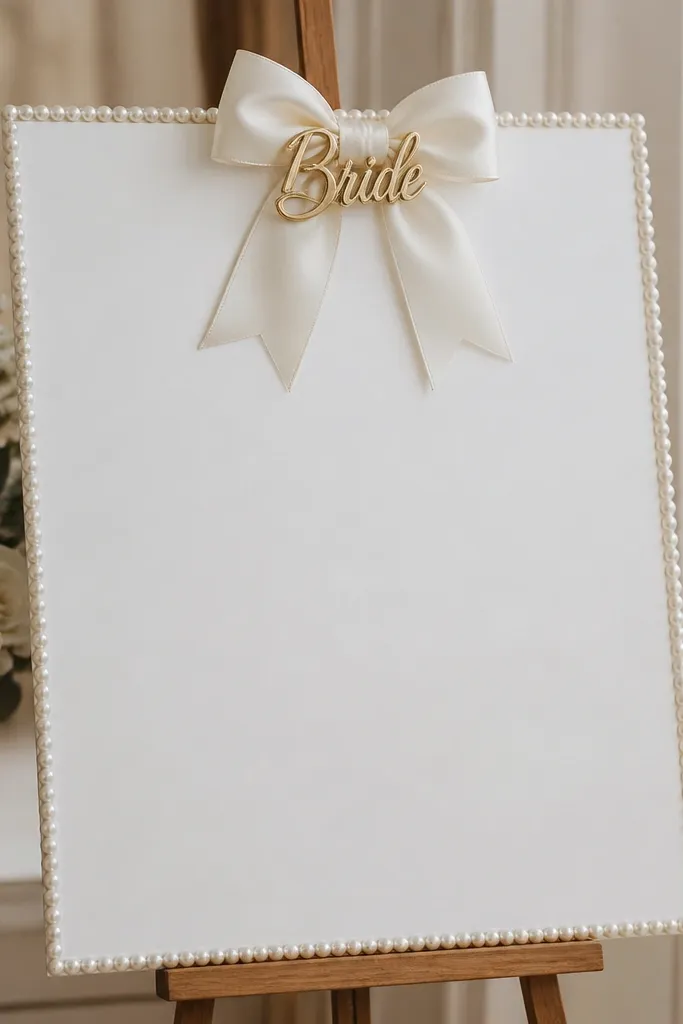
Cut a simple rectangle from white foam board, then wrap the border with pearl strand glued in short sections for a clean frame. Add a satin bow at the top center and a small gold accent (a sticker or foil print) so it reads clearly in photos. This works especially well for shower entries because guests pass it right away and it becomes the first visual in your story posts.
Good to knowUse hot glue sparingly and press for 10 seconds per spot so pearls don’t lift at the corners.
2. Tulle + Satin Centerpiece “Bridal Bouquet” in a Cake Pedestal
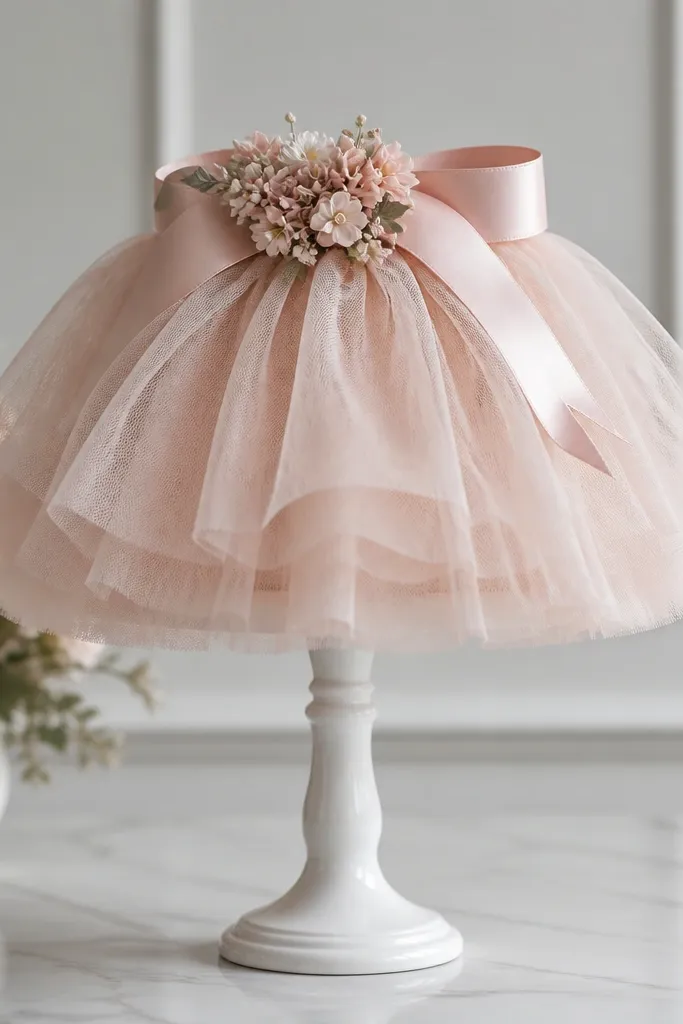
Layer blush tulle in 3 lengths, tie each bundle to a central stem, and let the fabric fan upward like a bouquet. Anchor it on a cake pedestal (white or ivory) so guests see it from across the table. The satin ribbon loop at the top gives the centerpiece a “bridal” finish even without fresh flowers.
Pre-cut tulle strips 18-24 inches long for an airy look; pin the ends to keep layers even.
3. Bride-to-Be Shoe Garland on Clear Monofilament
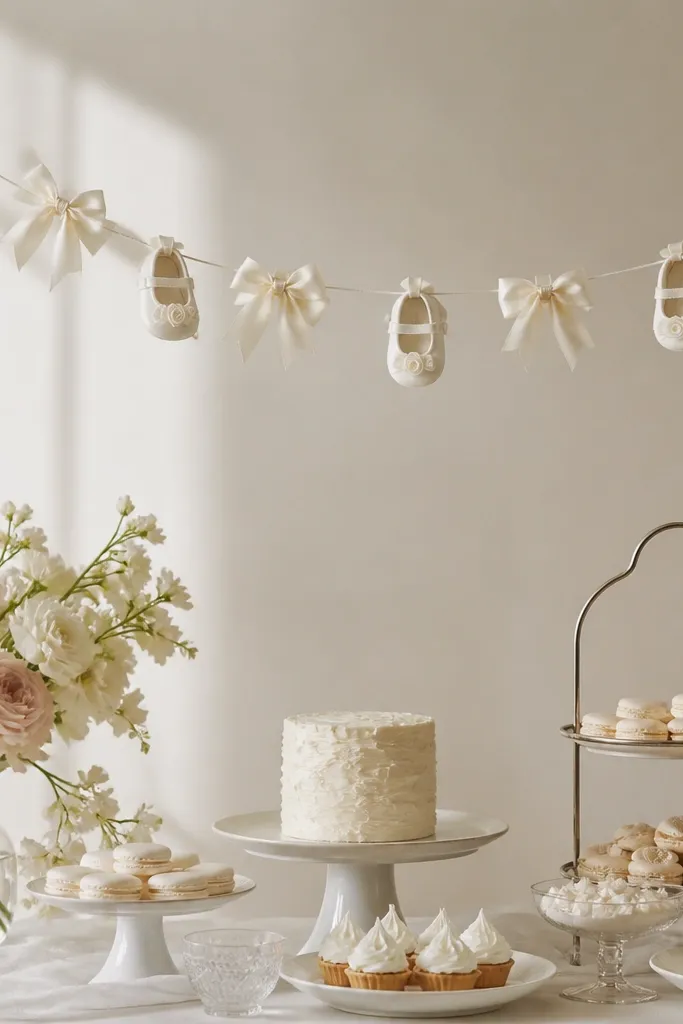
This is a playful way to decorate with accessories: attach tiny satin shoe charms or mini Wedloria-style shoe accents to monofilament, then space them so they form a soft curve. The clear line makes it look like the “shoes are floating,” which photographs beautifully against a plain wall. Keep colors in the same palette (cream, blush, champagne) for that high-end aesthetic.
Hang at two heights — one near eye level and one slightly higher — so your photos capture depth.
4. Faux Pearl Balloon Cluster with Blush Ribbon Ties
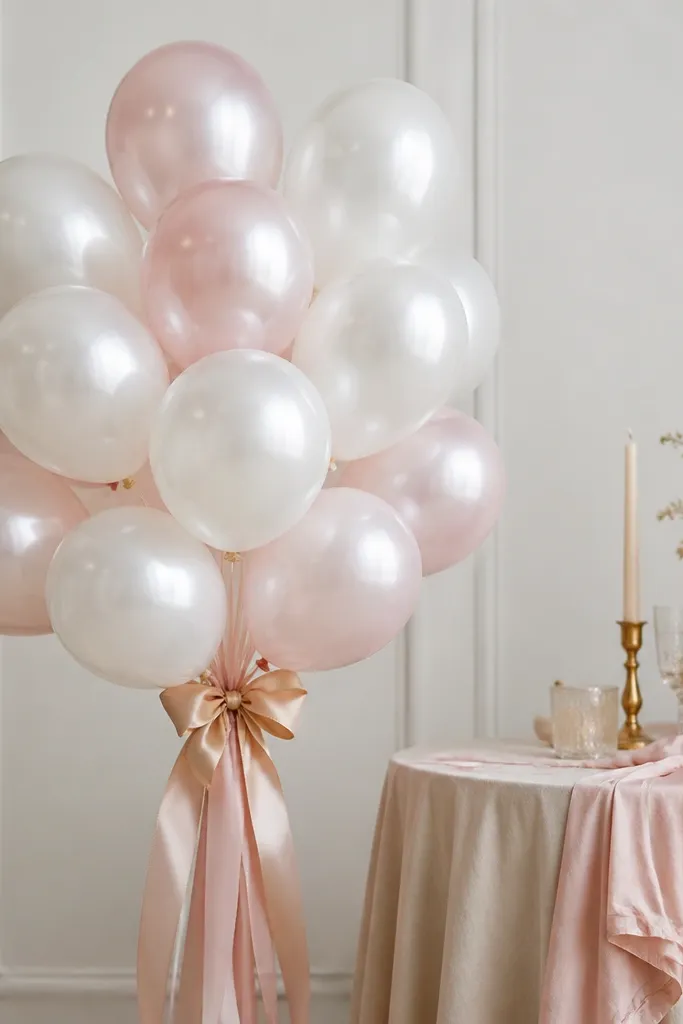
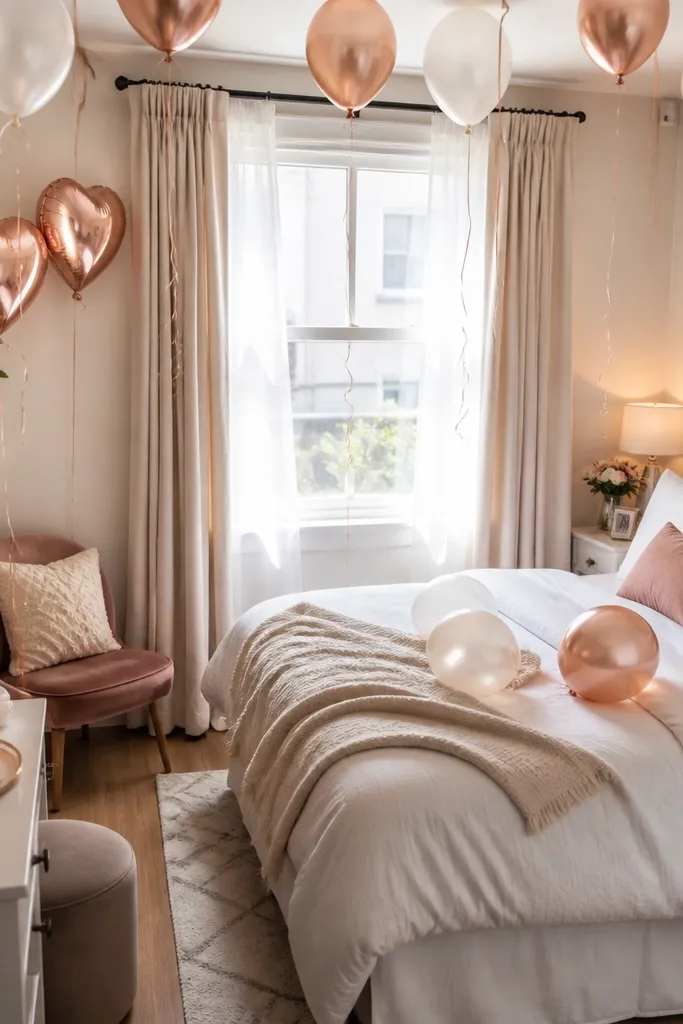
Instead of plain balloons, choose pearlized or pearly balloon options and tie them with satin ribbons that match your shower invitations. Add a small gold accent (a mini charm or bow) to keep the look bridal, not childish. Place the cluster near the dessert or gift table so it frames your “opening gifts” photos.
Good to knowUse a balloon weight hidden behind a table skirt so the cluster stays centered all day.
5. Personalized Place Cards Wrapped in Satin + Mini Charm
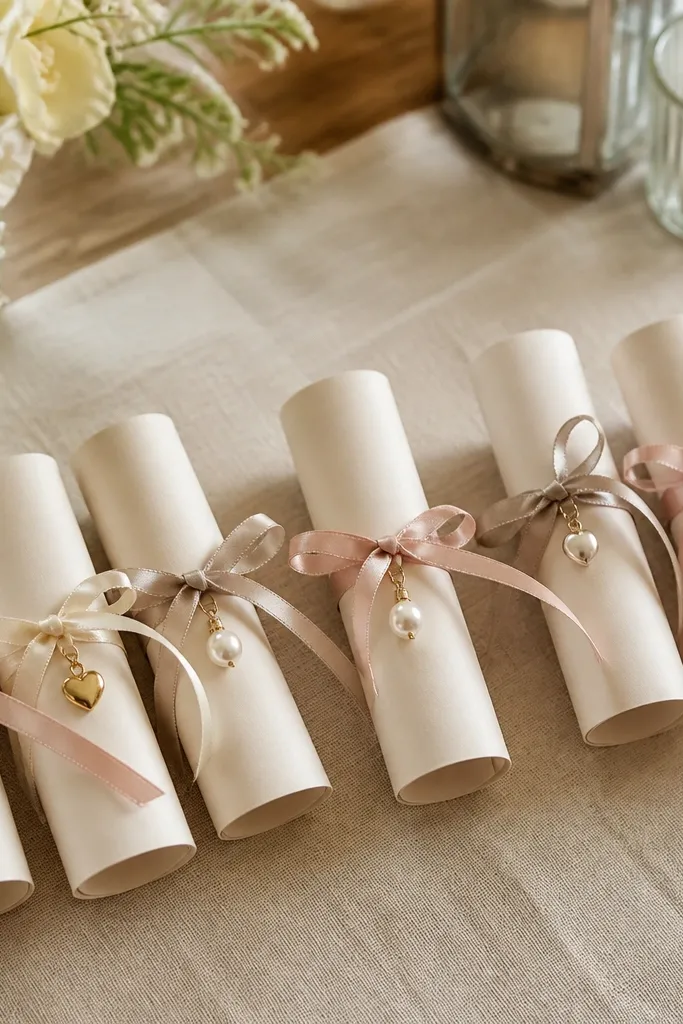
Roll cardstock place cards and tie them with thin satin ribbon (cream or blush). Add one tiny charm per guest (pearl, heart, or star) so each card looks like a mini accessory. This creates a cohesive “fashion accessory” vibe because it matches how accessories are styled — small, intentional details.
Good to knowWrite place cards in black or deep espresso ink for crisp readability in photos.
6. Ribbon-Wrapped Glass Vases with Floating Pearl Stems
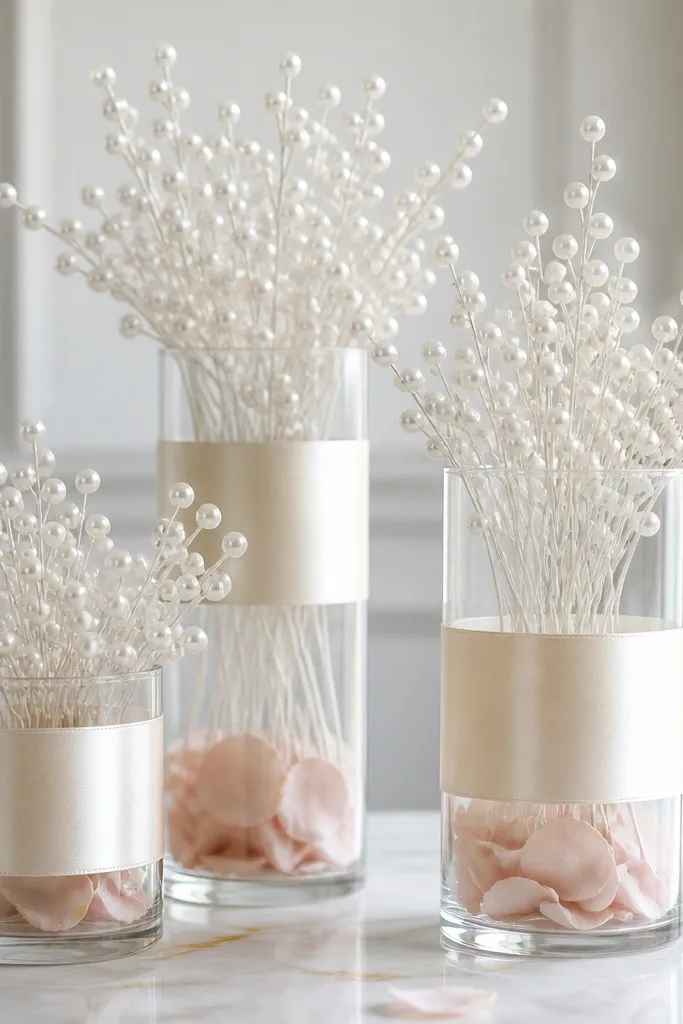
Wrap the center of a clear vase with a satin band, then add faux pearl stems so the pearls “float” above the base. The clear glass makes the pearls look layered and dimensional, while the ribbon band ties the vase to your other satin elements. This is a great alternative if you want a luxe look without fresh flowers.
Mist the pearls lightly with a tiny bit of anti-static spray (or keep them dry) so they don’t clump.
7. Dessert Table Skirt with Tulle Top Layer and Gold Pin Bows
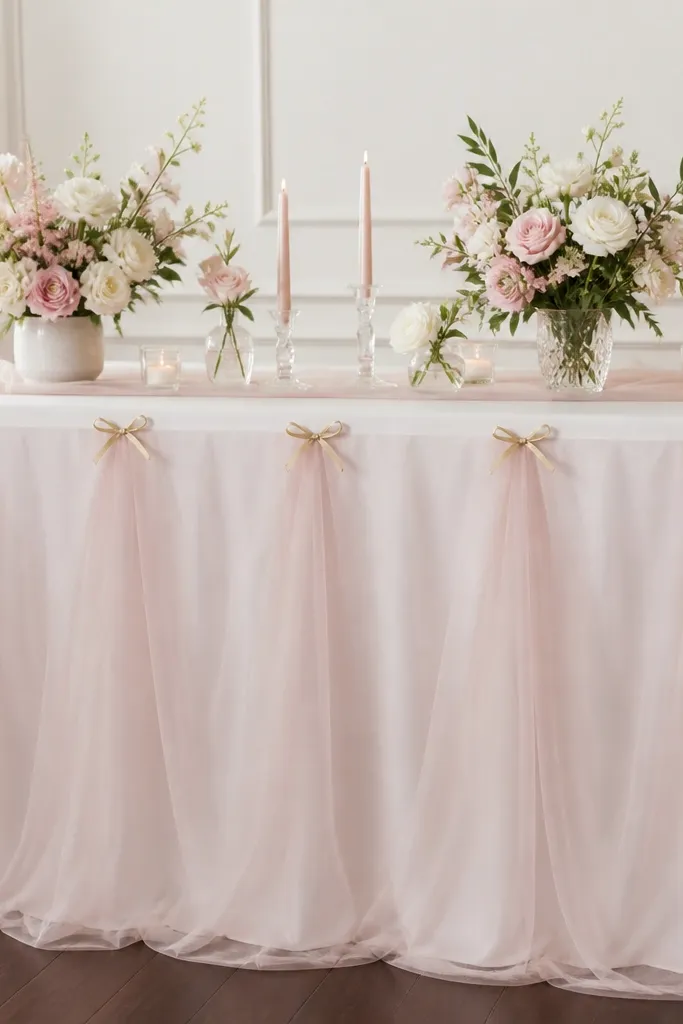
Use a fitted white tablecloth or skirt, then add a layer of blush tulle pulled into soft gathers. Finish with small gold pin bows (or bow clips) spaced every 6-8 inches so the front looks styled, not plain. Dessert tables are the most photographed area at showers, so this simple fabric layering makes a huge difference.
Good to knowPin tulle to the underside first; don’t rely on tension alone or it will shift when guests move chairs.
8. Photo Backdrop: Draped Satin Ribbon Grid + Mini Pearl Clips
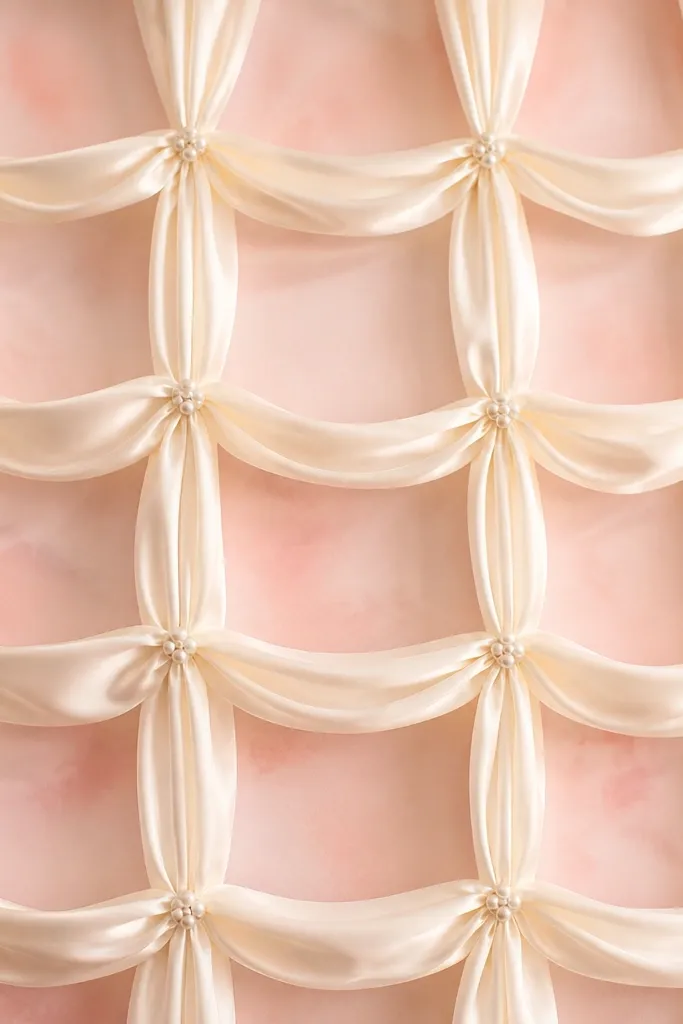
Create a grid using satin ribbon strips, then clip intersections with mini pearl clips or pearl-headed pins. This backdrop style looks intentional and “editorial” because it adds texture without clutter. It also works for both men and women showers since you can keep it neutral (champagne + cream) and add minimal wording.
Good to knowUse painter’s tape to mark ribbon spacing before attaching clips so it stays straight in wide shots.
9. Gift Table “Bridal Accessories” Tray Styling with Shoe-Box Lids
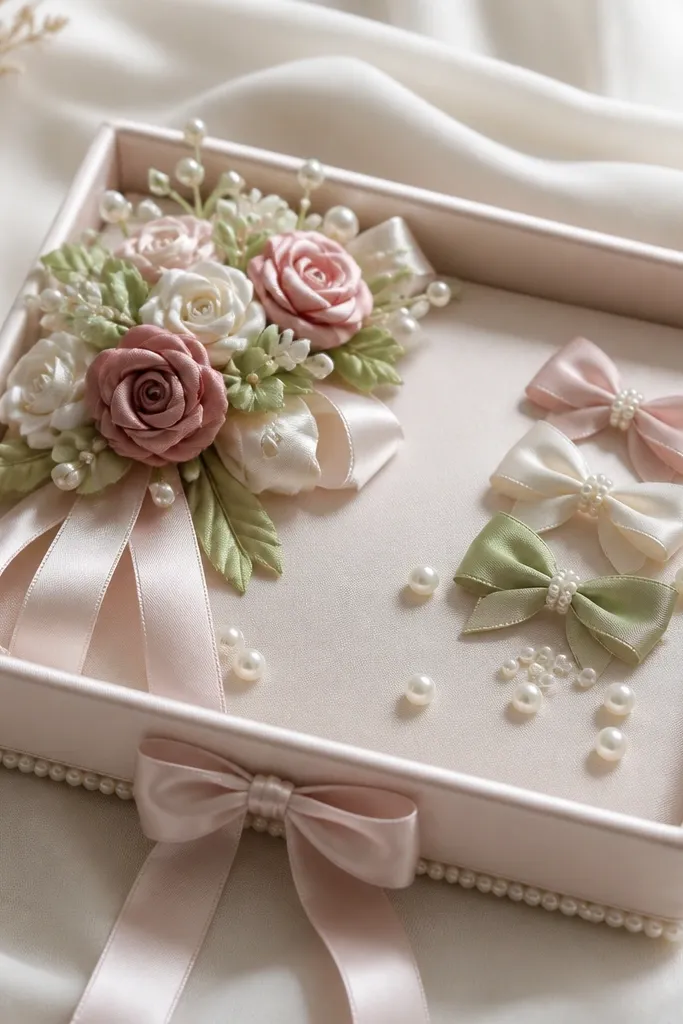
Cover a shoe-box lid (or shallow tray) with satin, then top it with ribbon flowers and faux pearls arranged in a gentle triangle. This turns everyday packaging into decor and helps you keep the gift table looking styled instead of random. It’s especially aesthetic if you’re using Wedloria accessories and shoes as your color anchors.
Good to knowAdd a thin fabric “lip” under the tray edge so it looks like a designed centerpiece, not a craft project.