1. Crepe Paper Cloud Photo Backdrop
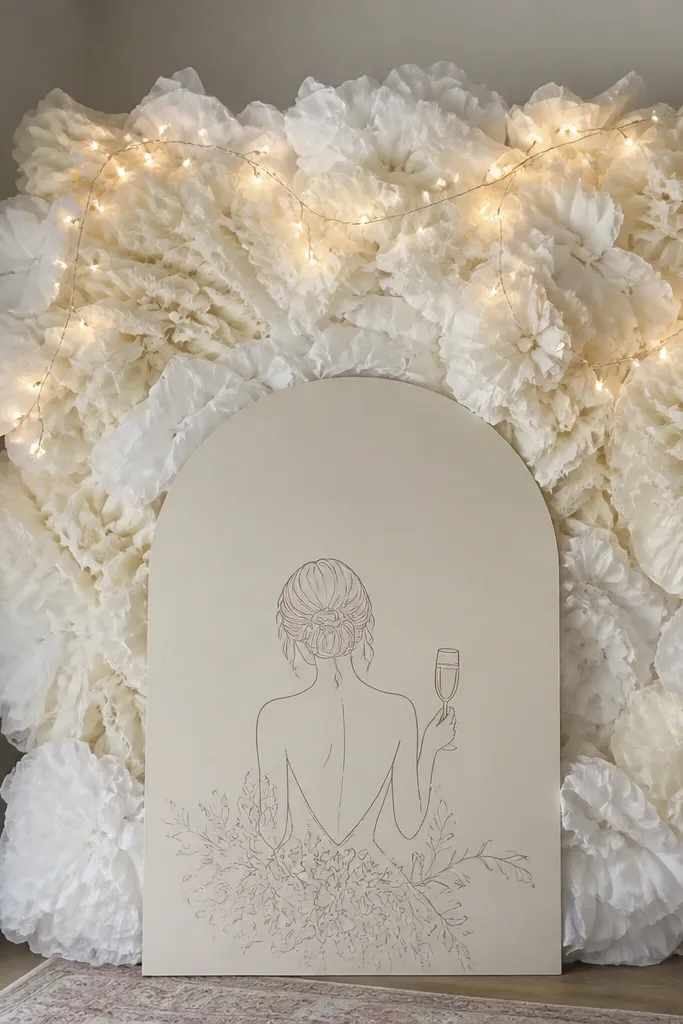
Layer white and soft-ivory crepe paper strips to form cloud-like tufts. Tie them to a tension rod or a simple wall-mounted line using twine so you can adjust height for different photo angles. The fluffy texture reads “bridal” on camera even in small spaces.
Good to knowChoose 2-3 shades max (white + ivory + blush) to keep it cohesive, and fluff each strip before hanging so it doesn’t look flat.
2. Thrifted Frame “Bride-to-Be” Welcome Sign
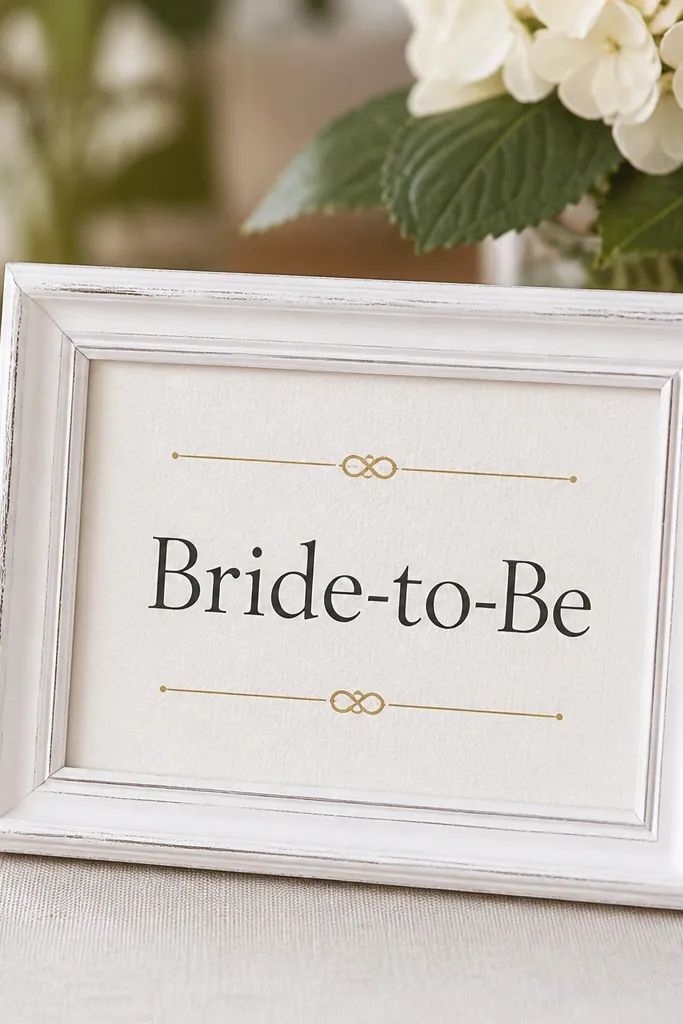
Use a thrifted frame (wood or metal) and paint it with matte white or chalk paint. Add a textured background cardstock, then print “Bride-to-Be” in a clean script font and secure it with glue dots or Mod Podge. This makes your entrance point look intentional without expensive décor.
If the frame glass is missing, cover the print with a clear sheet protector for a crisp look and easy cleanup.
3. Ribbon-Wrapped Mason Jars for Candle Vibes
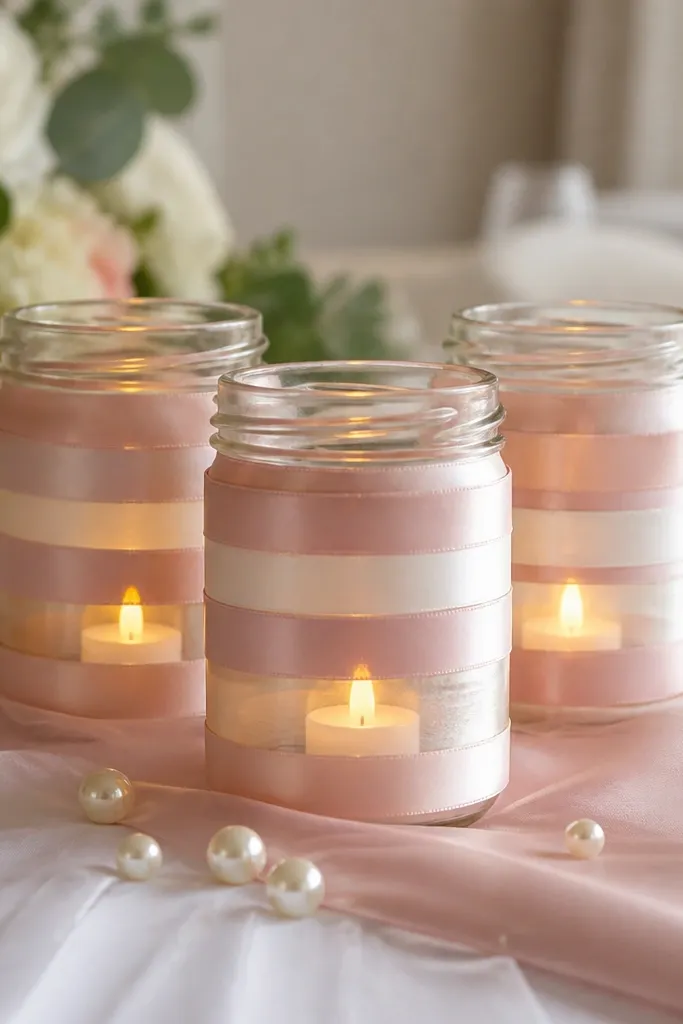
Wrap clean mason jars with satin ribbon and finish with a tight bow. Add faux pearls around the jar neck or a few on the base for shine. LED candles keep it safe for home parties and still give that cozy, romantic glow.
Use hot glue for ribbon ends, then test-fit the LED candle first so the ribbon doesn’t interfere with placement.
4. Balloon Garland Without the Balloon Kit
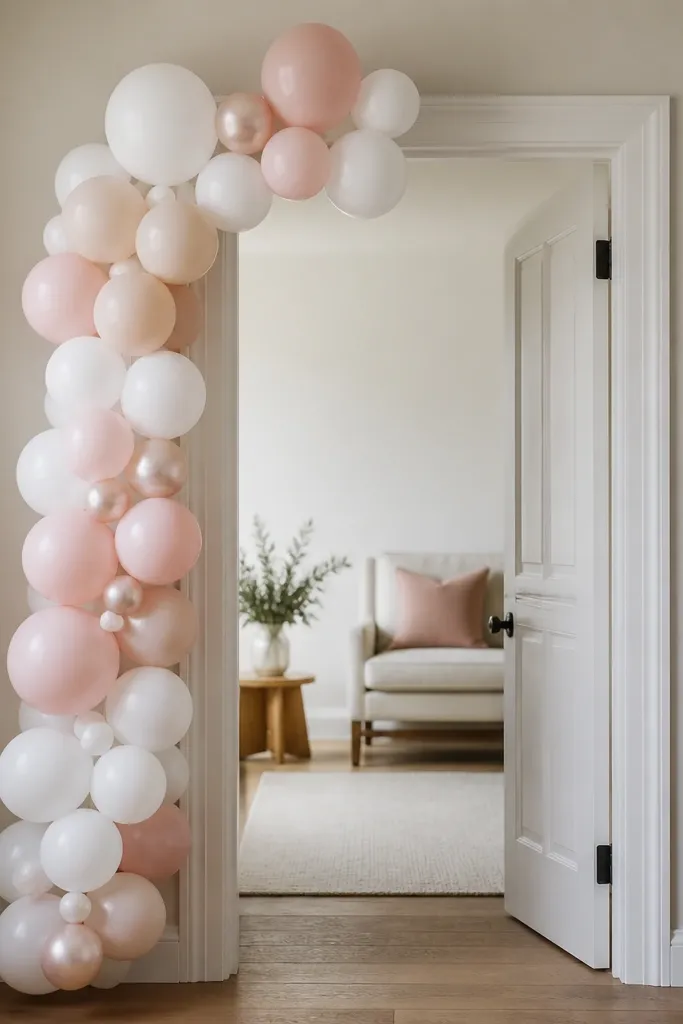
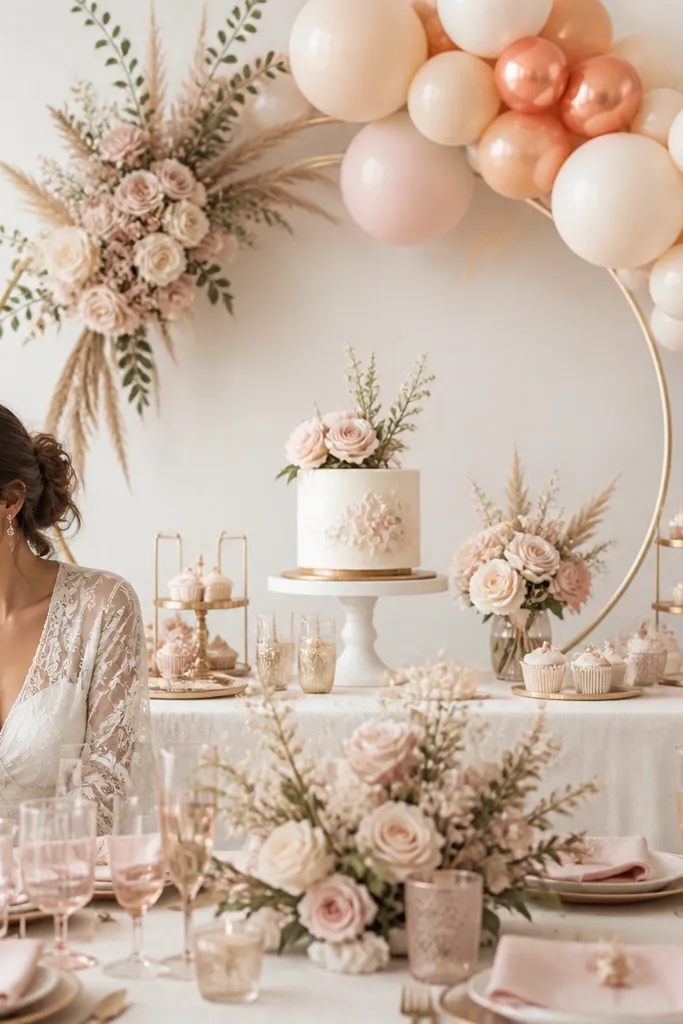
Skip the pricey kit by using pre-tied balloon clusters or tying latex balloons with fishing line. Start with larger balloons at eye level, then taper smaller ones toward the top. Add a few pearl-tone balloons to make it look styled, not random.
Use a color gradient (white to blush to soft peach) to avoid a “confetti” look and keep photos flattering.
5. Faux Pearl and Twine Chair Sashes
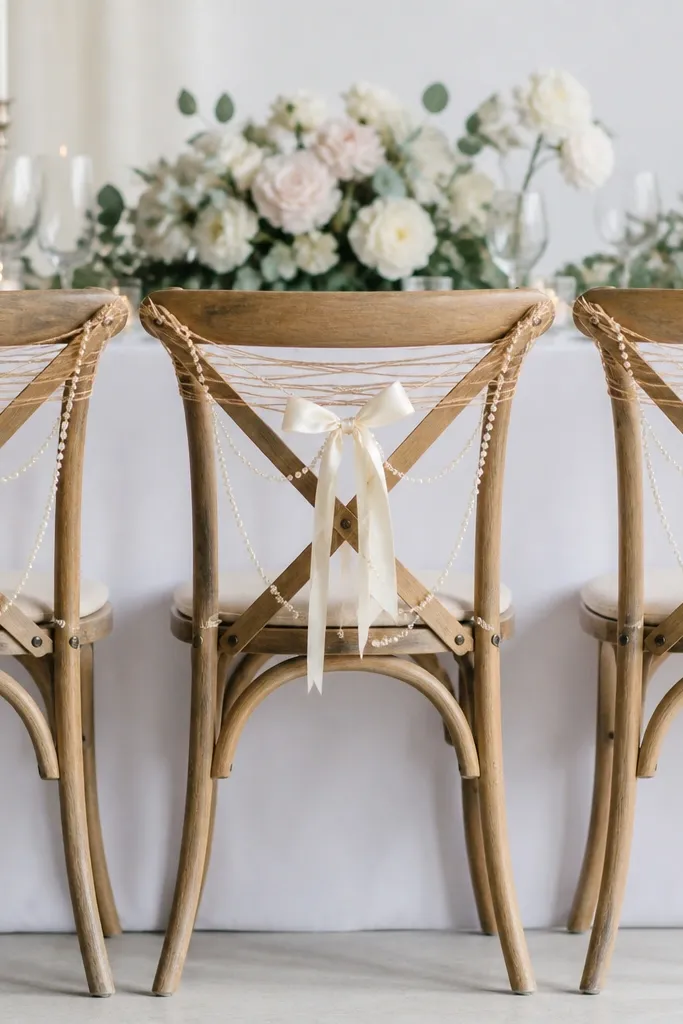
Create chair sashes using a length of cream ribbon tied in a neat bow, then drape a short faux pearl garland across the top. Twine helps the garland sit flat without slipping. It’s lightweight, budget-friendly, and easy to remove for reuse later.
Good to knowCut ribbon tails longer than you think (12-16 inches) so they look elegant in photos from the side.
6. Handmade Paper Flower Centerpiece Line
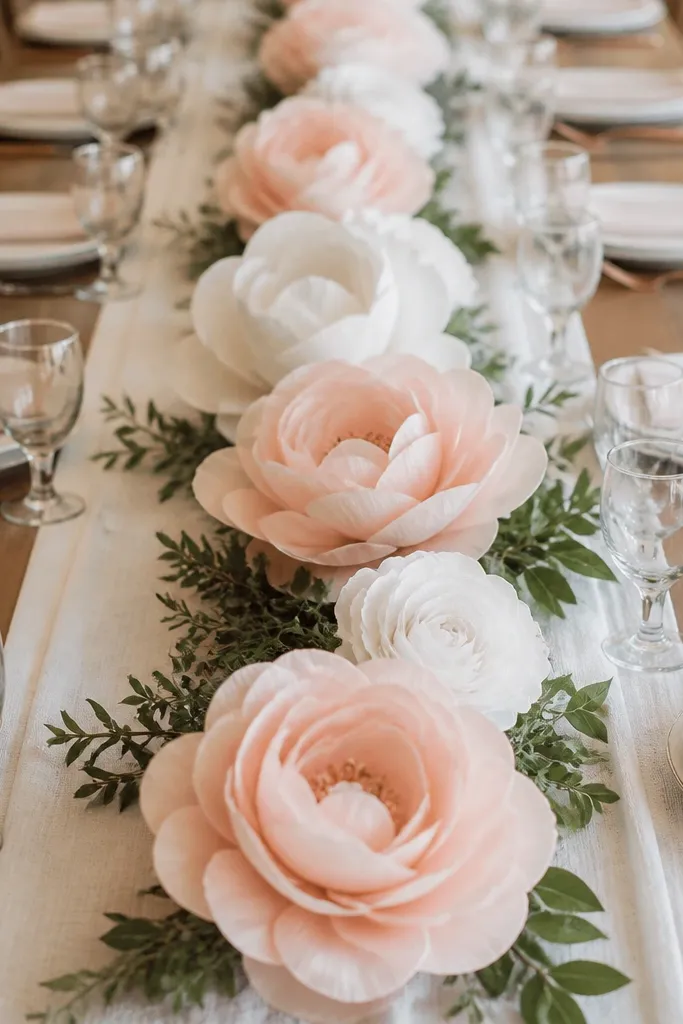
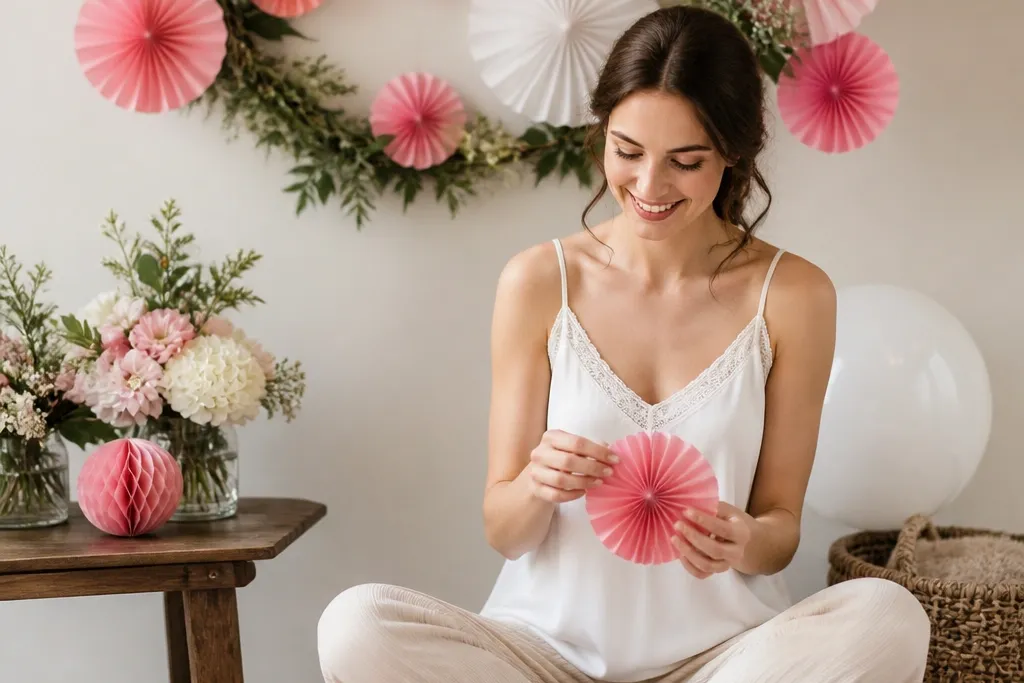
Make simple layered paper flowers (white + blush) and arrange them in a line down the center of the table. Add tiny greenery sprigs or even eucalyptus-feel paper leaves to break up the solid colors. This creates a “runway table” effect without needing fresh flowers.
Good to knowMist the paper flowers lightly with a floral spray (or light hair spray from a distance) to reduce curl and improve shape durability.
7. LED Fairy Light “Curtain” Behind the Table
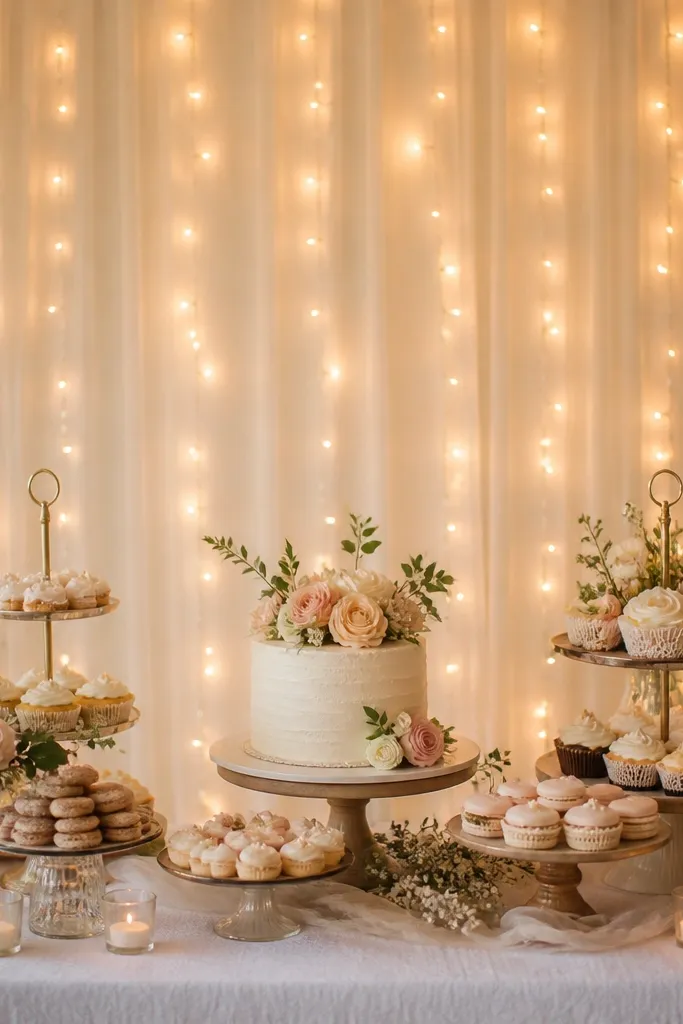
Hang warm white LED fairy lights on two points (command hooks or a light stand) so they fall in gentle vertical strands. Place the brightest part behind the sign or focal tray to make it glow. This instantly upgrades a plain room into a bridal photo set.
Use warm white bulbs, not cool, and hide the battery pack under the table runner with a small zip tie.
8. Bridal Table Runner Upgrade with Fabric + Scissors
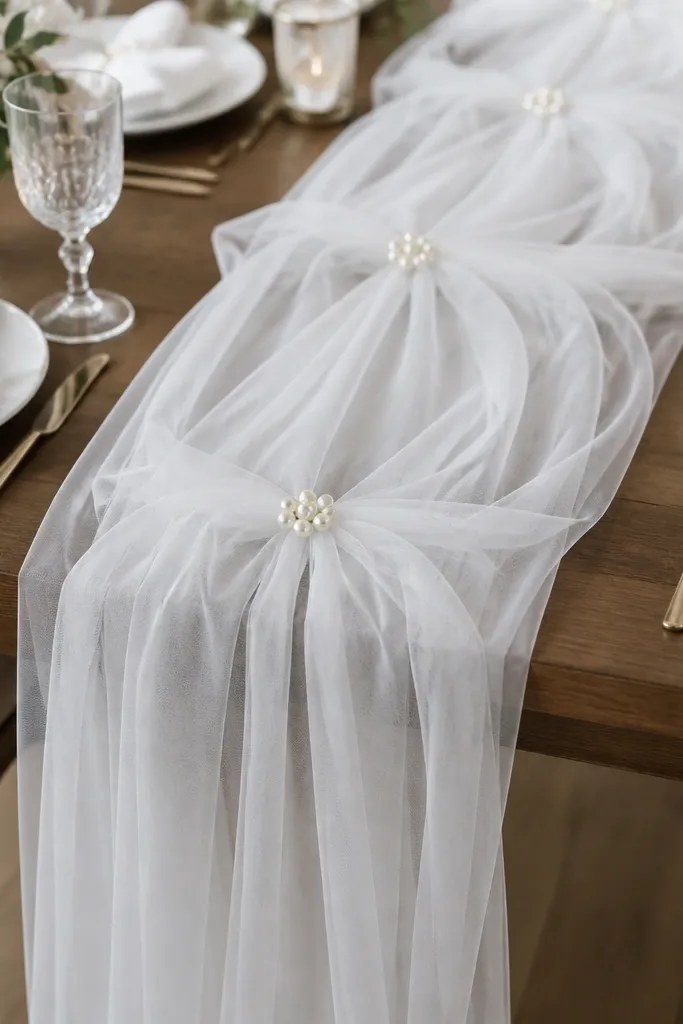
Buy or repurpose a wide tulle or chiffon bolt and let it drape down the table length. Secure with double-sided tape on the underside edges so it doesn’t slide. Add a few pearl clusters spaced evenly for a “designer” rhythm.
Good to knowHem-free looks work best: let the edges be soft for a romantic, budget bridal vibe.
9. Mini Thrifted Shoe Display for Bride-to-Be Details
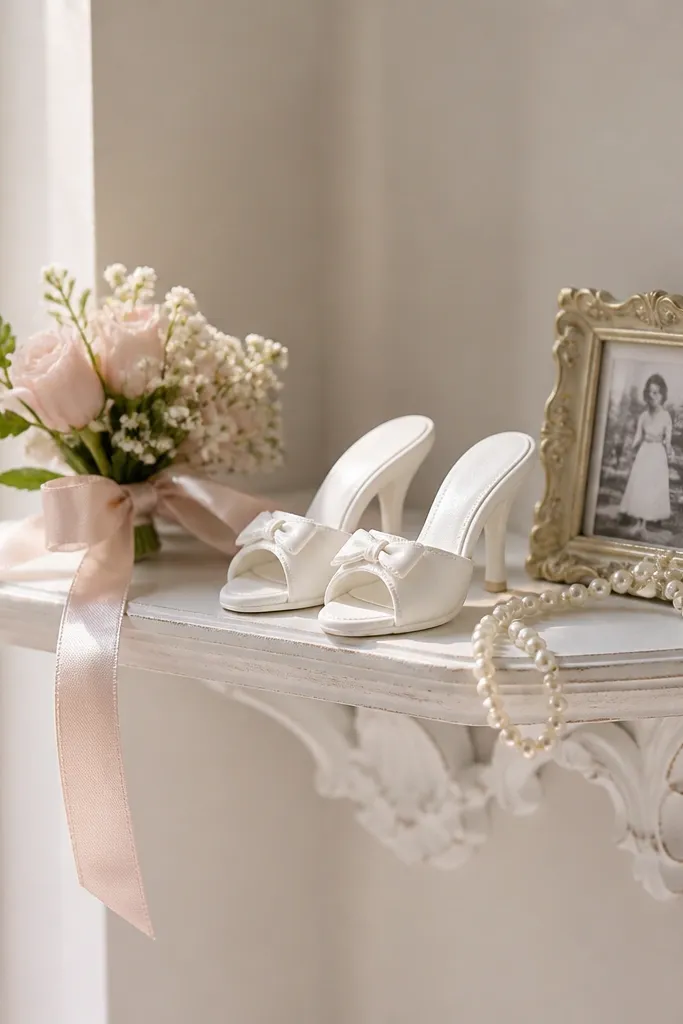
If you have a pair of decorative heels or find a single thrifted shoe, style it as a mini display piece. Paint with white or metallic gold (light coats), then add a ribbon bow and a few faux pearls. This is a cute niche accessory moment that ties into “Bride-to-be” styling.
Use acrylic craft paint + a clear matte seal so the shoe won’t scuff during handling.
10. Printable Escort-Style Place Cards with Ribbon Loop
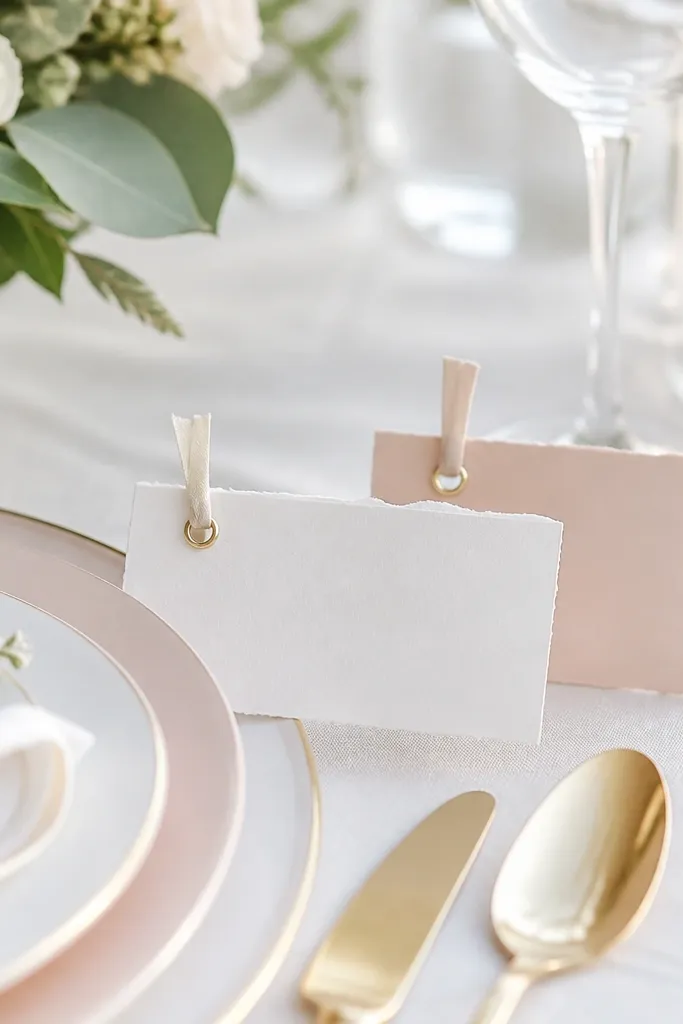
Print place cards on thick cardstock and cut small tabs for a clean, boutique look. Add a tiny ribbon loop (about 2 inches) so the card can be clipped to utensils or tied to napkins. It feels thoughtful and looks expensive in close-ups.
Choose one font style and one accent color (blush or soft gold) to keep it looking cohesive with the rest of your décor.