1. Rustic Mason Jars to Elevated Glass Bud Vases
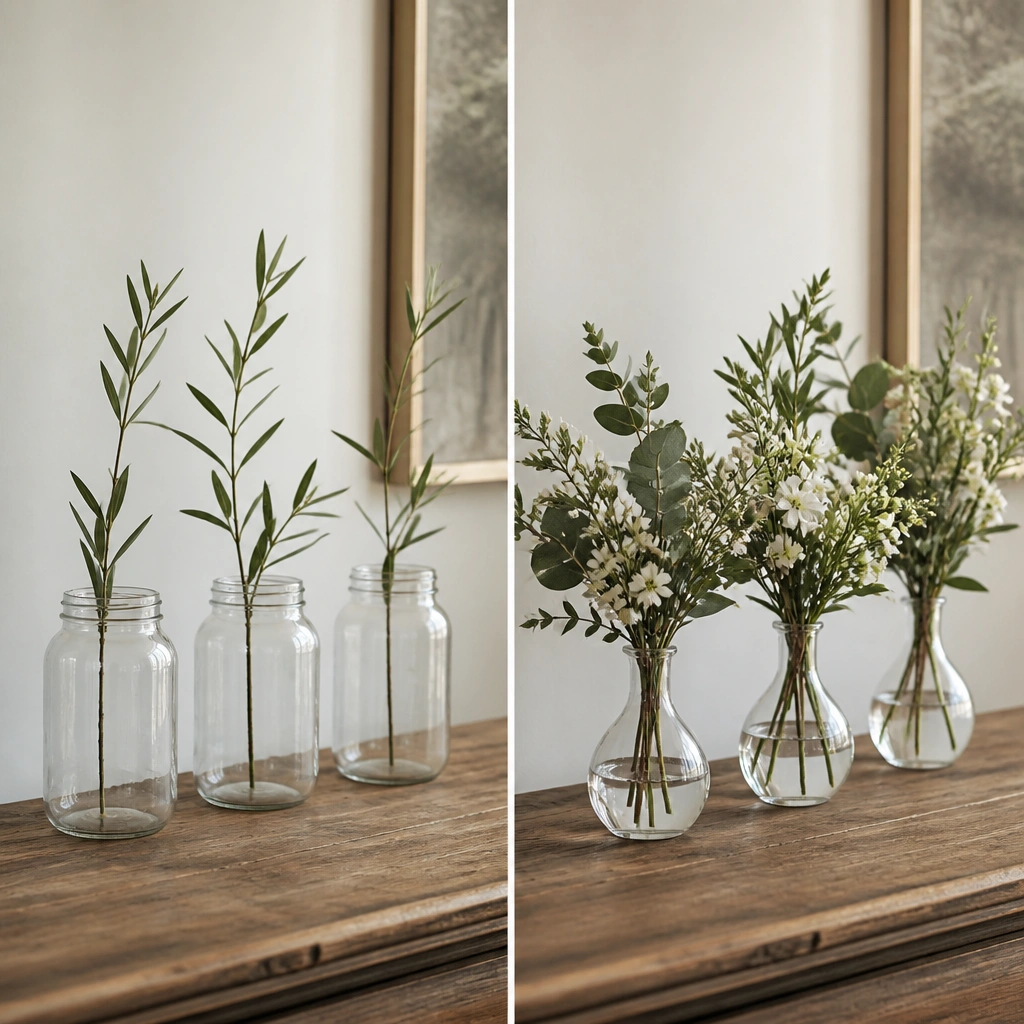
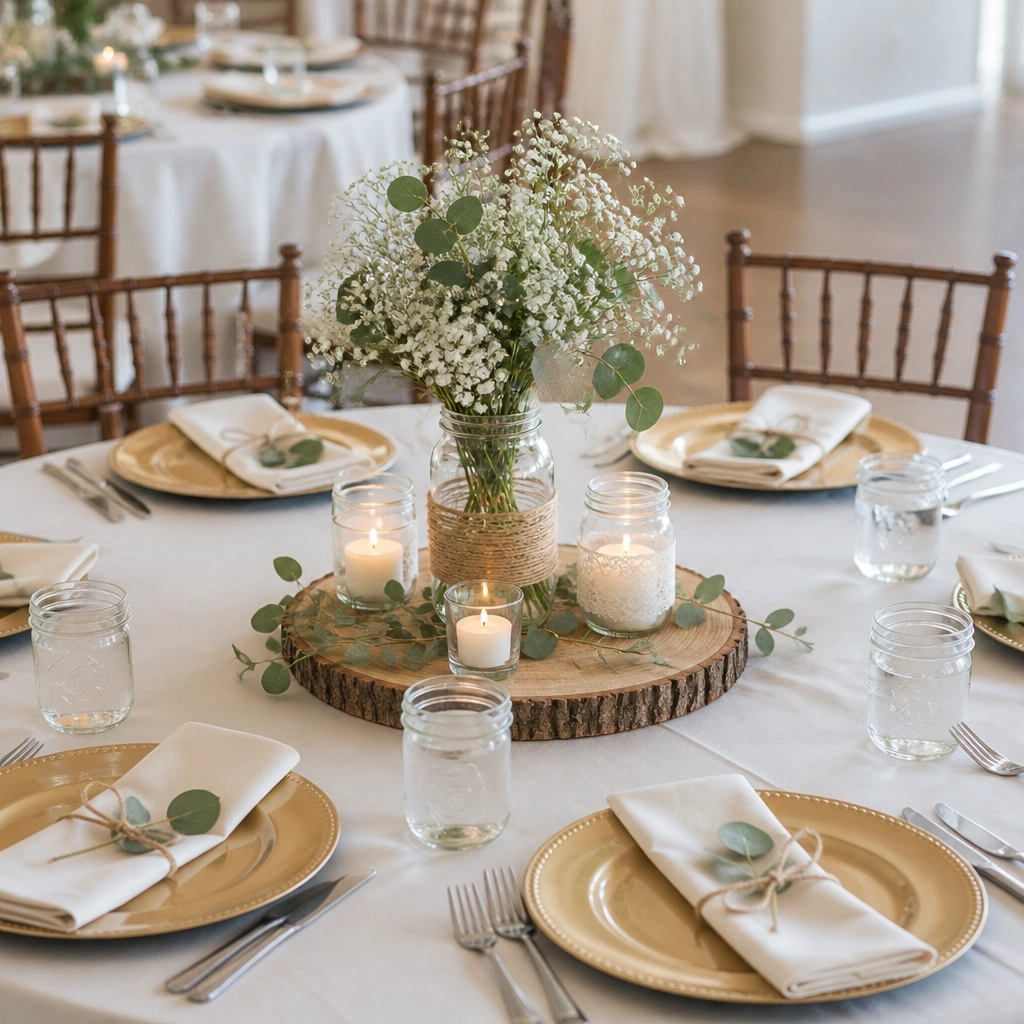
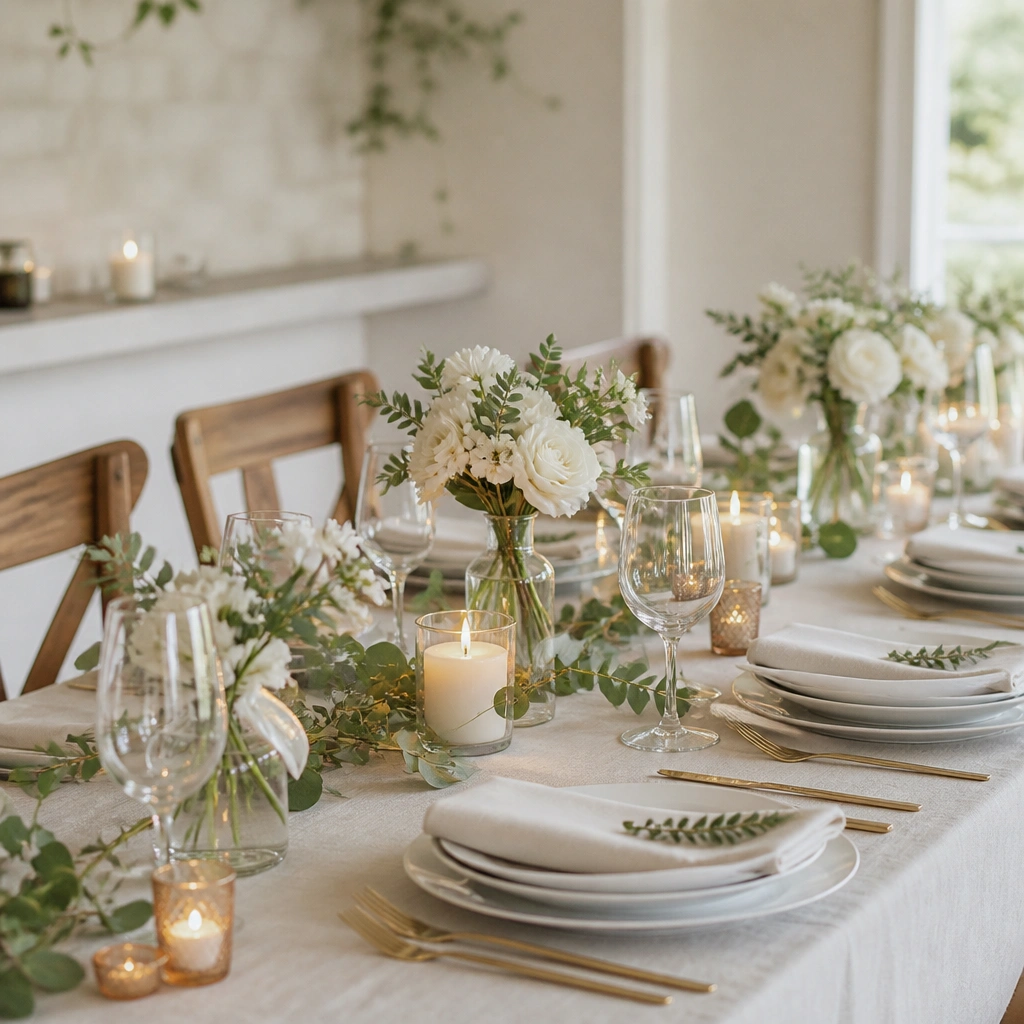
The “after” version switches from thick, opaque mason jars to clear bud vases so the stems look intentional and airy. It also adds fuller greenery (not just a few sprigs) which fills gaps between vases and makes the whole table read as one design.
If you can’t buy all new vases, clear glass tumblers work too — group them in clusters of 3 and keep stems the same height.
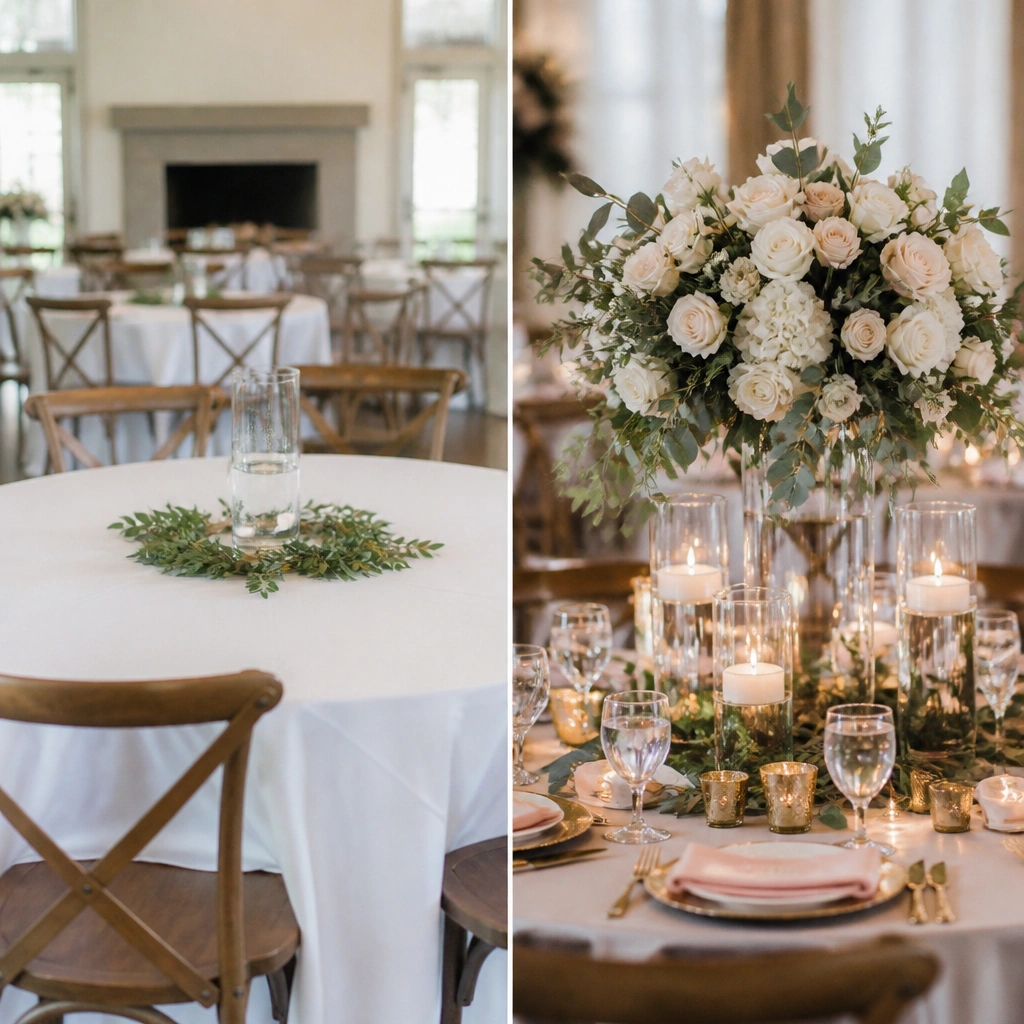
2. Thin Candle Sticks to Layered Candle Terrariums
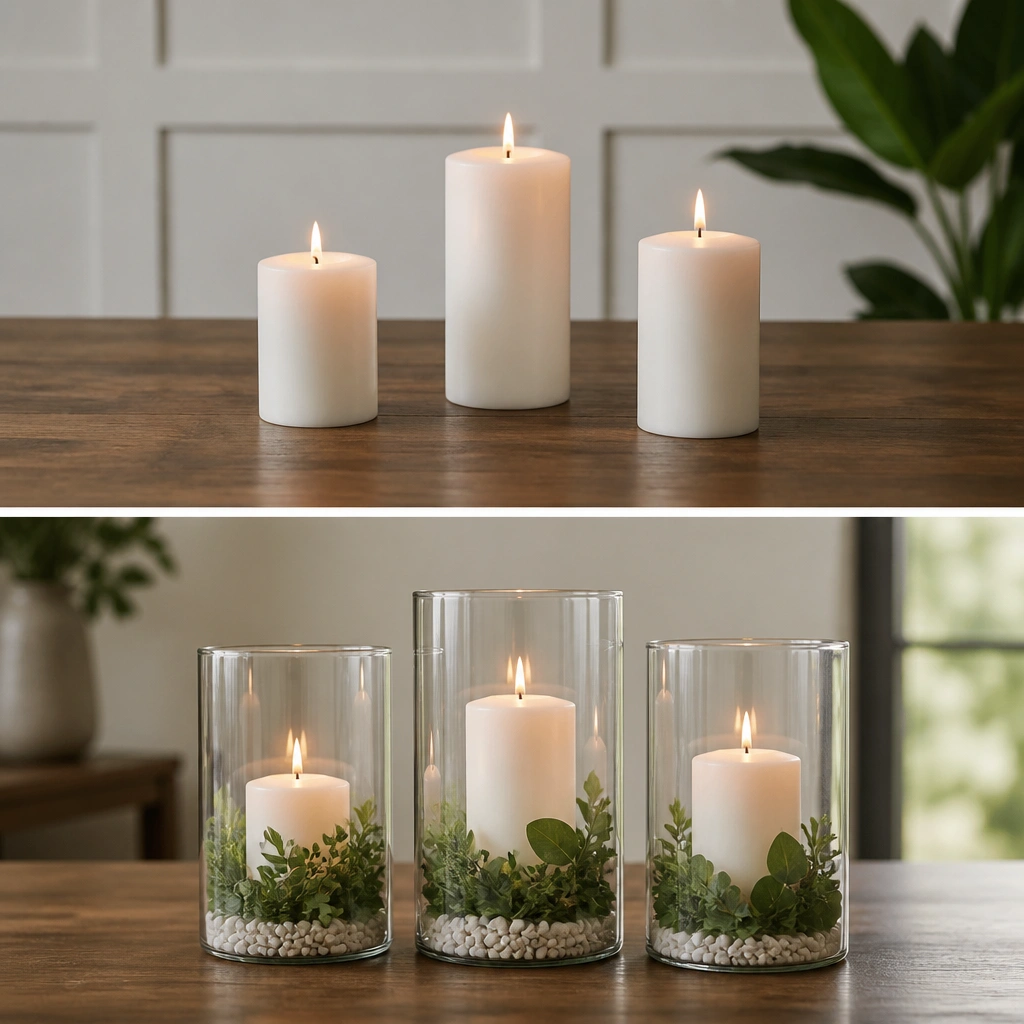
In the before shot, the candles look isolated. The after adds a “contained” look using a clear cylinder, so the light feels framed and the table surface stays styled even when flames flicker.
Use battery candles if you need a low-heat option — then add a gravel base to keep the look lush and complete.
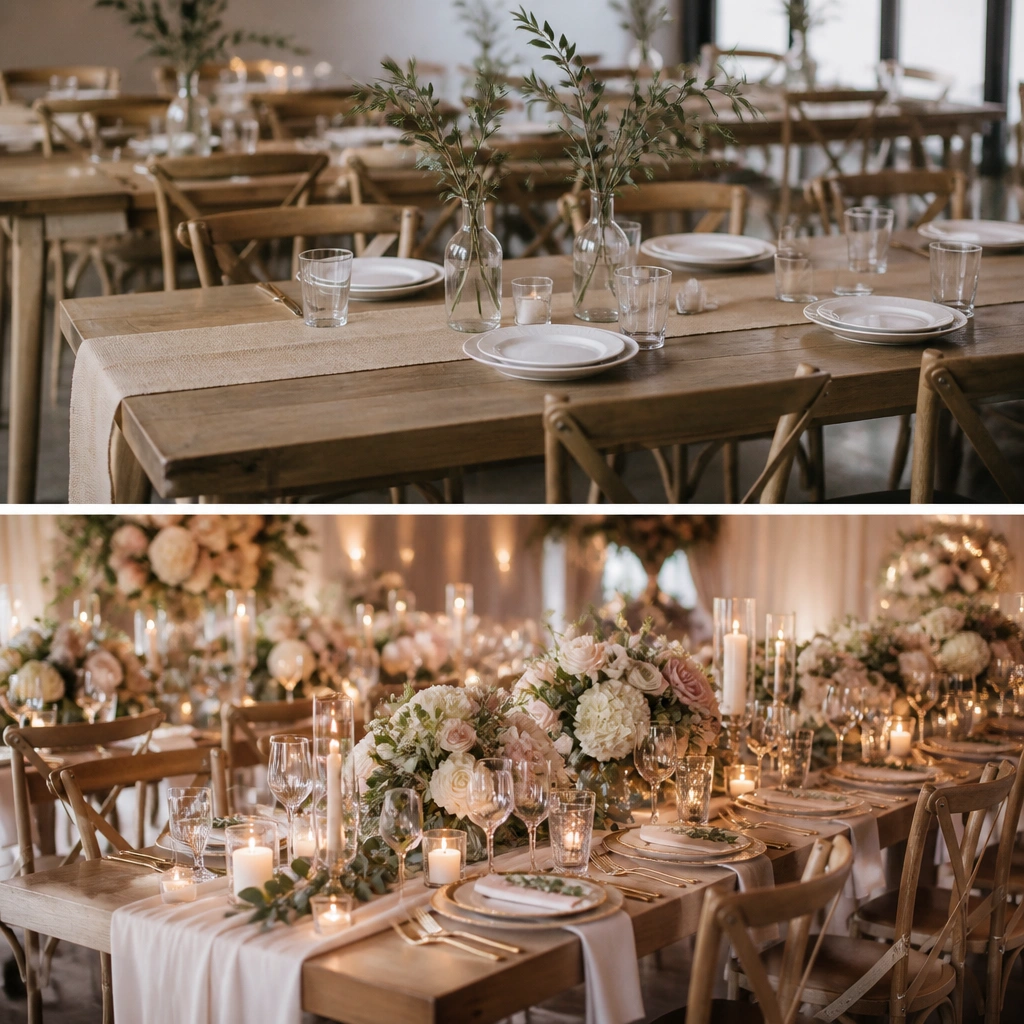
3. Bare Table Runner to Textured Linen + Lace Edge
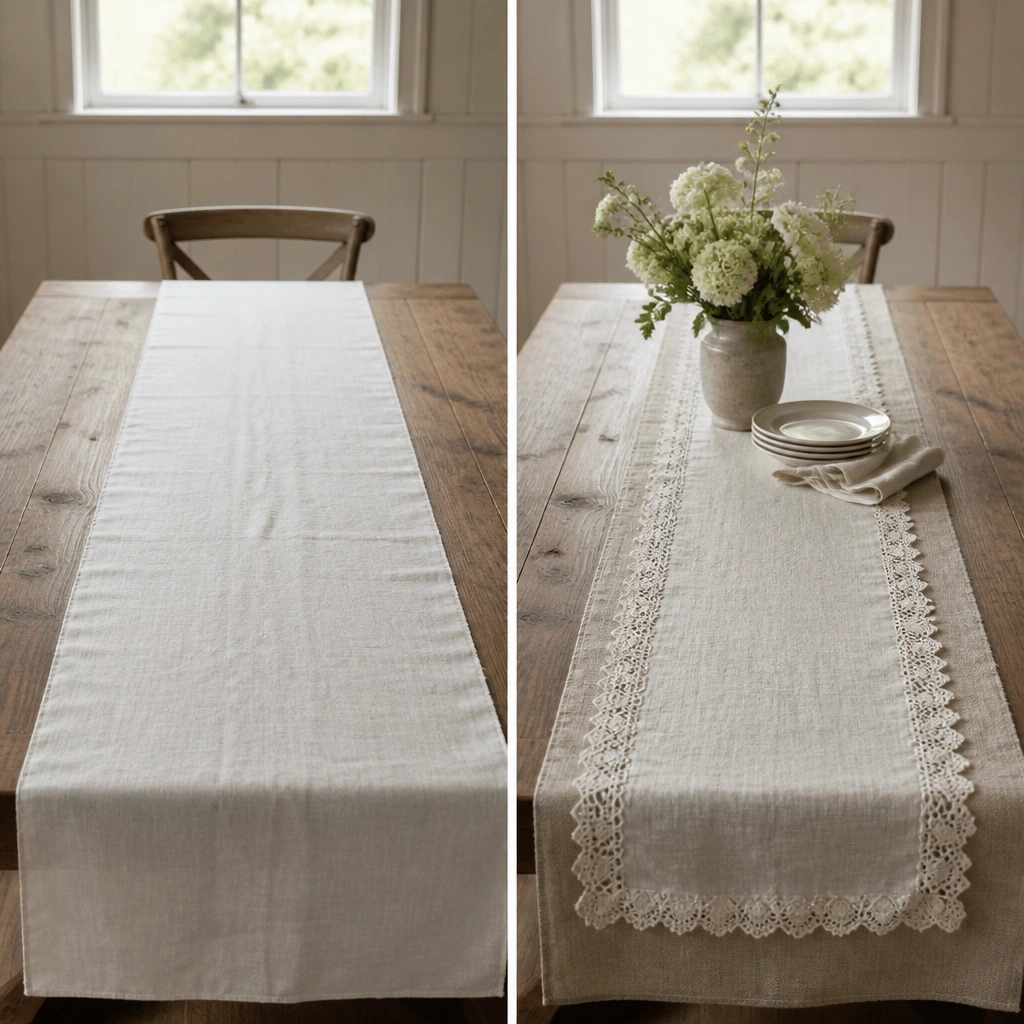
The after works because it adds dimension: linen catches light softly while lace creates a delicate border that photographs well. The two-layer effect also hides small wrinkles and makes the table feel custom.
Good to knowPress the fabric lightly with steam and pin the lace overlay along the runner’s center seam so it doesn’t shift when guests move chairs.
4. Random Napkins to Matching Folded Napkin Bands
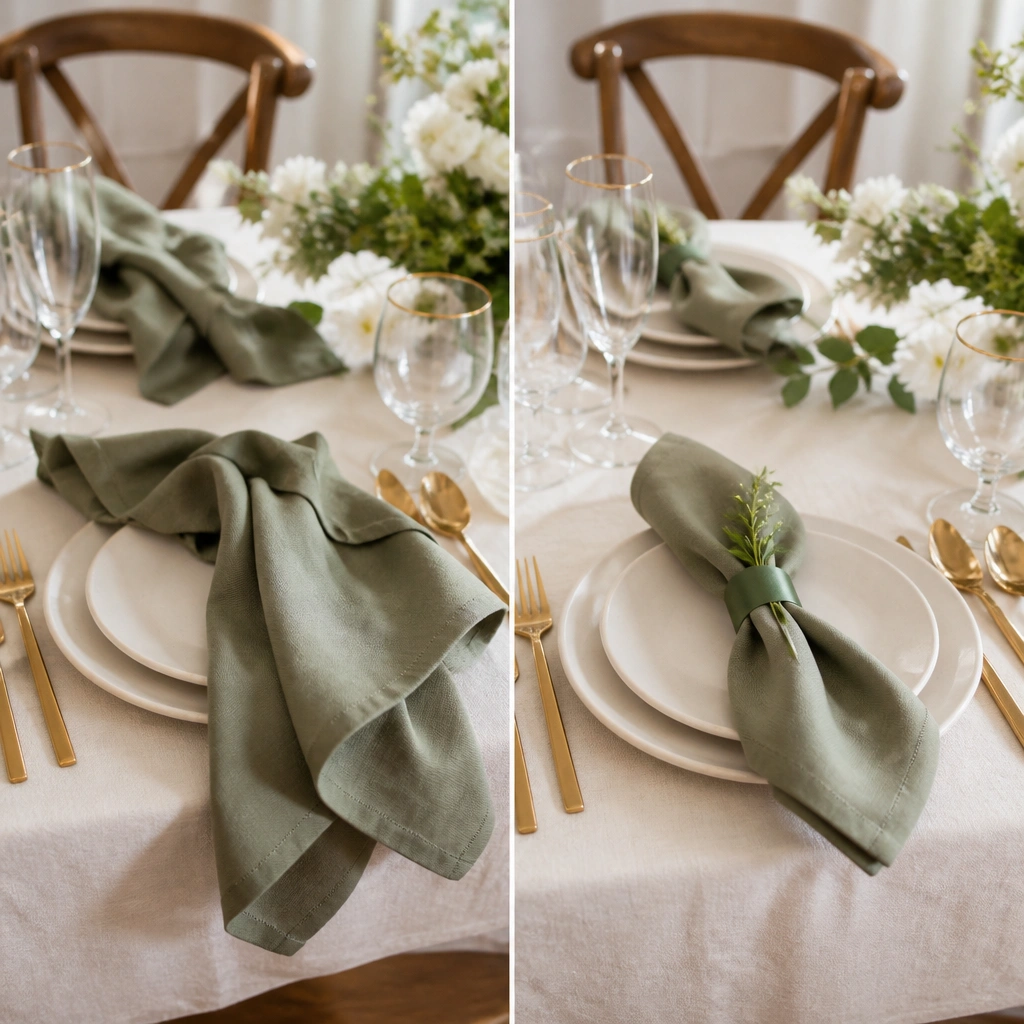
The before looks unfinished because napkins are part of the place setting’s “silhouette.” The after ties everything together with consistent bands and a tiny greenery accent that echoes the centerpieces.
Good to knowKeep the sprig small (about 1-2 inches) so it stays crisp on camera and doesn’t flop onto plates.
5. Single Balloon Cluster to Elevated Balloon + Florals Table Corner
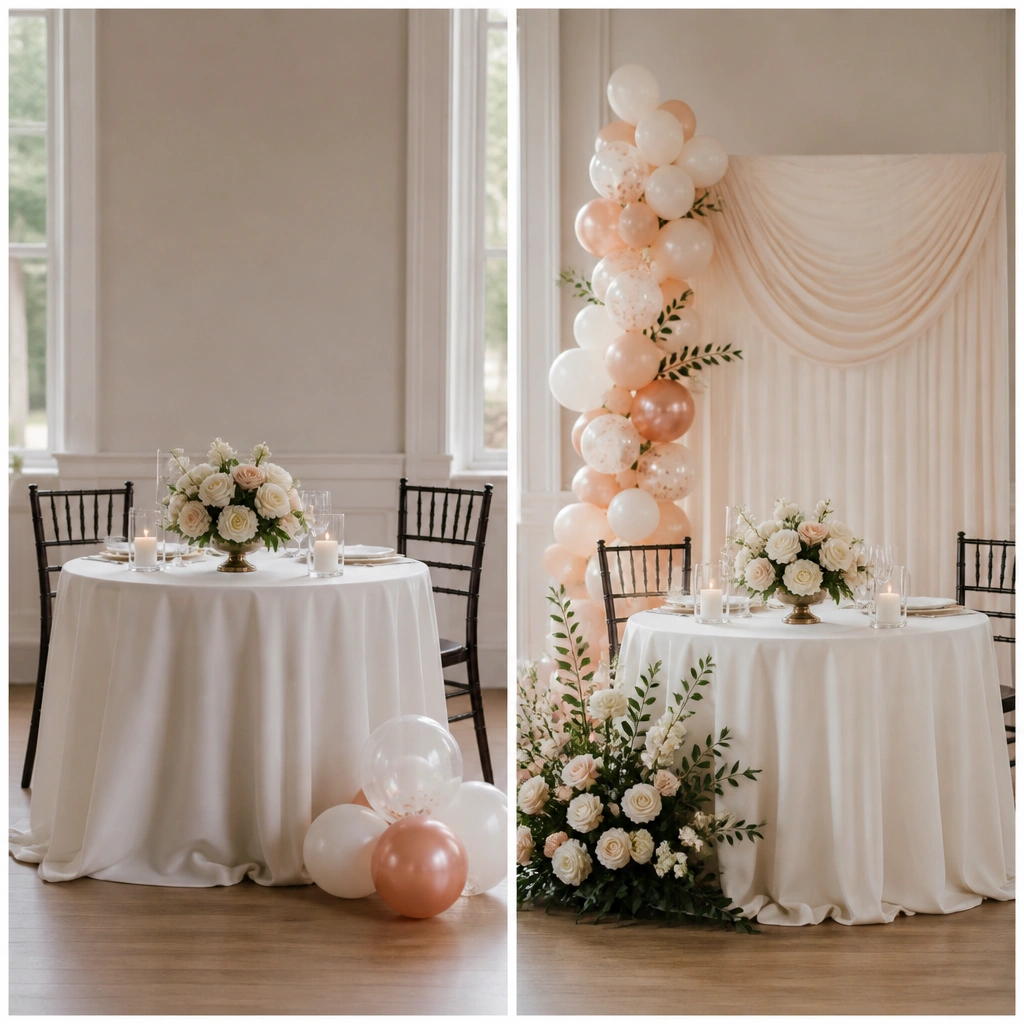
Balloon-only decor can look like an afterthought. The after adds a visual anchor behind the table so the balloons read as intentional staging, and the low florals bring the design back down to table height for better balance.
Good to knowUse 1-2 balloon colors max and repeat the same shade in flowers or napkin bands to avoid a “mixed party” look.
6. Low Flat Center to Cascading Greenery Height Upgrade
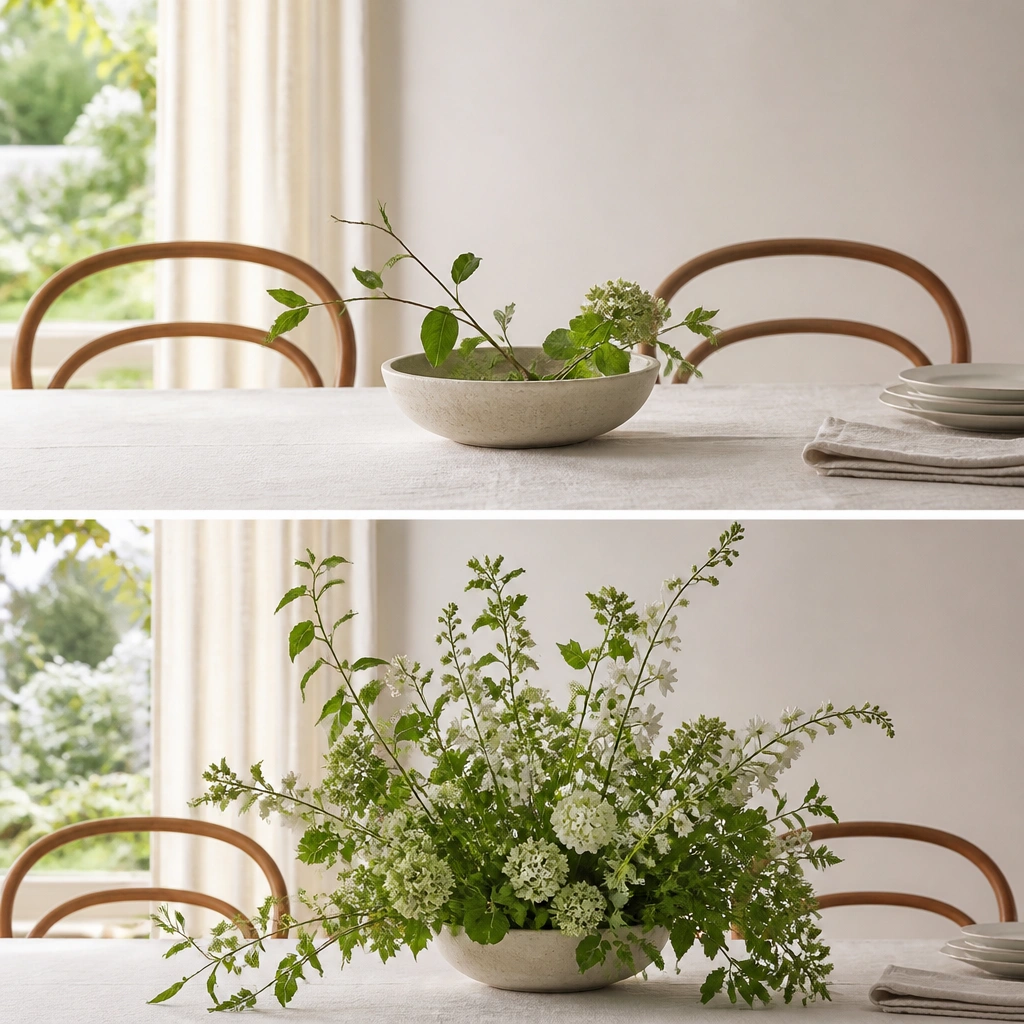
A flat center can make tables feel empty in photos. The after uses vertical movement — taller stems and cascading leaves create layers that fill the visual space without adding more items.
Good to knowWhen arranging, place the tallest stems first, then tuck cascading pieces around the edges so the greenery drapes naturally.
7. No Place Cards to Elegant Place Card + Mini Frame
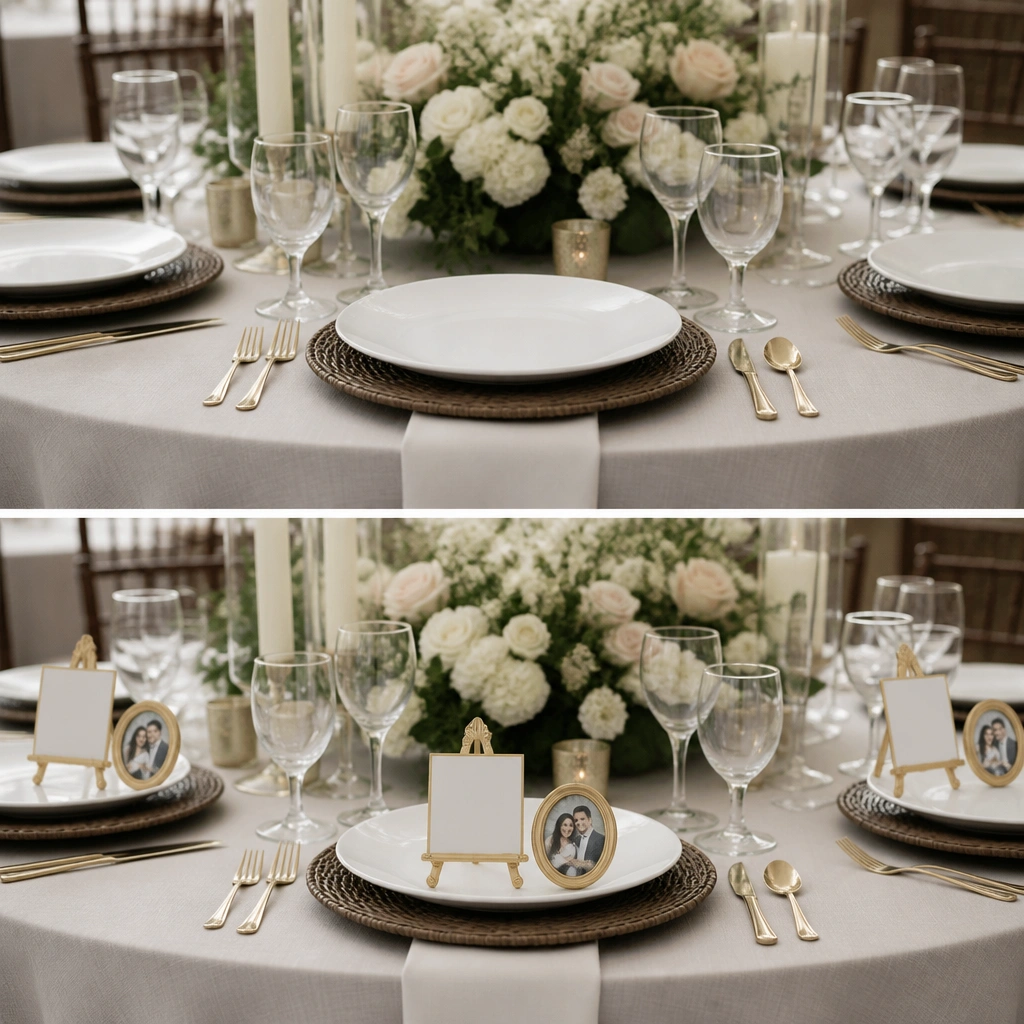
Place cards do more than guide guests — they add structure and polish. The after style uses a consistent holder shape so all cards look uniform, and the tiny frame element adds extra texture near the plate.
Print place cards on thicker cardstock (at least 200 gsm) so they don’t look flimsy when photographed.
8. Cheap Table Confetti to Real Petal Scatter on Runner
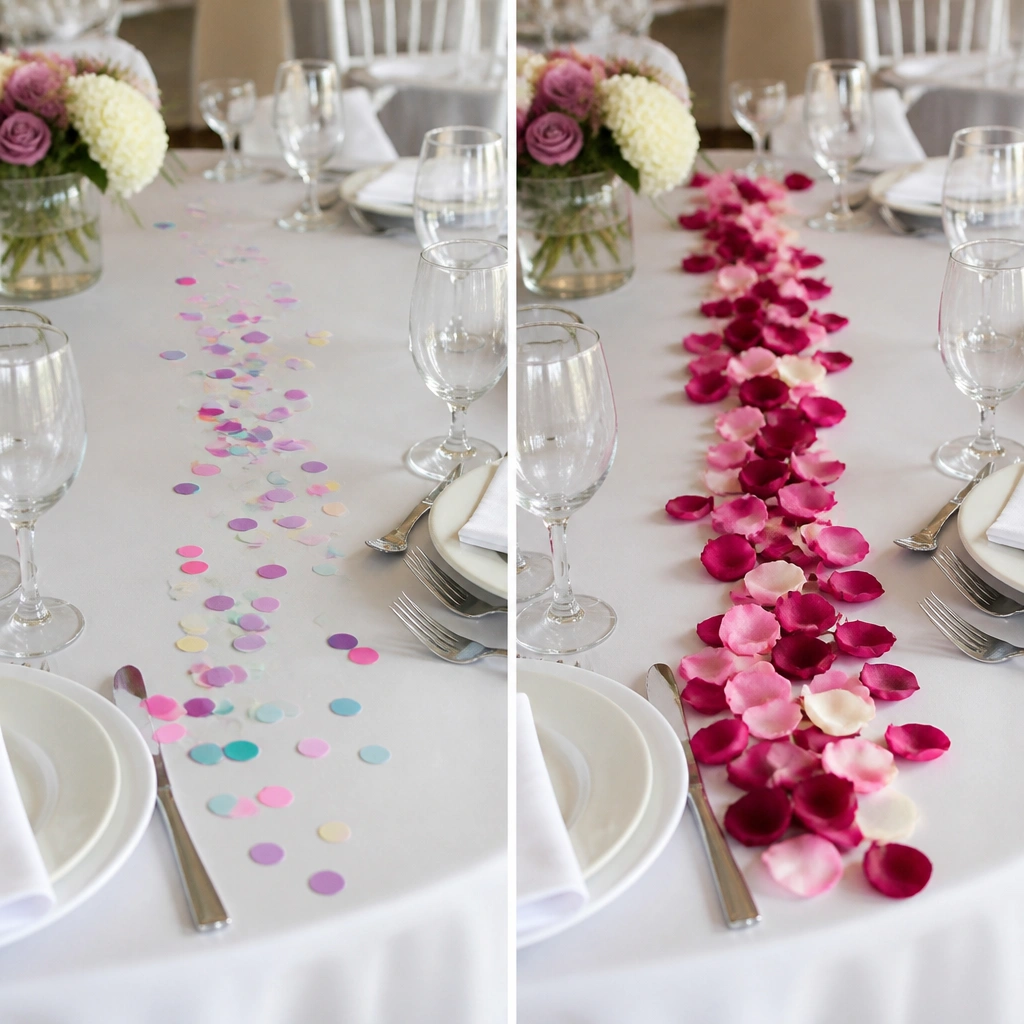
Confetti looks busy and often catches awkward reflections. The after uses petals with a softer, more romantic texture and places them intentionally so the table still looks tidy.
Do a test scatter on a spare cloth first — you want it to look “intentional,” not like it exploded.
9. Mismatch Candles to One-Color Candle Family
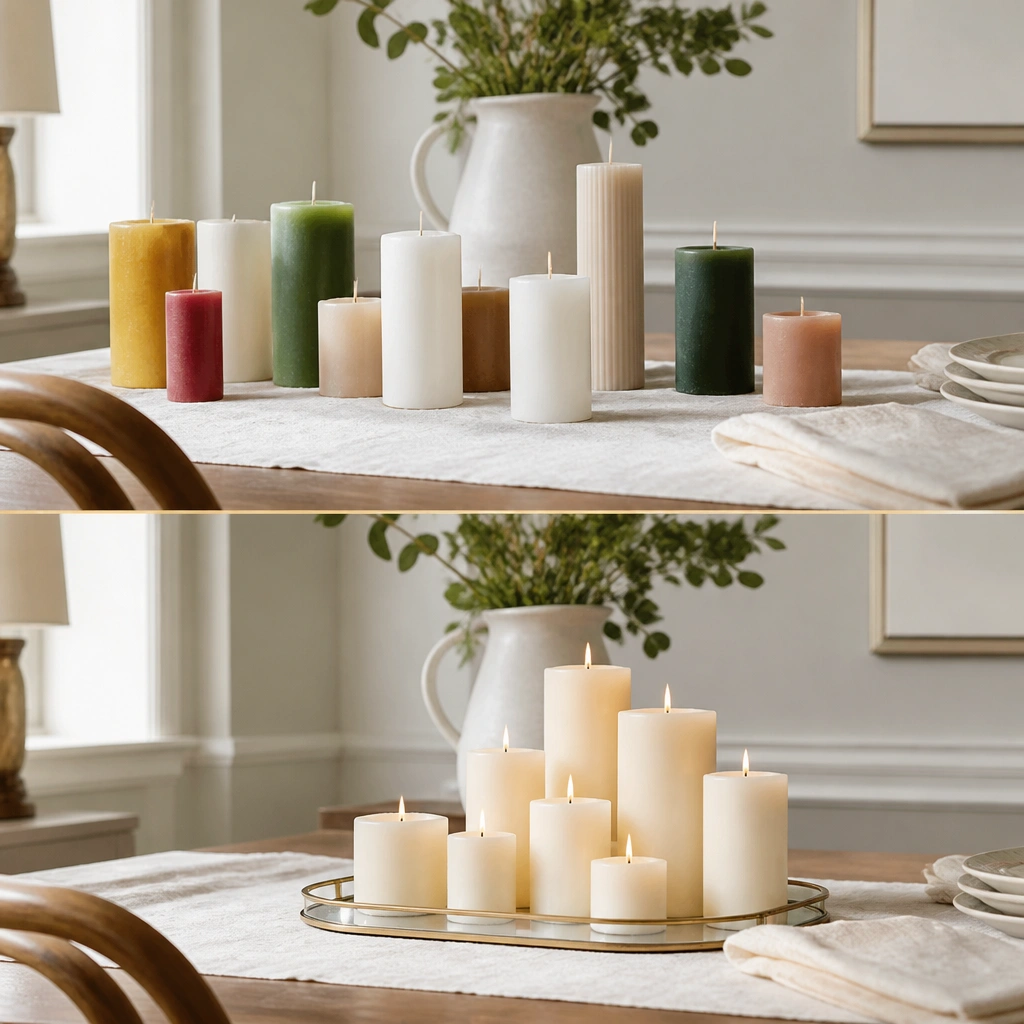
When candle colors clash, the table looks chaotic. The after creates a candle family by matching color and then varying height, so the design reads cohesive while still adding dimension.
Group candles in odd numbers (3 or 5) and keep the tallest one centered for instant symmetry.
10. Plain Vases to Ombre Ribbon-Wrapped Stems
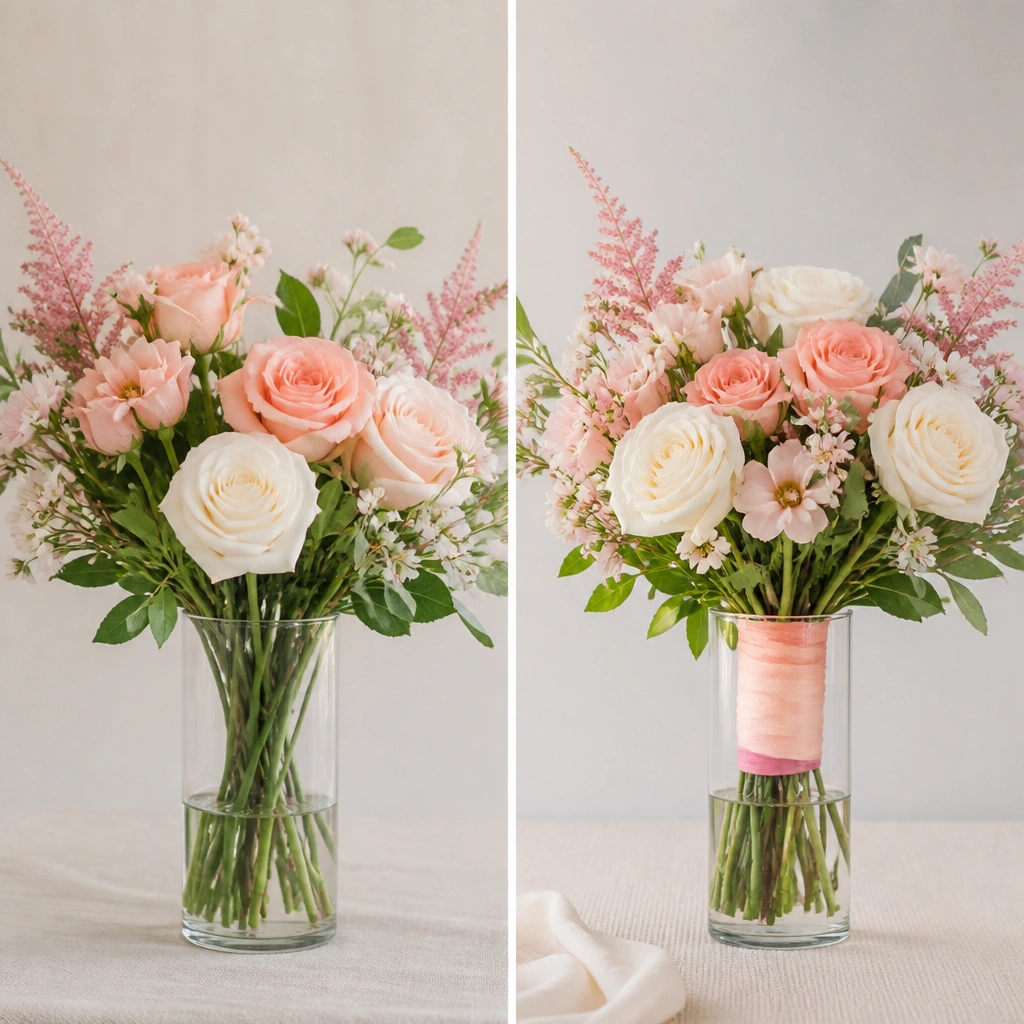
Ribbon adds a “stylist” finish in a way that’s easy to control. The after keeps the ribbon narrow so it doesn’t overwhelm the flowers, and it creates a visual thread that ties the centerpiece to the rest of the table styling.
Good to knowSecure ribbon with double-sided tape inside the vase rim so it stays put without visible knots.
11. Bare Center Bowl to Faux-Floating Candle Effect
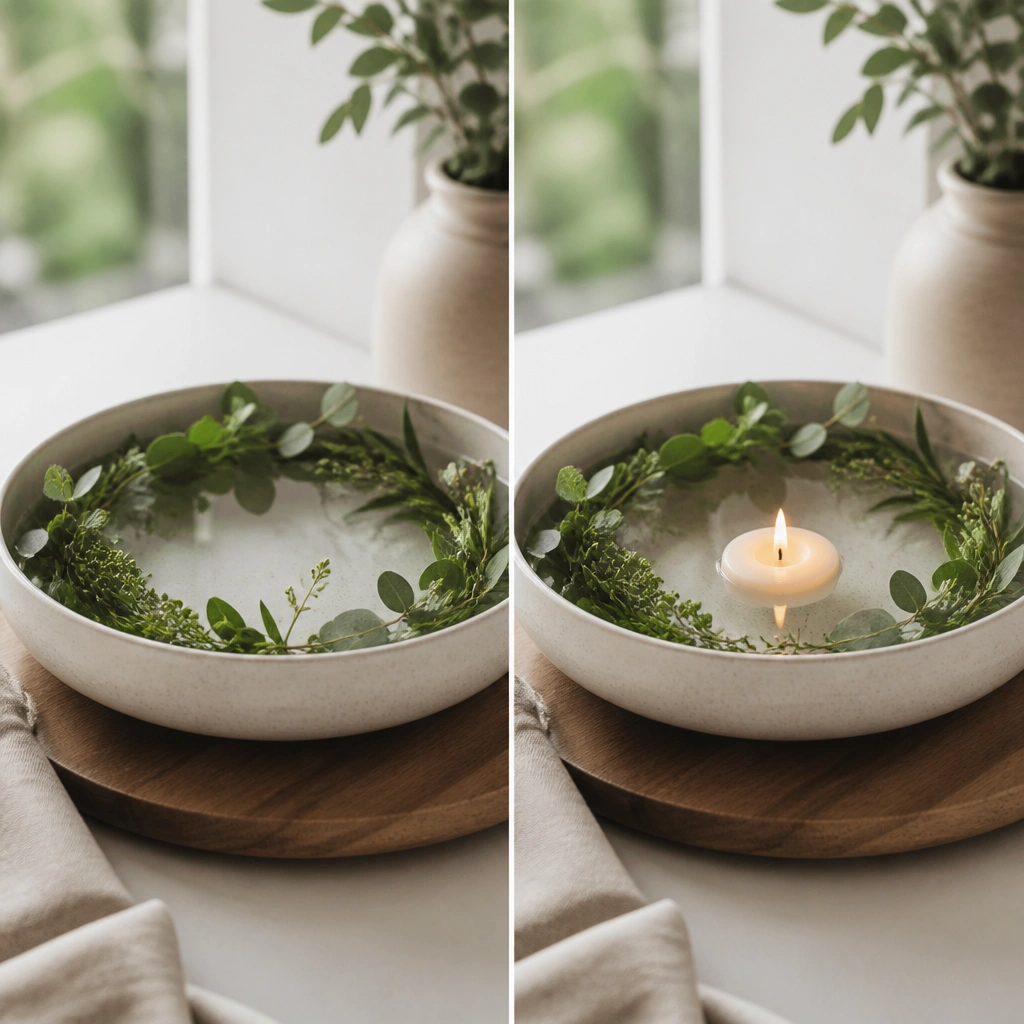
The after looks magical because the light seems to float, and the bowl shape frames the candle like a spotlight. The greenery around the rim prevents the center from looking like a single isolated object.
Use LED floating candles and water-effect gel for a safer setup that still photographs like real flames.
12. Thin Greenery Sprigs to Full Garland Across the Runner
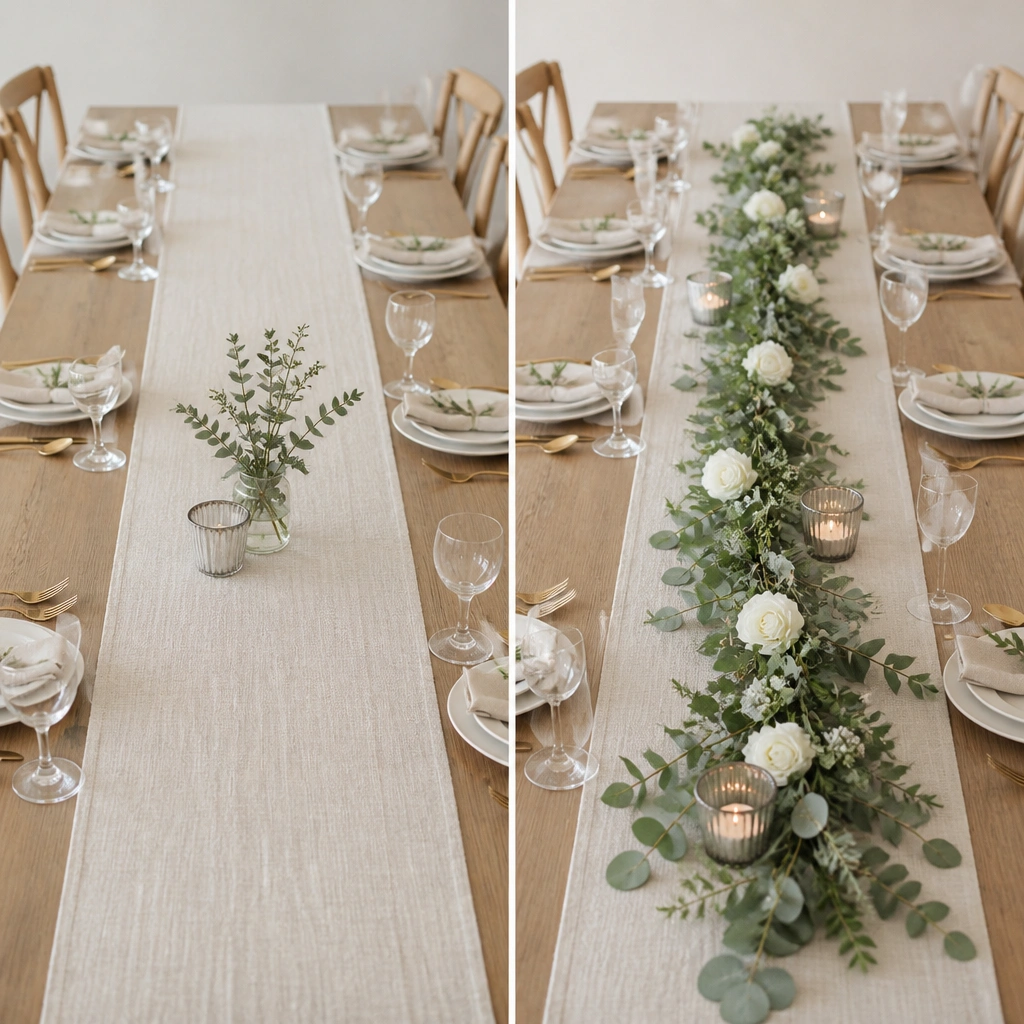
Sparse greenery creates gaps and makes tables look unfinished. The after uses a continuous garland so the table has a clear “line,” and the added candle holders create rhythm across the runner.
Good to knowLay the garland first, then place candles afterward so their spacing follows the design line.