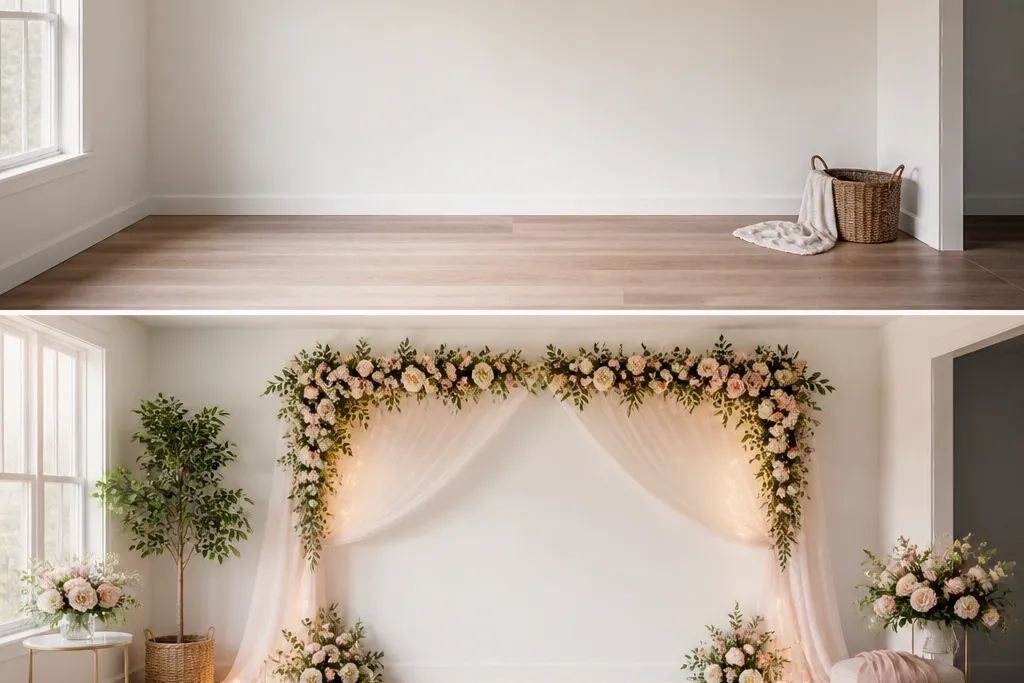
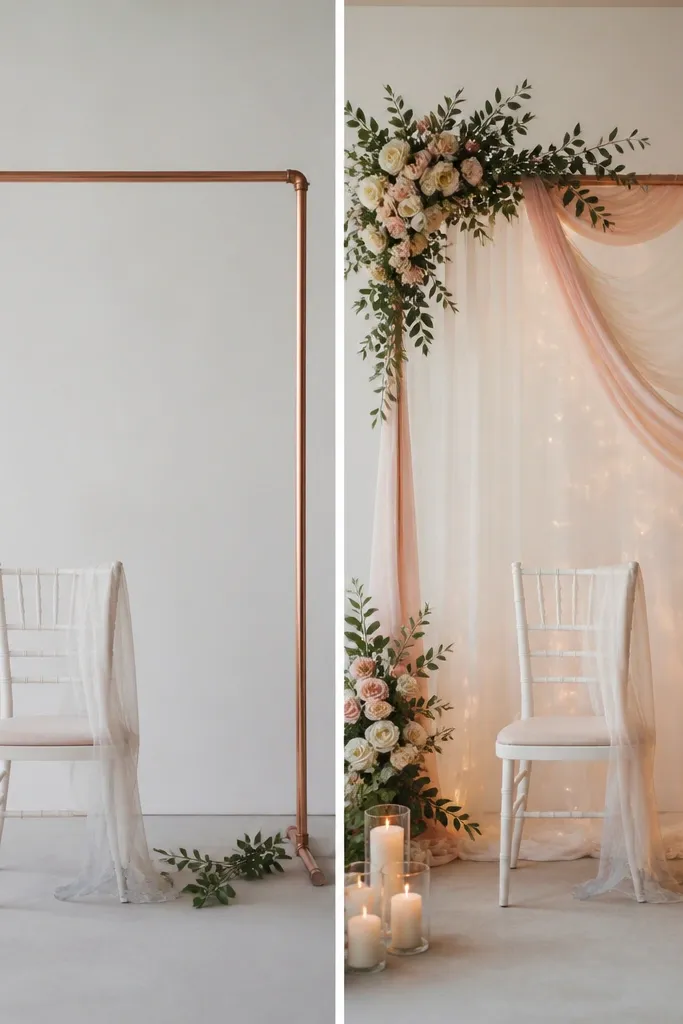
1. Doorway “Bride-to-Be” Bow + Shoe-Accent Welcome
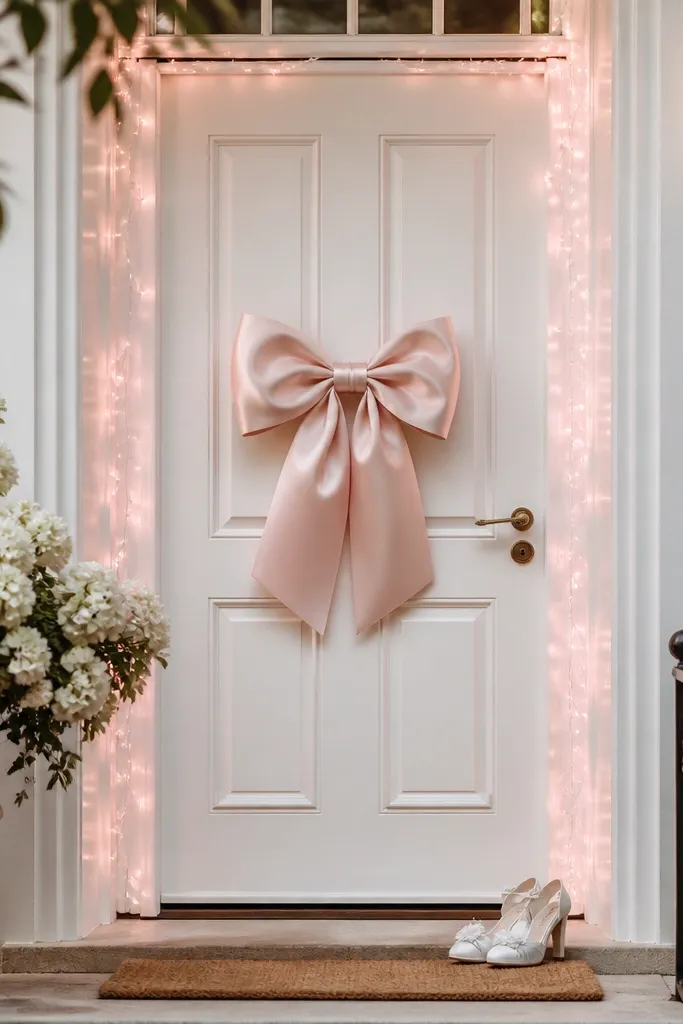
Before: the doorway had only a simple sign and looked flat in photos. After: a blush satin bow adds height, while a small shoe accent (styled like a display prop) brings the theme into the frame without clutter. The fairy lights create a warm glow that flatters skin tones and makes the bow look richer.
Use double-sided adhesive hooks for the bow so you can remove it cleanly. Keep the shoe accent small and angled toward the door so it reads as “welcome,” not a random prop.
2. Photo Corner Backdrop with Tulle Swirl + Pearl-Studded Slides
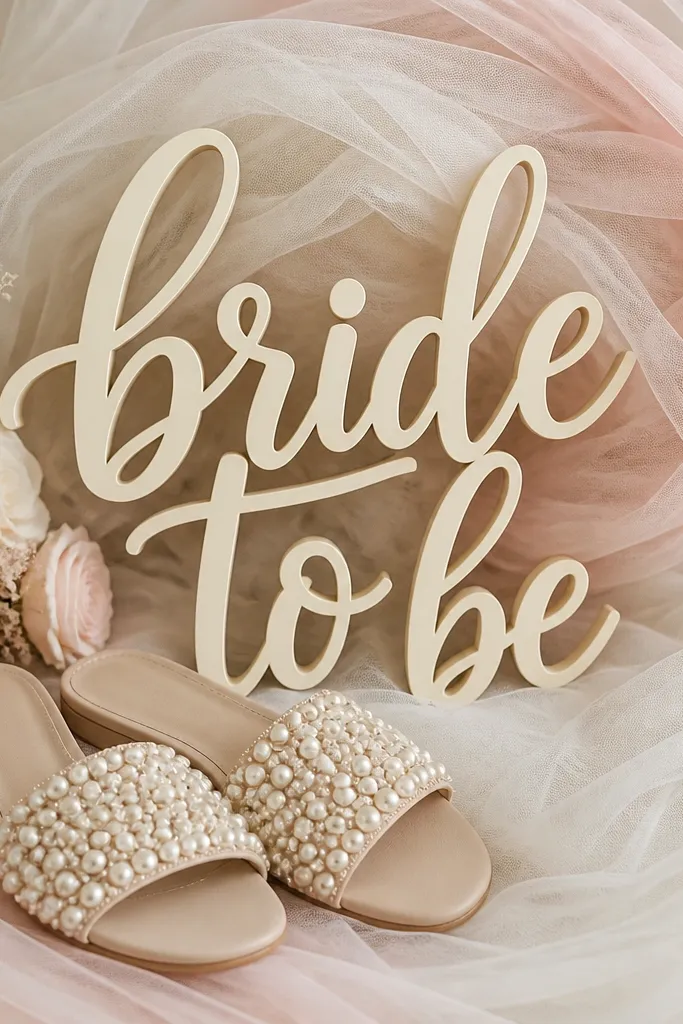
Before: the photo corner was a plain sheet of fabric with no movement. After: layered tulle creates a soft swirl that photographs like a salon backdrop. Placing pearl-studded slides in the foreground gives a “styling moment” that ties accessories to shoes, and pearls echo bridal details.
Good to knowPin tulle to a lightweight frame or tension rod so it holds shape. Choose shoes with light shine (pearls, satin, or subtle crystals) for better camera catchlights.
3. Table Runner Upgrade with Satin Ribbon “Sashes” + Mini Heels
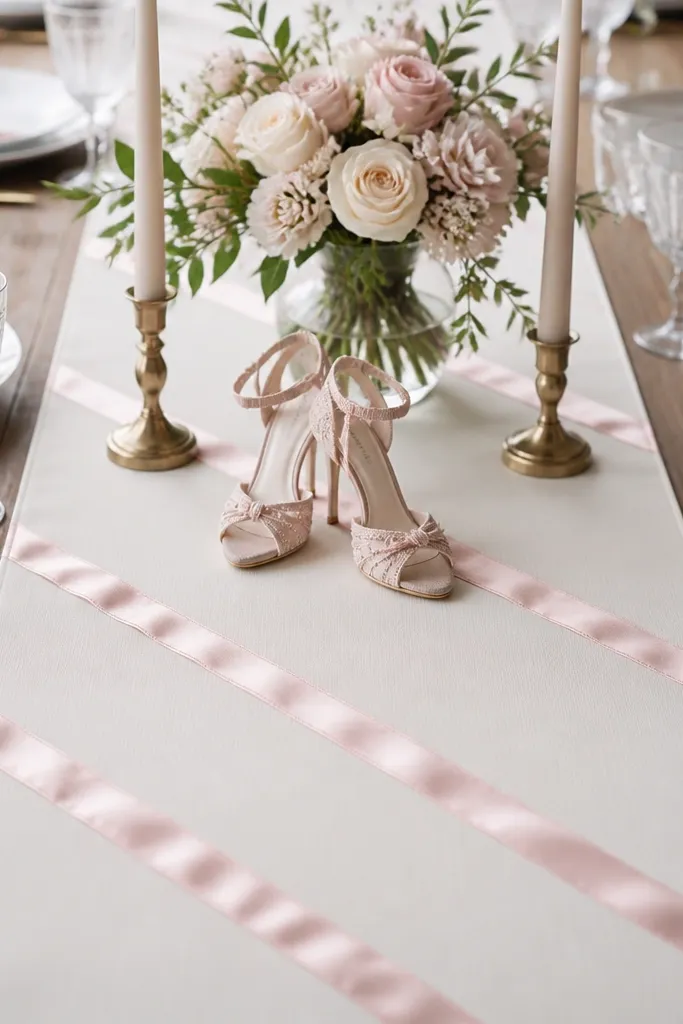
Before: the runner looked like a single fabric strip and didn’t guide the eye. After: diagonal satin sashes create direction, making the center feel intentional. Mini heels add height and a bridal wink, while taper candles keep the vibe romantic instead of overly themed.
Measure your runner length and cut ribbon strips 1.5 inches wider than you think you need so they look lush. Secure ribbon ends with fabric glue or hidden stitches so it won’t shift on the day.
4. Balloon Stack “Bride-to-Be” with Shoe Charms on the String
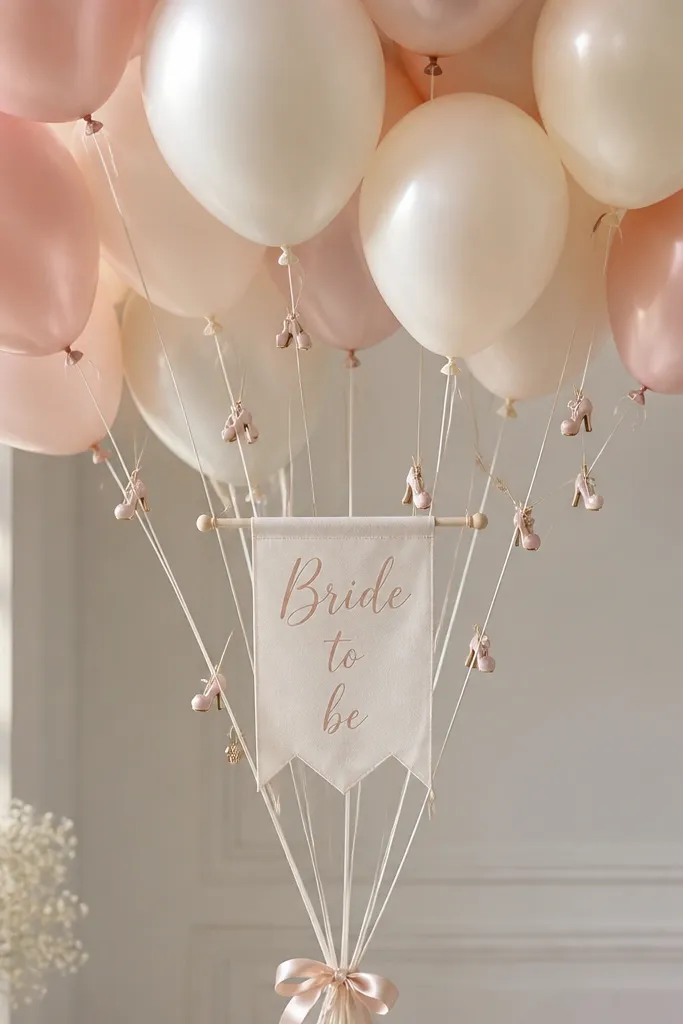
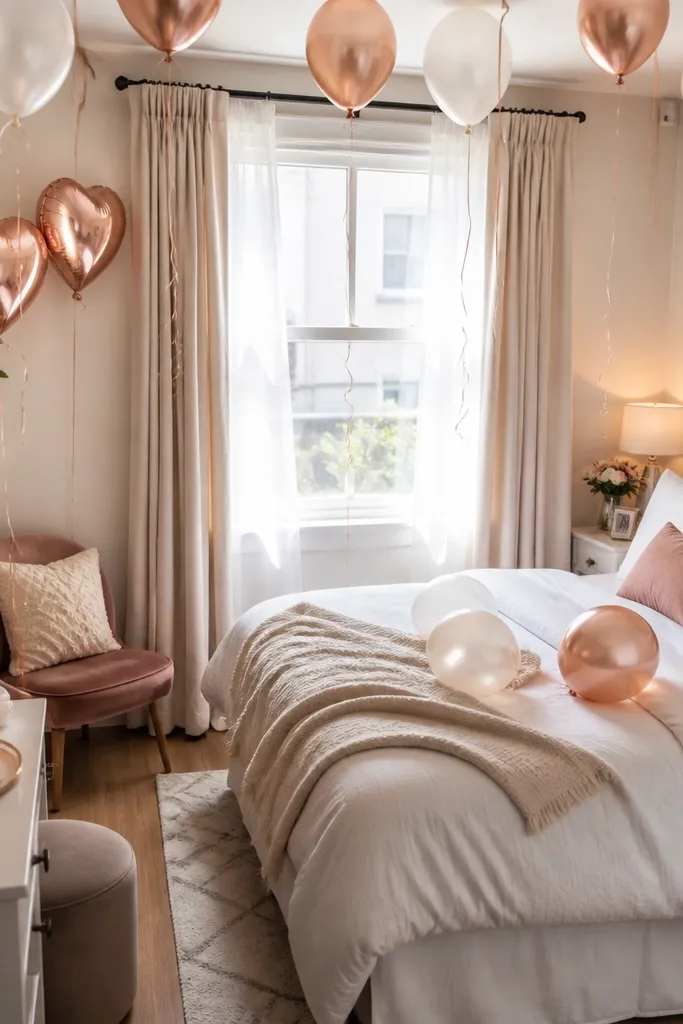
Before: balloons were all the same color, so the stack blended into the room. After: blush + cream contrast gives depth, and shoe-shaped charms make the décor feel personal. When the charms are attached to the strings, they sway slightly and add motion in photos.
Good to knowKeep charms lightweight so balloons don’t sag. Tie a short ribbon loop to each charm clip for easier positioning and removal.
5. Wall Garland with Fabric Roses + Ribboned Bridal Flats
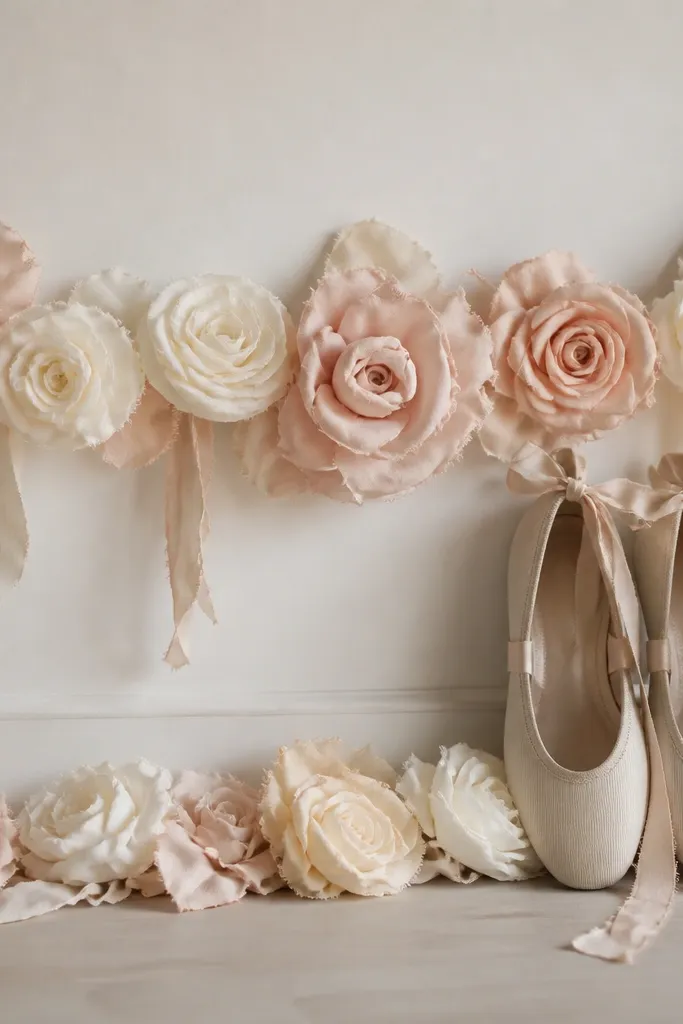
Before: the wall had a garland but no focal point. After: fabric roses create texture, and propping bridal flats near the garland makes the theme feel cohesive. Ribbon ties on the flats echo the garland colors, so everything looks like one styling set.
Good to knowUse removable poster putty for garland anchors. For the flats, prop them on a flat surface with a folded cloth so they don’t topple.
6. Cake Table Corner: Bow-Topped Sign + Clear-Handle Heels
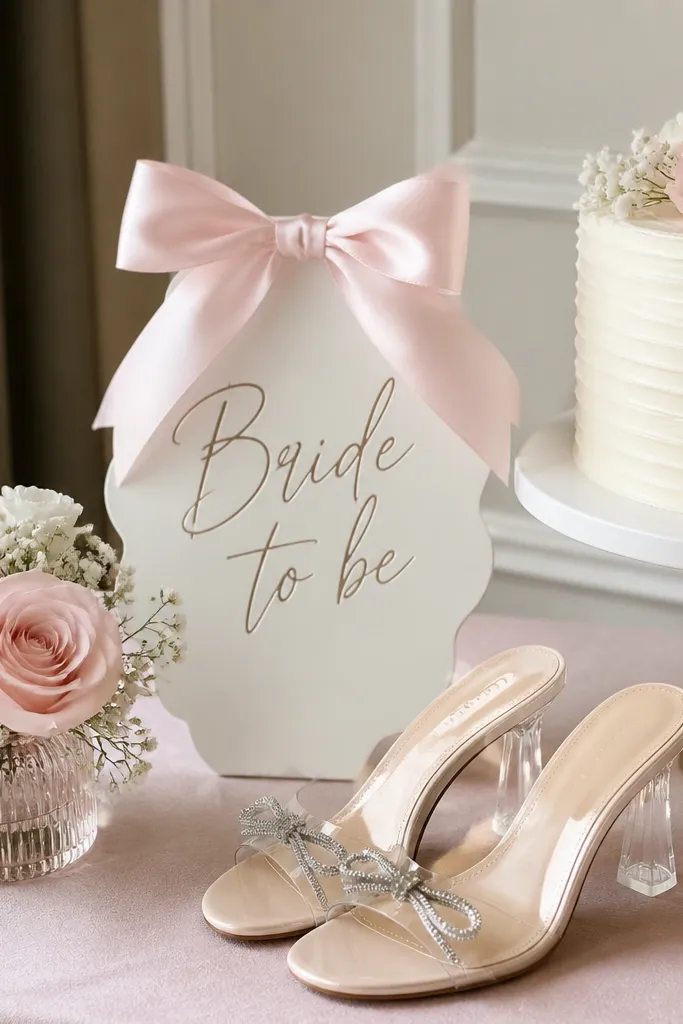
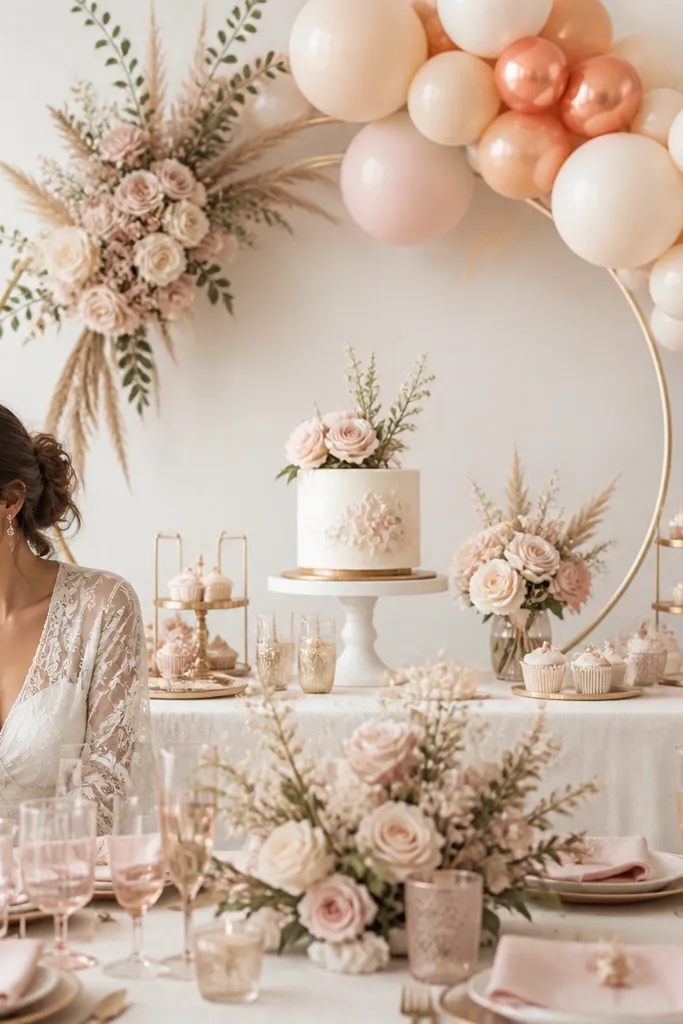
Before: the cake table looked pretty but lacked a branded corner for photos. After: a bow-topped sign creates a clear focal point at standing height. Clear-strap heels add sparkle without competing with the cake, and the florals soften the look so it stays elegant.
Place the sign 6-8 inches behind the cake stand so it doesn’t block the display. If using real shoes, use a clean, dry surface and avoid waxy candle drips.
7. Gift Table: Monogram Tags on Shoe-Lace Bow Loops
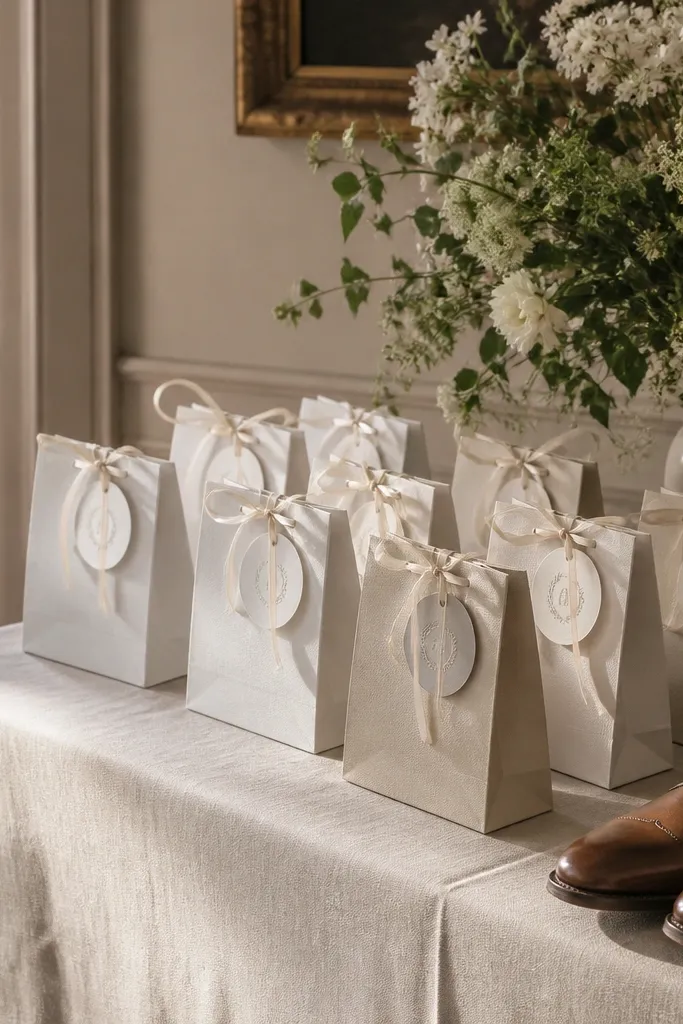
Before: gifts were wrapped but looked disconnected from the décor palette. After: monogram tags and consistent ribbon loops tie gifts into the theme. Lace-up shoes at the table edge give a styling anchor, especially when your bride-to-be outfit includes similar lace or detailing.
Use tags with thick cardstock so they don’t curl. Match ribbon width across all gifts so the table looks intentionally styled.
8. Hanging “Bride-to-Be” Banner with Pearl Beads + Satin Slingbacks
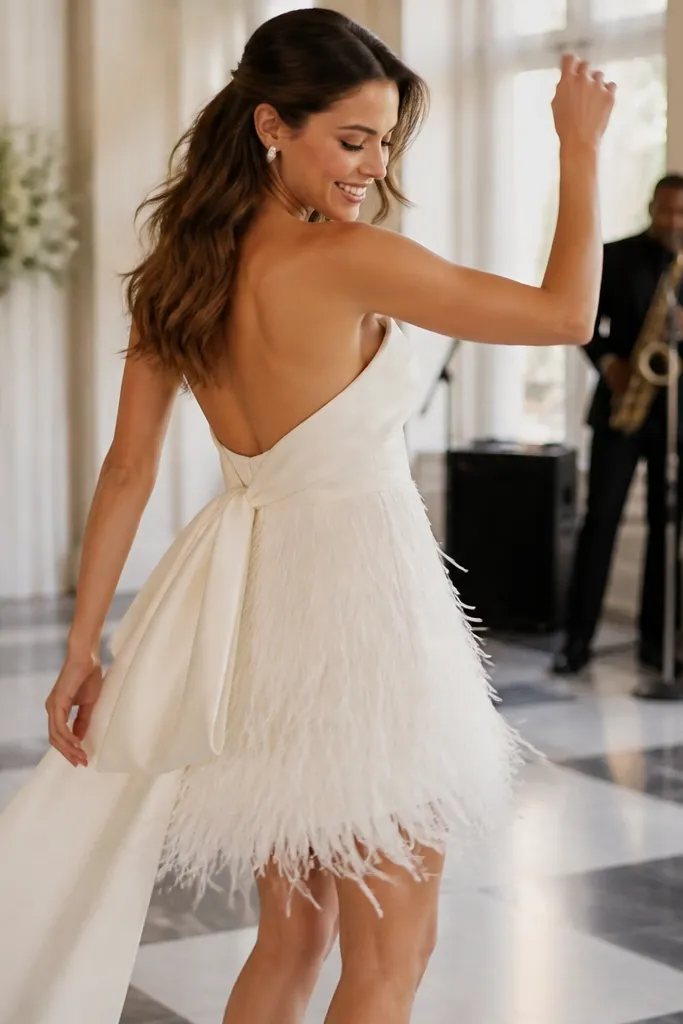
Before: the banner was flat text and didn’t feel bridal. After: pearl-bead trim adds dimension and catches light in overhead shots. Satin slingbacks underneath continue the bridal texture theme, so the whole setup looks planned rather than last-minute.
Good to knowHang the banner slightly above head height and center it on your backdrop. If you’re using beads, secure ends with clear tape on the backside to prevent fraying.
9. Centerpiece: Blush Florals in a Shoe-Shaped Display Tray
Before: centerpieces were standard vases and didn’t match the bride-to-be theme. After: a shoe-shaped display turns the centerpiece into a conversation piece. The shoe silhouette frames the florals and makes the table look styled from every angle, not just from the front.
Choose florals with similar undertones (warm blush, cream) so the arrangement looks cohesive in photos. Keep candle flames low and away from ribbon edges.
10. Seating Area: Chair Sashes + Bow-Tie Flats at Each Place
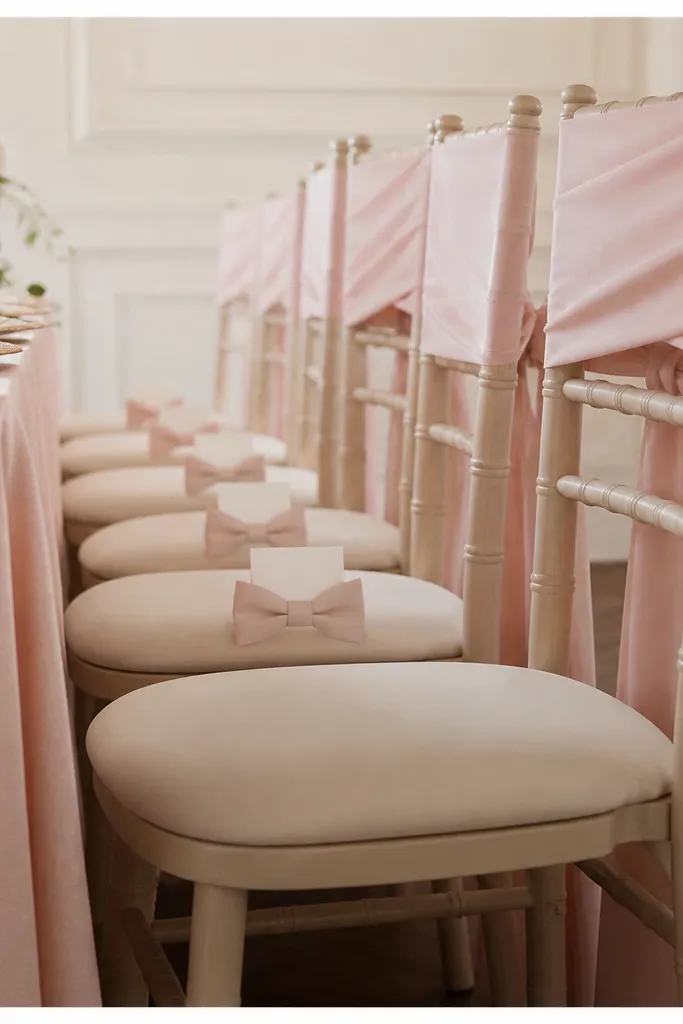
Before: seating looked uniform and a little plain. After: chair sashes add instant “event” energy, and bow-tie flats placed at each seat create a consistent photo pattern. Name cards tucked into the bow make it functional for guests while still staying on-theme.
Use a fabric tie that can be loosened quickly so you can remove it without damaging chair backs. Keep the flats lightweight and secured with a small dot of removable adhesive or a folded napkin base.
11. Ceiling/Corner: Ribbon Streamers + Crystal-Detail Sandals
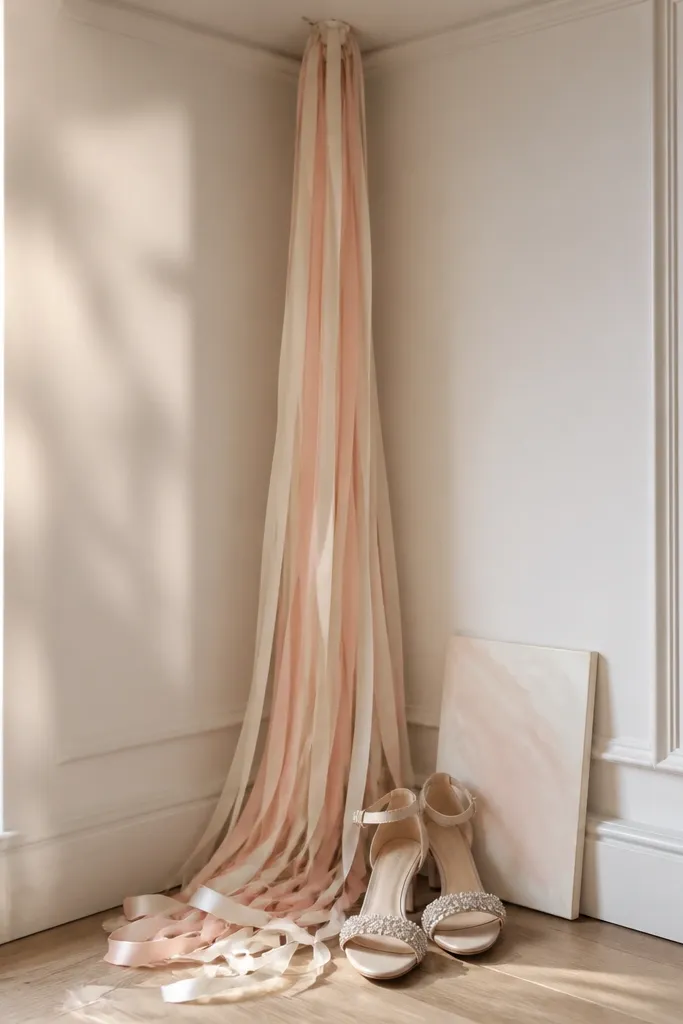
Before: the corner was empty, so photos lost depth. After: ribbon streamers create vertical lines that pull the eye upward, making the space feel bigger. Crystal-detail sandals at the base reflect light, which makes the ribbon shimmer more and adds that bridal sparkle without heavy décor.
Cut streamers to different lengths (start with 18 inches, add 6-8 inch variations) for a natural look. Secure the top with ceiling hooks or tape that won’t leave residue.
12. Welcome Table: Clear Acrylic Tray + Shoe-Like Candle Holders
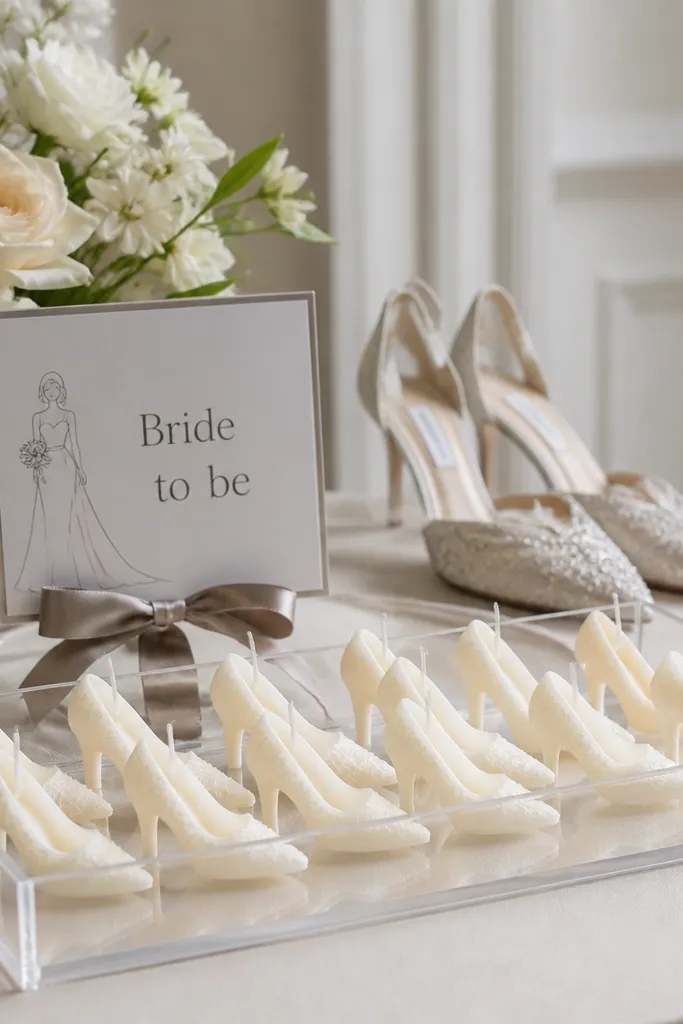
Before: the welcome table items were scattered and didn’t read as one story. After: a clear acrylic tray organizes everything and makes small details look intentional. Shoe-like candle holders echo the theme while keeping the setup safe and tidy. The displayed shoes behind the tray act like a backdrop, so the sign always feels supported.
Use a tray liner or tissue paper under the acrylic if you want a soft color tint. Keep candles centered so the tray doesn’t look crowded from the side.