1. Blush Balloon Arch with “Bride to Be” Topper
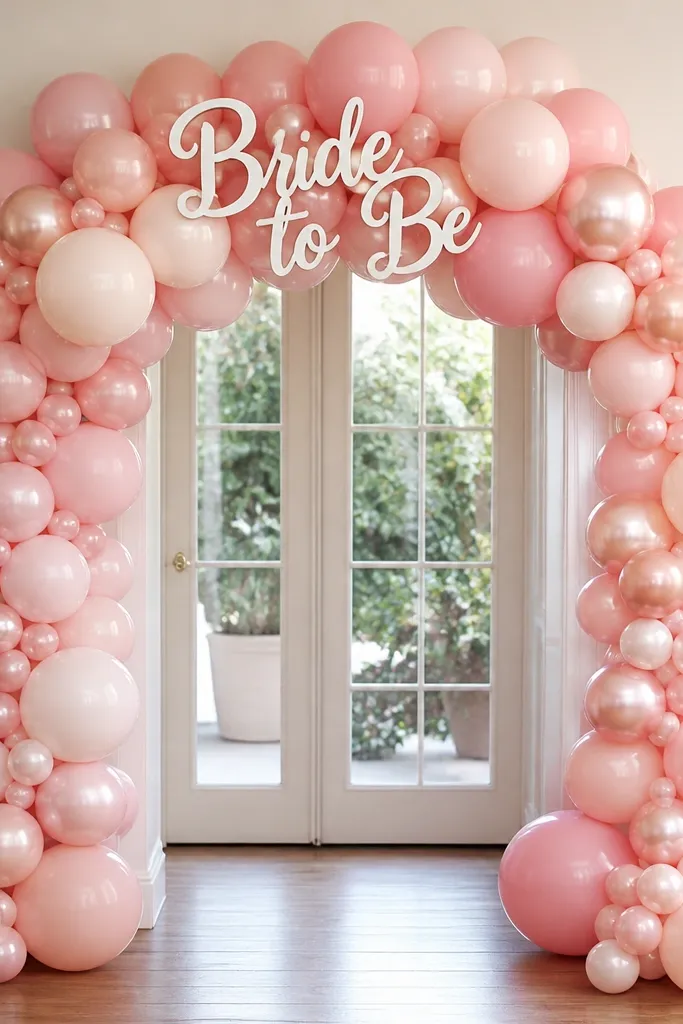
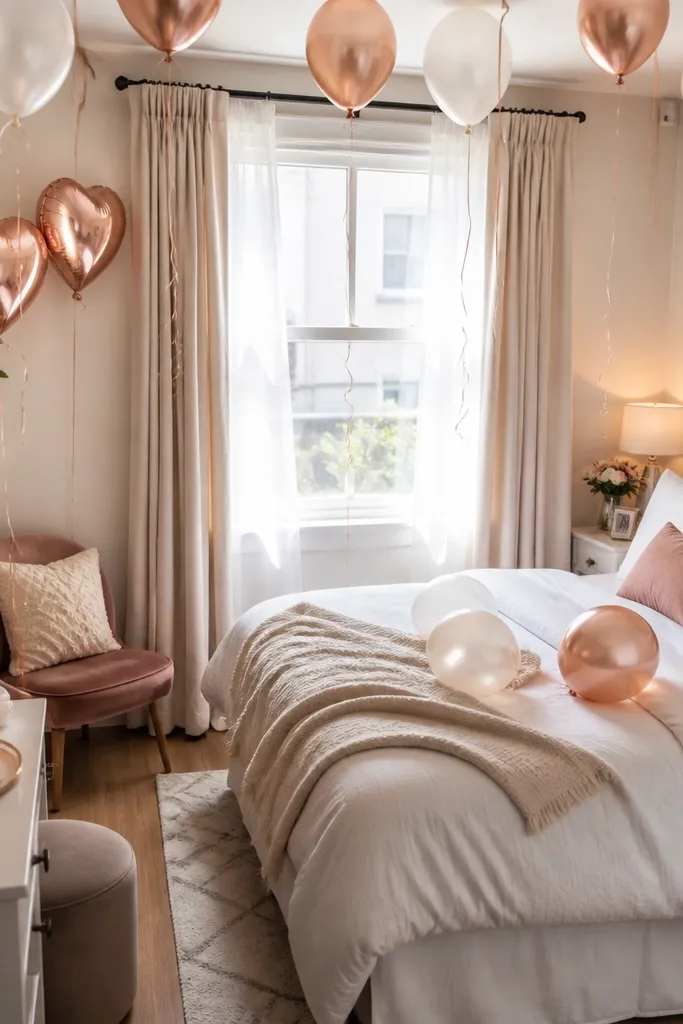
This look uses a warm blush palette (blush, champagne, and a few dusty-rose accents) to keep the photos flattering and not overly loud. Matte balloons hide minor scuffs, while glossy ones catch light for that sparkly Pinterest effect. A topper sign gives you instant “bride” branding without needing extra decor walls.
Anchor the arch with a weighted base or strong adhesive hooks, and keep it away from direct AC vents or heat. If your event runs past 4 hours, plan a second “mini cluster” refresh point for selfies.
2. Champagne + Gold Balloon Cluster for a Photo Corner
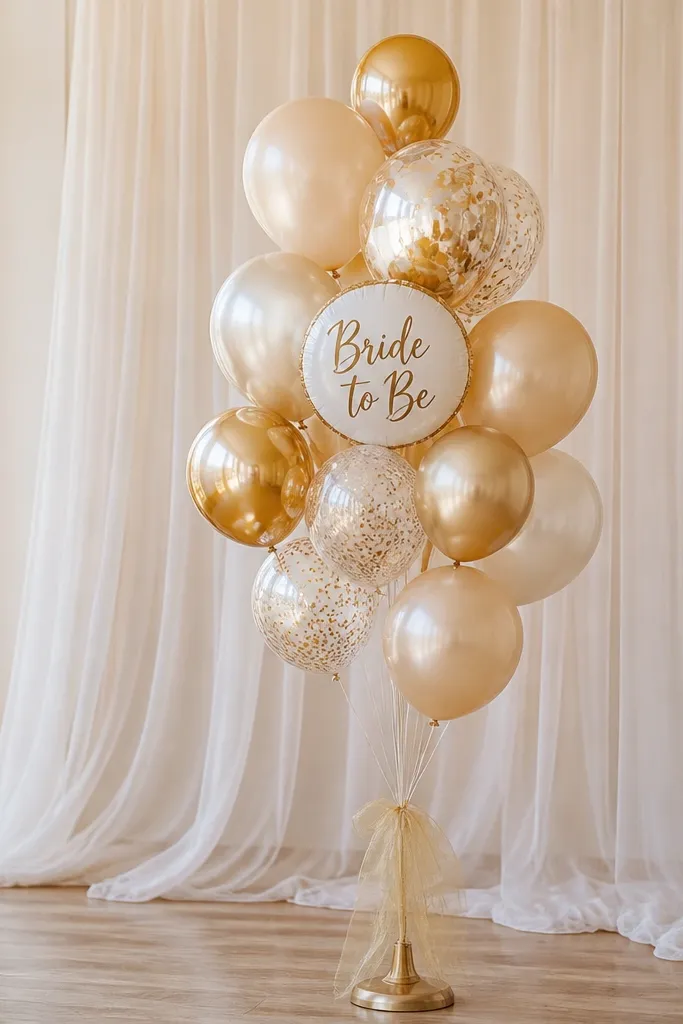
Clusters are the balloon hack when you don’t want to build a full arch. Keeping the color story tight (champagne, gold, and cream) makes the cluster look intentional instead of chaotic. The weighted stand keeps the cluster stable for group photos, even in smaller rooms.
Good to knowUse a balloon strip or ribbon garland behind the cluster to add height. That way, even if balloons shrink slightly, the backdrop still reads full in photos.
3. Ivory Tulle Garland with Gold “Bride” Banner
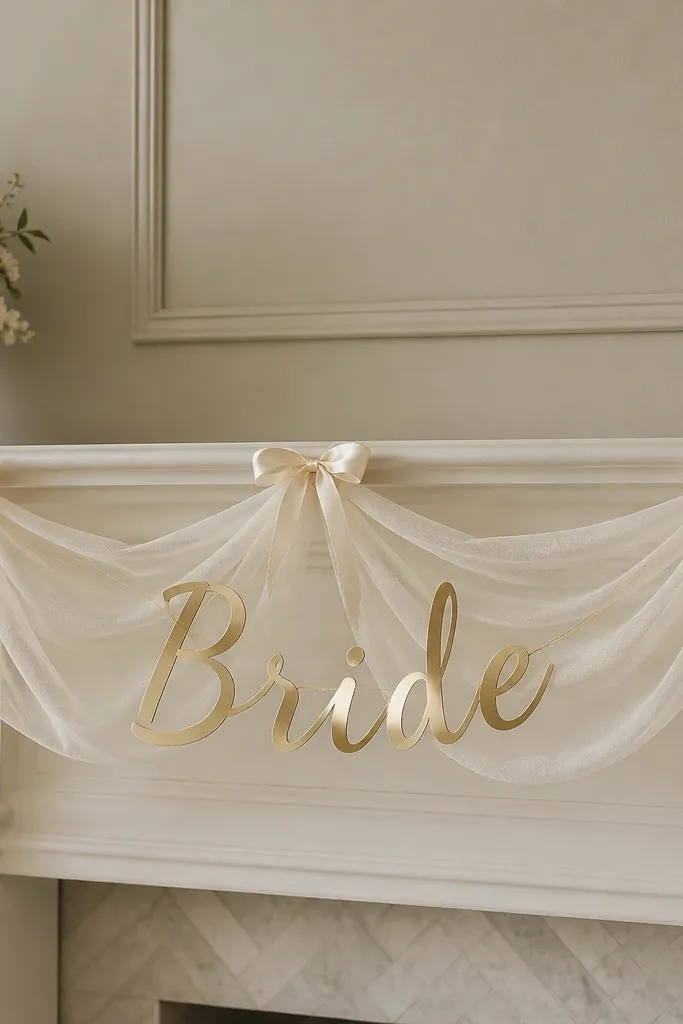
Tulle garlands create a soft, romantic frame that works for both men’s and women’s bridal shower styling. Ivory + gold feels elevated without needing expensive flowers. Because it’s fabric, it won’t droop like balloons, and it photographs well in low light.
Tie the tulle in adjustable sections so you can shorten it for a compact mantle or extend it for a longer wall. Use removable hooks to avoid wall damage.
4. Pastel Ribbon Bunting with “To Love, From Me” Tag Detail
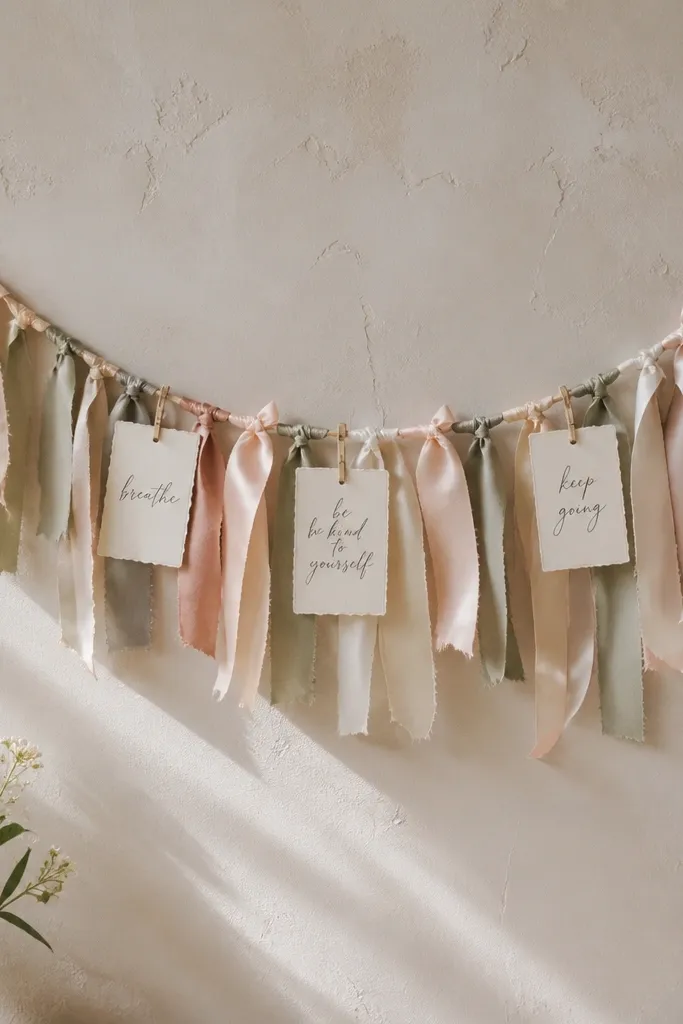
Ribbon bunting is beginner-friendly and lets you personalize the vibe with short tags like “To Love” or “Cheers.” Pastels (peach, mint, blush) look cohesive when the ribbon widths are consistent. The attached tags add “story” to the photos, especially for gift table and card areas.
Good to knowPre-cut ribbon lengths and lay them out on the floor before hanging. Use double-sided tape or mini binder clips to secure tags so nothing shifts mid-event.
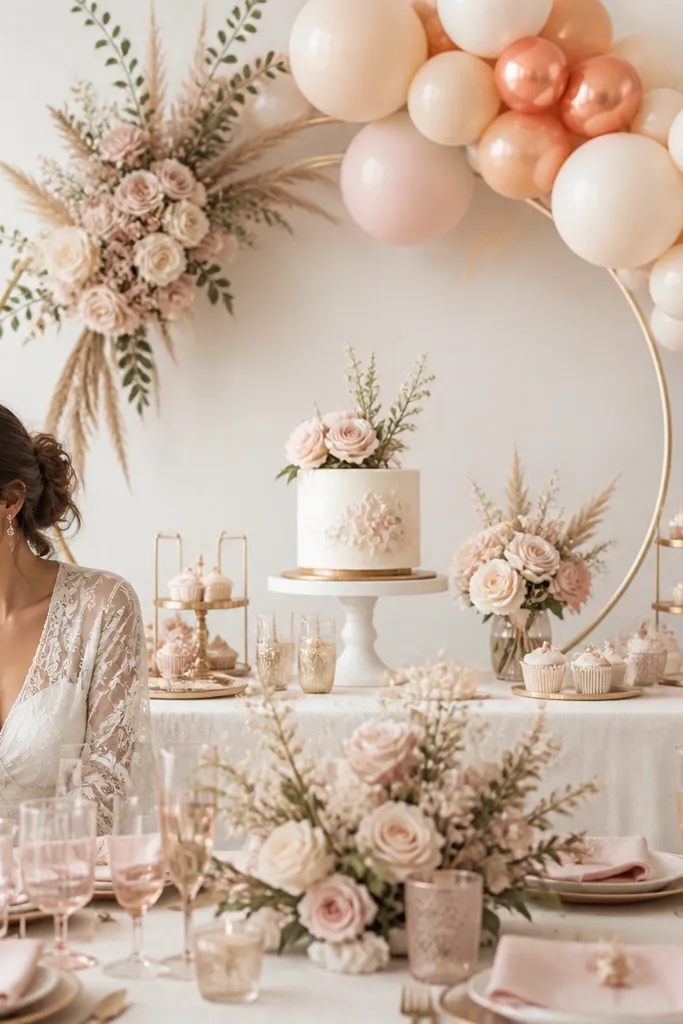
5. White Table Runner + Champagne Napkins + Mini Floral Trio
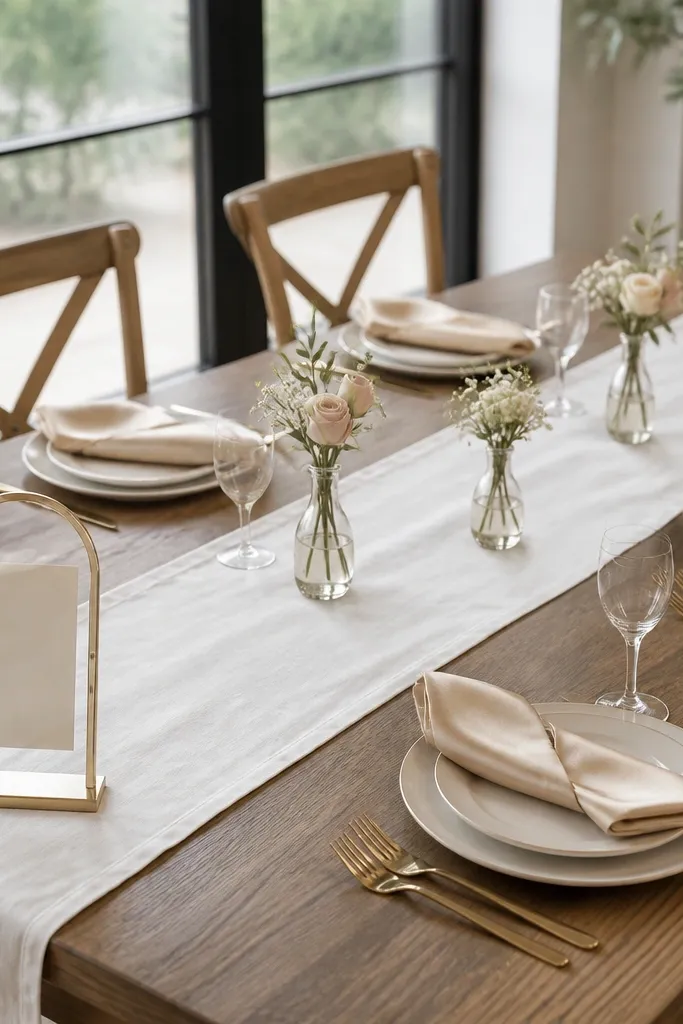
Table styling wins for close-up photos because guests interact right in the frame. A white runner gives you a clean base, while champagne napkins add warmth without fighting with blush balloons. Mini bud vases keep the arrangement budget-friendly and prevent the “too tall for conversation” problem.
Use foam blocks or floral tape inside bud vases to keep stems tight. If you’re using real flowers, mist them 30 minutes before guests arrive.
6. Cake Table Moment: Clear Acrylic Stand + Gold Confetti Tray
A clear acrylic stand makes the centerpiece feel “floating” and keeps the background visible for cleaner photos. Gold confetti in a tray adds sparkle without cluttering the table like loose confetti. This setup works especially well if you’re doing cupcakes, cookies, or a small dessert tower.
Good to knowAdd a contrasting base under acrylic (like a gold or champagne sheet) for richer reflections in photos. Keep confetti contained in trays to avoid mess on dresses and shoes.
7. Signage Stack: Chalkboard + Mirror “Bride to Be” Frame
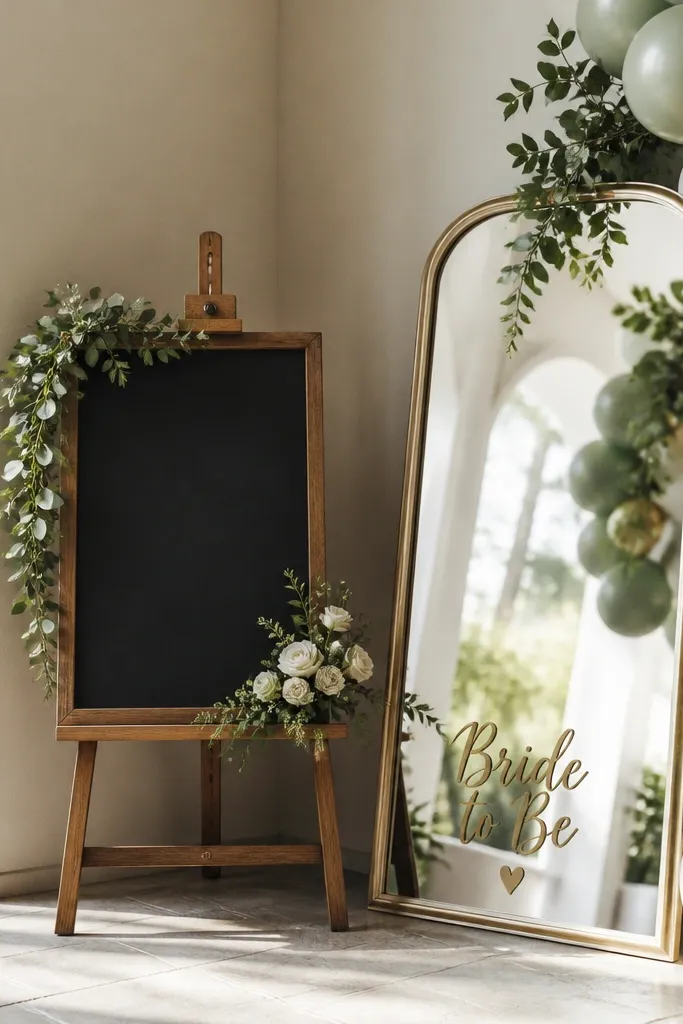
Mirrors instantly multiply decor in photos, making the space look bigger without adding more stuff. Pairing a chalkboard for schedule/menu with a “Bride to Be” frame gives you clear branding for both wide and close shots. This is great if your venue has plain walls that need visual anchors.
Good to knowPosition signage where it catches indirect light, not overhead glare. Take a quick test photo before guests arrive so you can adjust angle and avoid reflection chaos.
8. Balloon + Tulle Combo Backdrop for the Gift Table
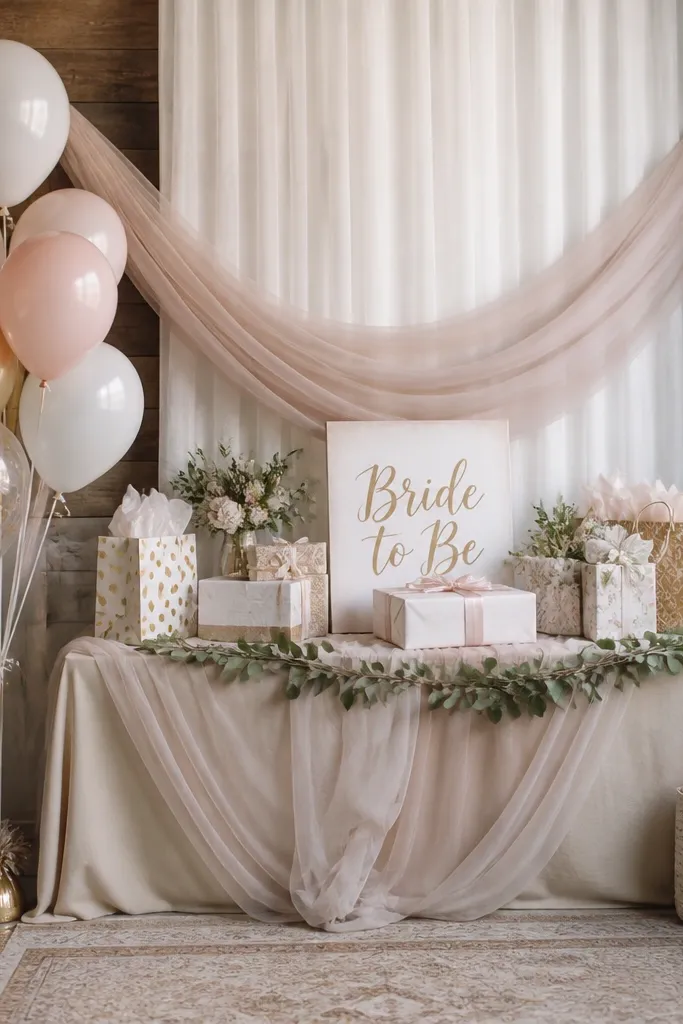
This combo solves the main balloon weakness — droop — by adding a fabric layer that still looks styled even if balloons deflate slightly. The layered texture (tulle + balloons) reads expensive, and it’s easier than building a full arch. It’s also ideal for a gift table where you want guests to step into the photo area.
Build the backdrop first (tulle), then place balloons last within 1-2 hours of the event. That timing keeps balloons looking fresh while the garland stays perfect.
9. Minimalist Balloon Line + Simple Garland Over the Dessert Bar
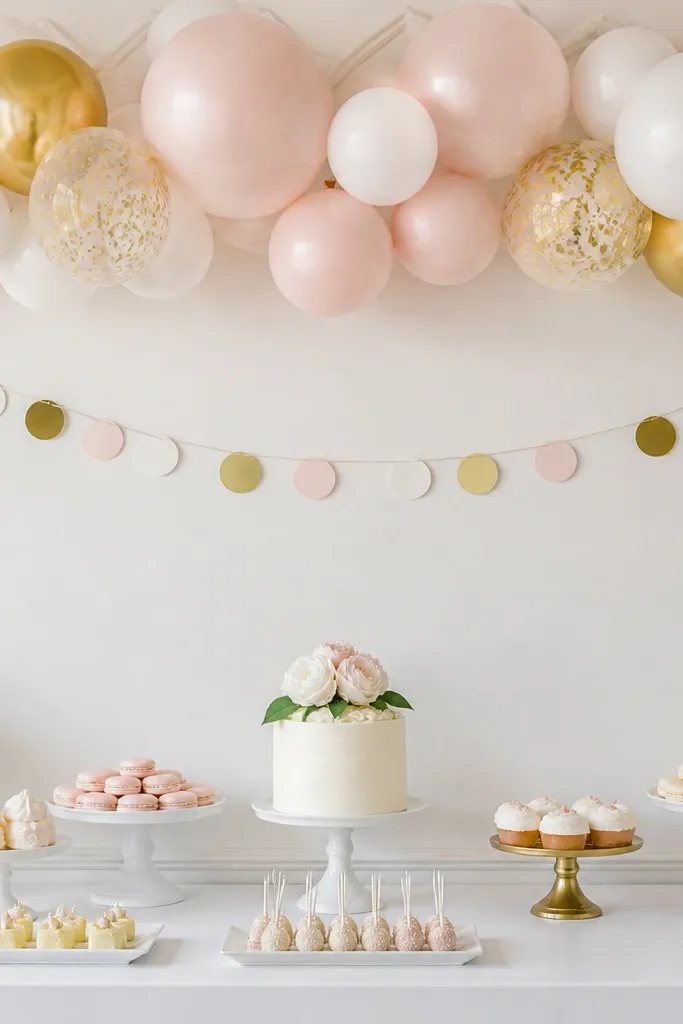
If you don’t have wall space, a balloon line gives you the “celebration” vibe without taking over the room. Pairing it with a simple garland underlines the space and creates a clean boundary for desserts. This style is perfect for small apartments where full arches feel crowded.
Good to knowKeep balloon count lower than you think and focus on symmetry. Use the garland to fill the mid-space so the setup looks complete in photos.
10. Hanging Paper Fans with Ribbon Tie-Back + Table Flowers
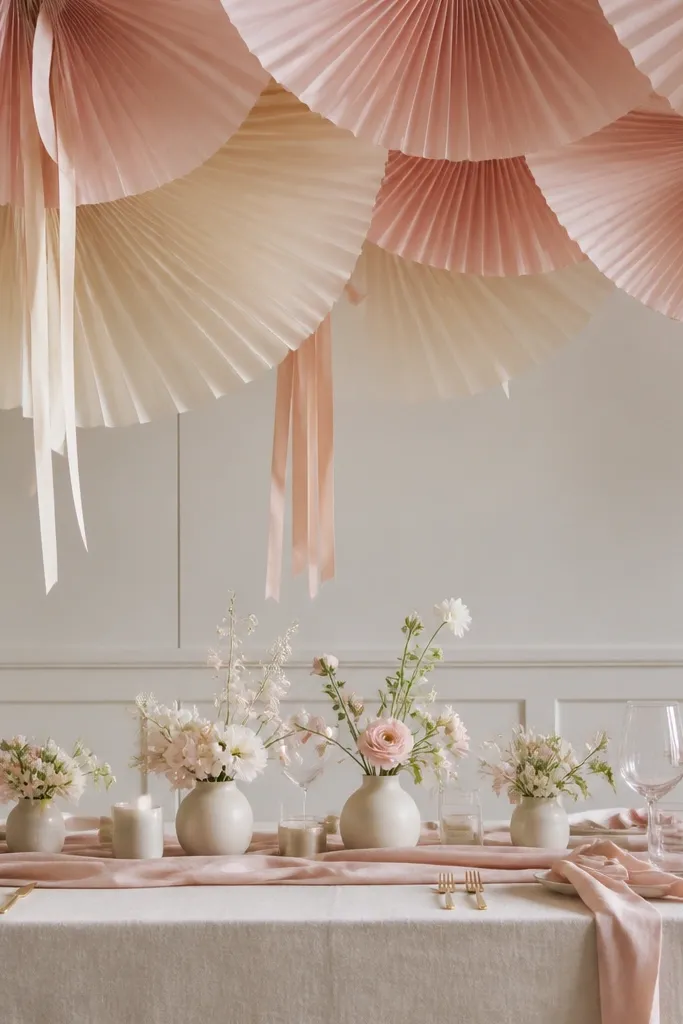
Paper fans create a “wow” ceiling moment that balloons can’t match without buying more supplies. Blush and cream tones keep it elegant, and the ribbon tie-backs add movement in photos. This works beautifully when you want a bridal shower look but don’t want to inflate anything.
Hang fans at staggered heights so your camera captures depth. Use double-sided mounting tape on the ribbon ends for quick setup.