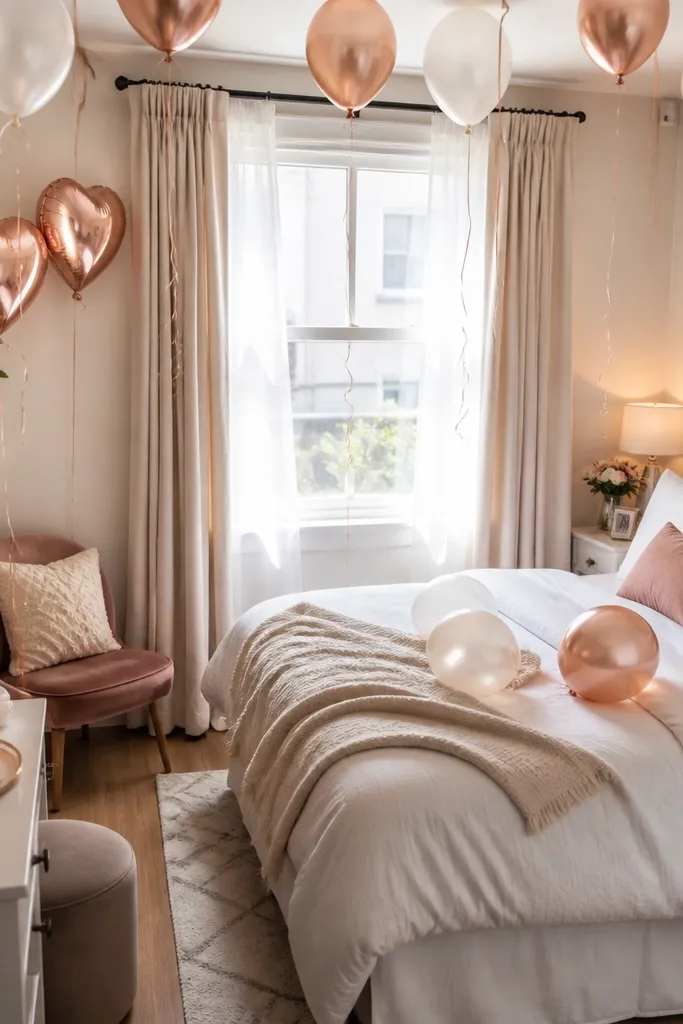
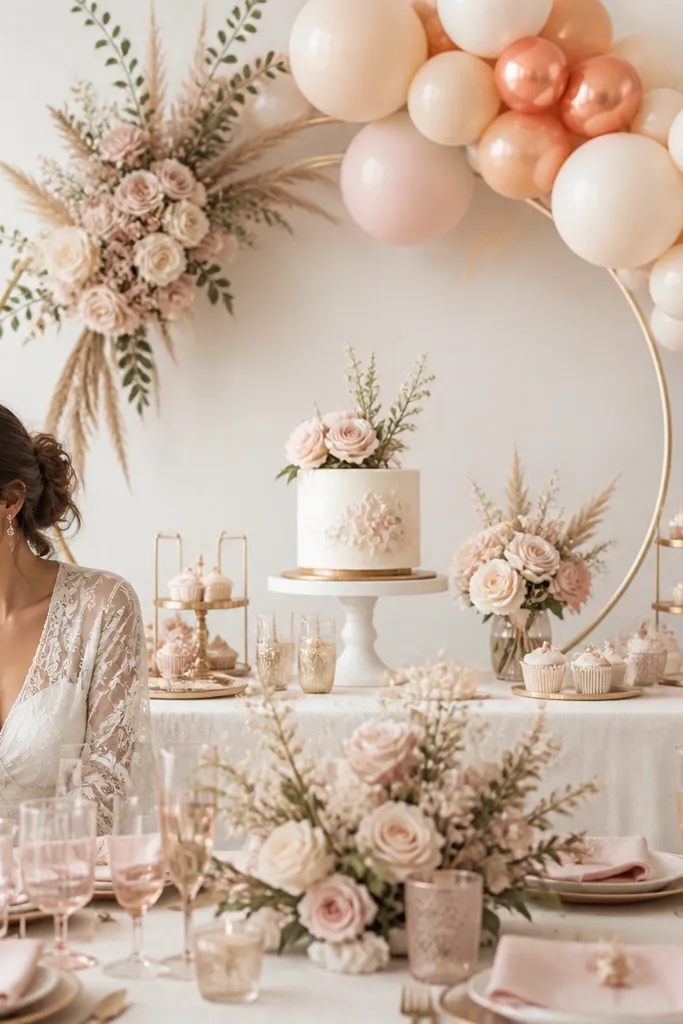
DIY Bride Room Decorations for the Wedding Morning for_renters can be done in just 45 minutes without drilling a single hole. If your apartment rules are strict (or you’re sharing a space), you still can make the room feel “wedding-ready” with removable, no-damage touches. This guide shows you how to hang, frame, and style simple decor using adhesive that won’t wreck walls or doors, plus a photo-friendly setup you can leave up for hours.
Step by step
Plan your 3 photo zones. Pick one spot for a “welcome” sign (door or wall), one for the bed/veil moment, and one for a flat-lay or bouquet photo surface. Mark each zone lightly with painter’s tape so you don’t over-adhere in the wrong place.
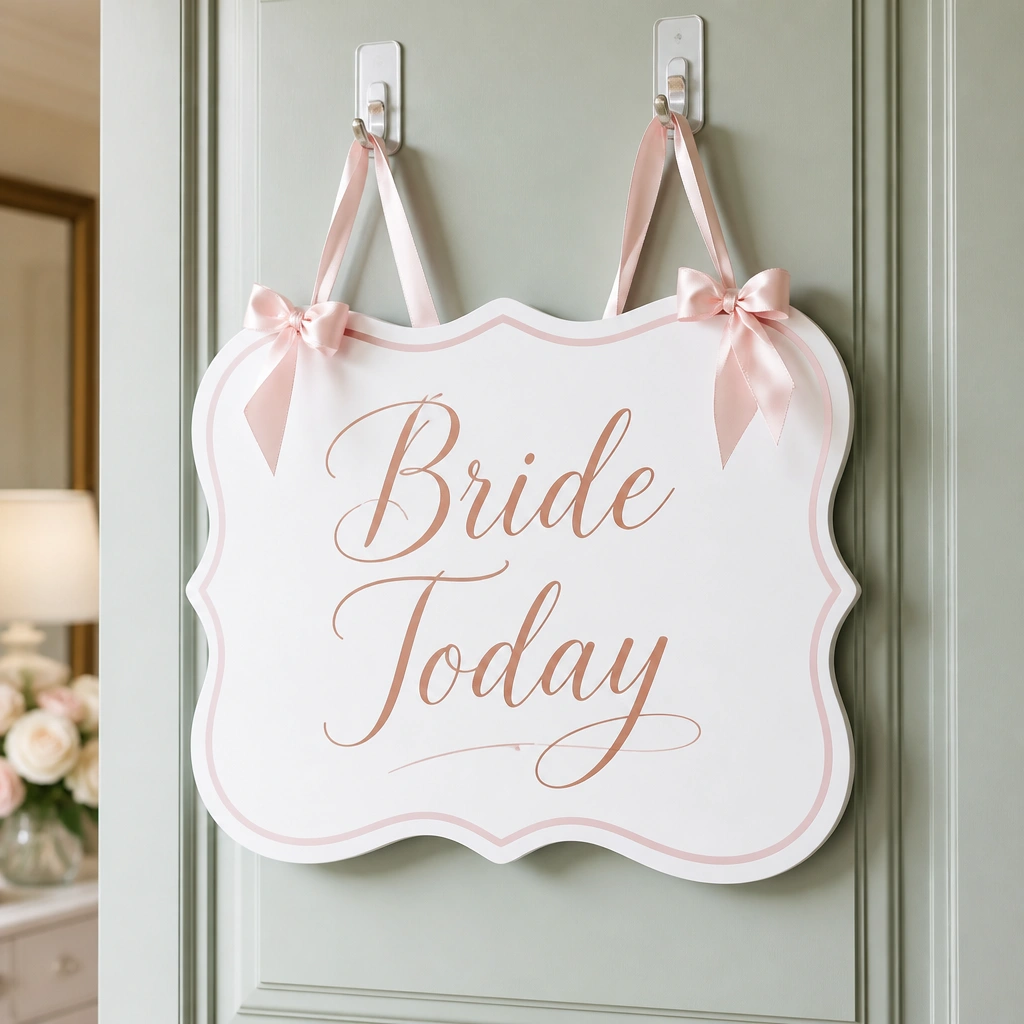
Make a no-drill welcome sign. Cut foam board into a rectangle, then wrap the edges with ribbon or cover with soft white cardstock. Attach a loop of ribbon on the back and mount it using removable hooks or putty so it can be removed cleanly.
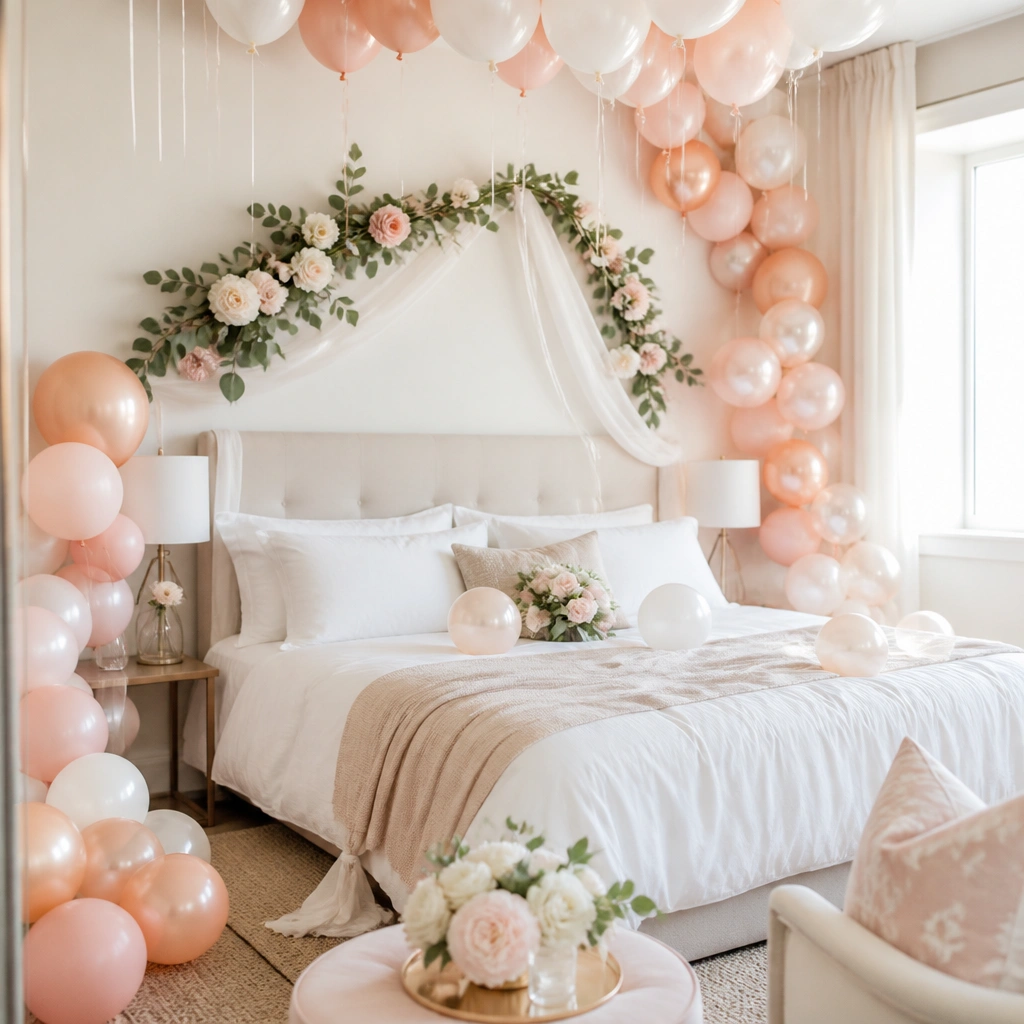
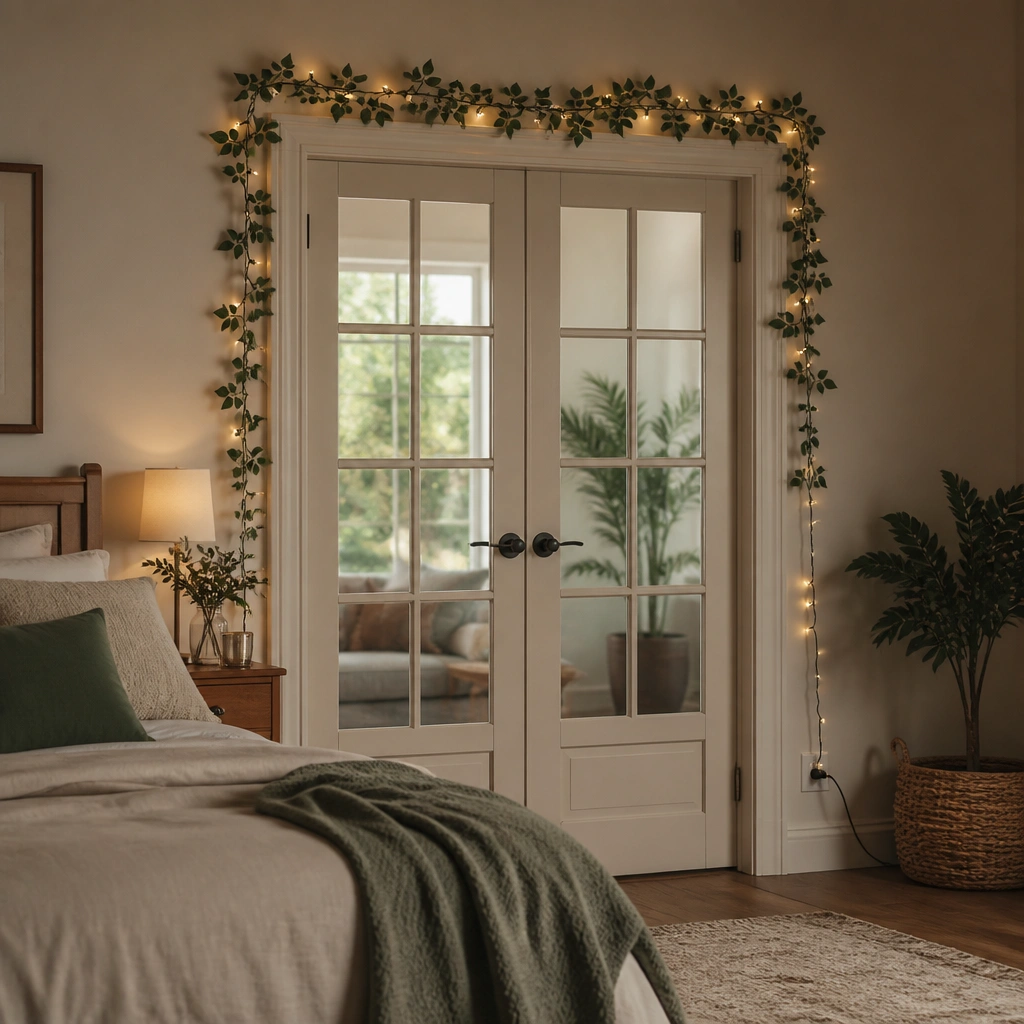
Build a quick greenery + light frame. Drape faux greenery across the top of your door or above the photo zone using mounting putty at the ends only. Add mini string lights along the greenery, leaving the plug accessible for morning photos.
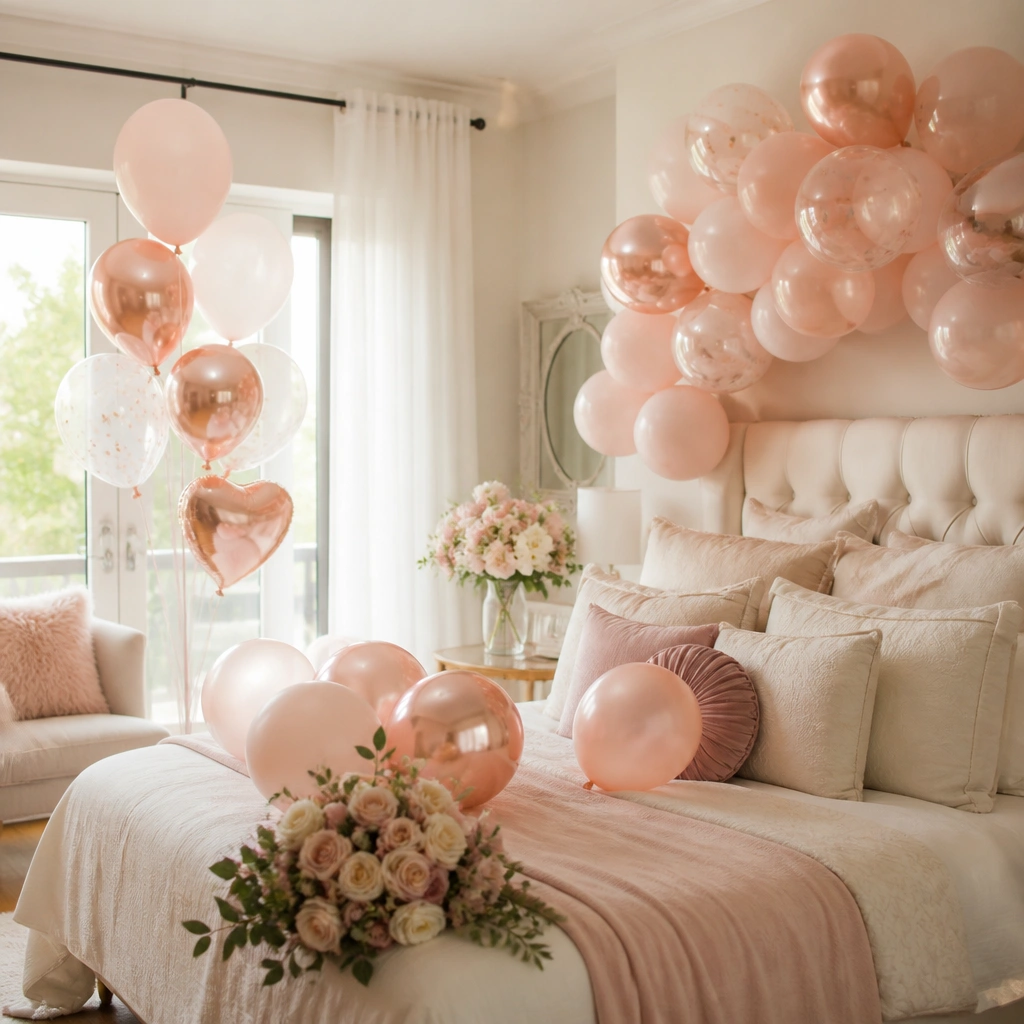
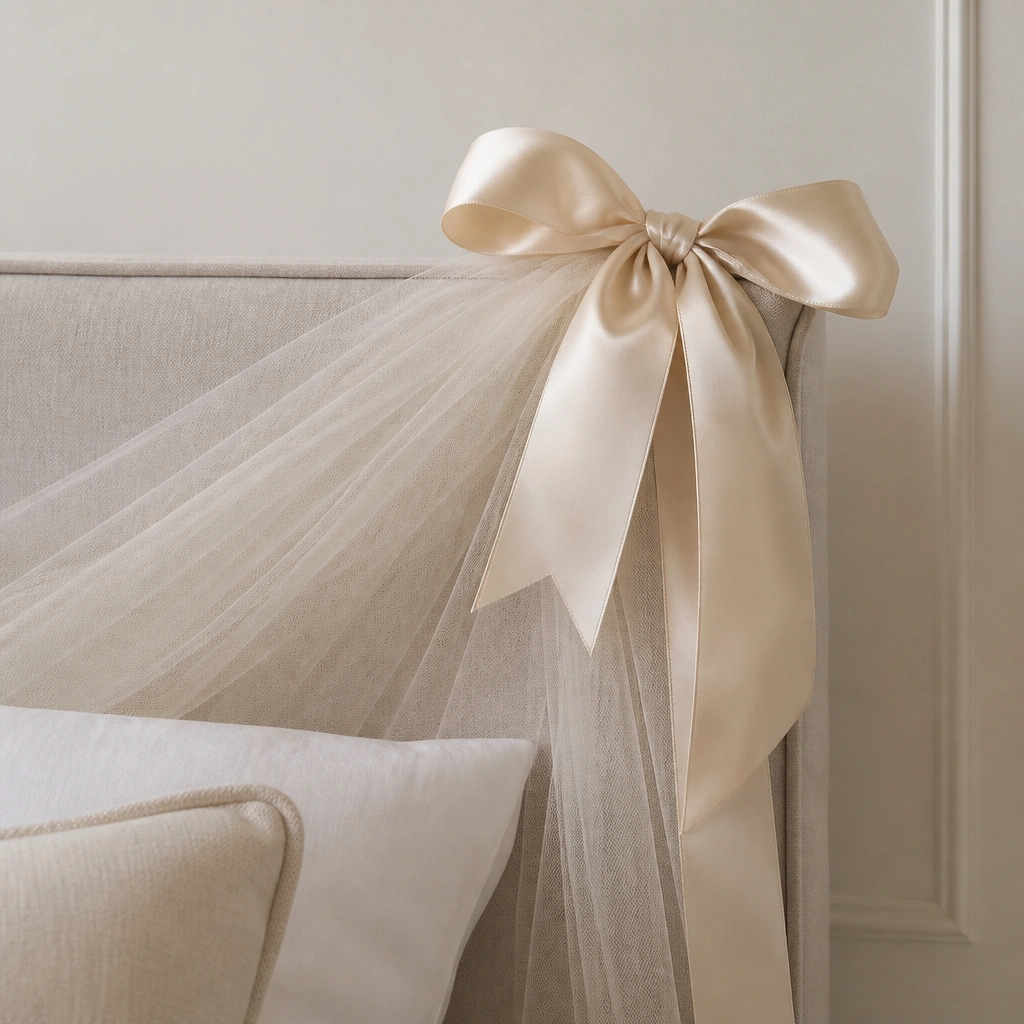
Style a bed/veil “moment” in layers. Tuck tulle or organza around the headboard area using ribbon ties (or putty-backed clips) so it doesn’t slide. Add one small bouquet-style cluster (faux stems or a friend’s real flowers in a vase) and keep it centered for camera.
Add small, reusable details. Fill a clear bag or small vase with faux petals (or real petals if you have them) and place it near the sign or bed. Scatter a few ribbon bows on a tray or bedside surface for an intentional, not cluttered look.
Test removal before the wedding morning. Remove one adhesive piece right away to confirm it releases cleanly. If any residue appears, blot with a small amount of oil on a paper towel (then wipe with mild soap and water) before you commit to the full setup.
This look reads clearly in morning photos and doesn’t require nails. Foam board keeps the sign lightweight so it’s easy to mount with removable hooks, and the ribbon border makes it feel styled, not DIY-chaotic.
Good to knowUse painter’s tape to mark the exact height for the sign, then mount after you test it with your phone camera.
2. Removable “Photo Corner” Backdrop with Tulle Swag
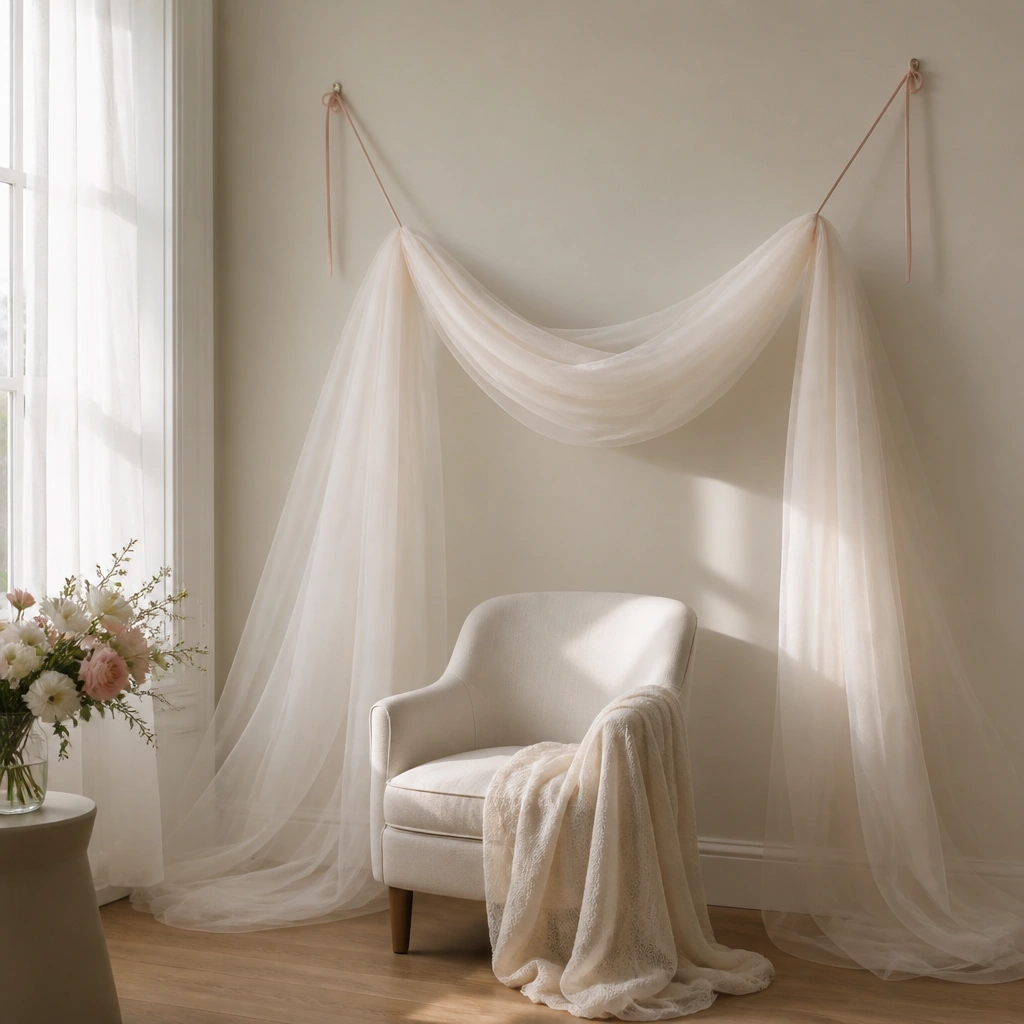
Tulle photographs like a dreamy curtain but is light enough for rentals. The swag shape gives depth behind robes and veils, and you can keep it up only during morning prep.
Good to knowTuck the ends of the tulle behind the chair back so it doesn’t pull on the adhesive points.
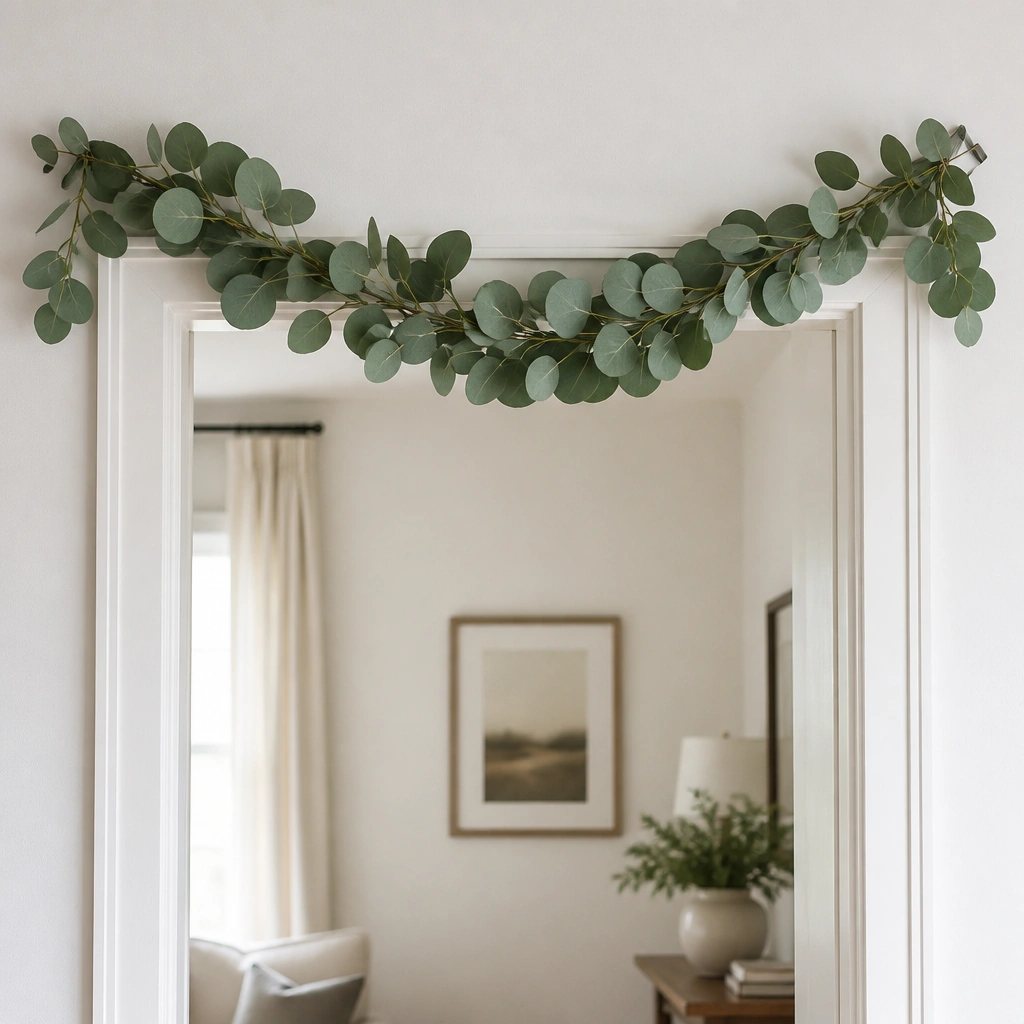
3. No-Drill Greenery Garland Over the Door (Putty at the Ends)
This is a “close-up” look that makes your morning photos feel romantic and intentional. Tying ribbon keeps it renter-friendly and avoids adhesive on fabric or painted surfaces.
Good to knowUse a double knot and keep ribbon tails long enough to show in photos, but not long enough to snag.
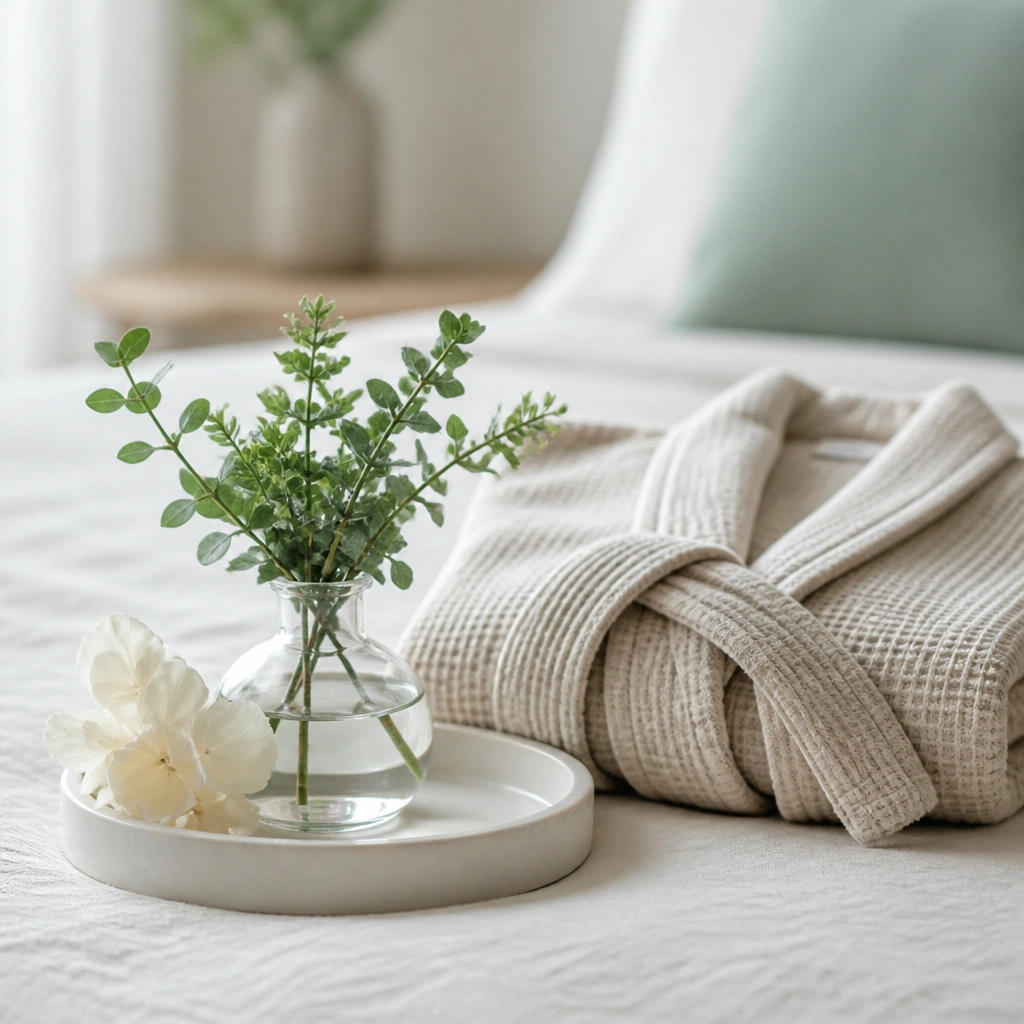
Small styling details make the room feel “done” even when the camera is close. Clear vases look elevated and let light pass through, which keeps the scene bright.
Choose one color family for petals (ivory or blush) so the tray looks cohesive, not busy.
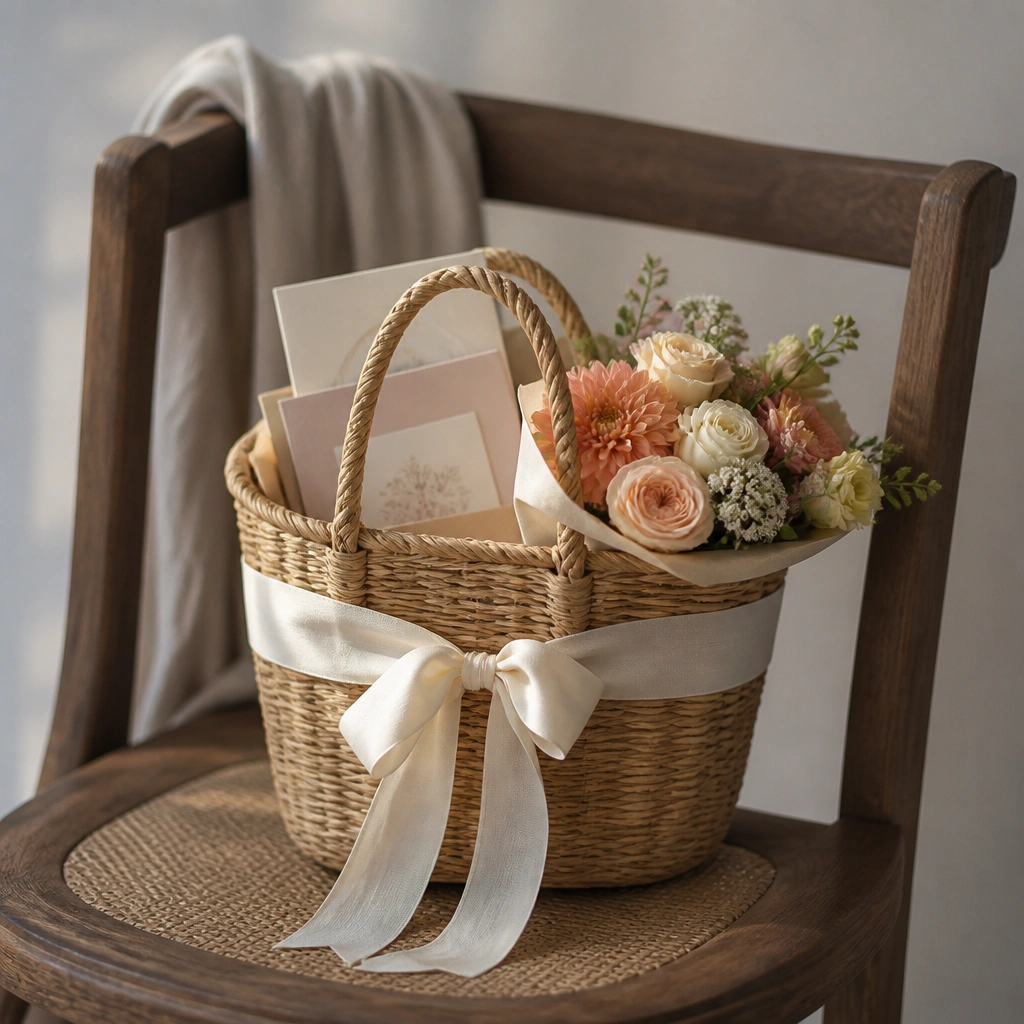
7. Renter-Safe “Welcome Basket” for Wedding Morning Items
A basket gives structure to the morning chaos and photographs beautifully next to the sign. Ribbon wrapping hides clutter while staying removable and easy to reset.
Good to knowLabel the basket with a tiny tag and keep essentials inside so you’re not scrambling later.
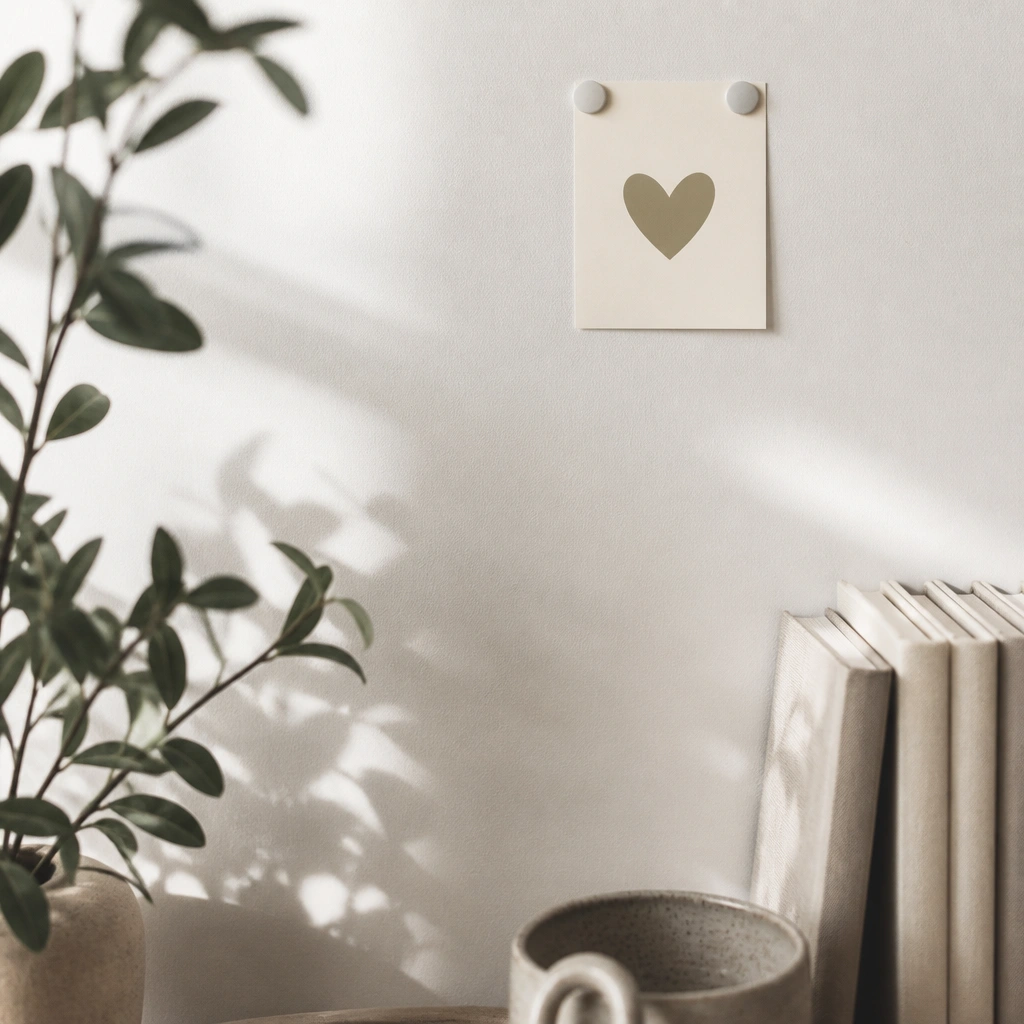
Photo prompt cards guide your photographer to a flattering angle and add a branded feel. Corner placement looks clean and intentional without covering large wall areas.
Good to knowWrite a single prompt like “Today’s the Day” so it doesn’t clutter your photos with lots of text.
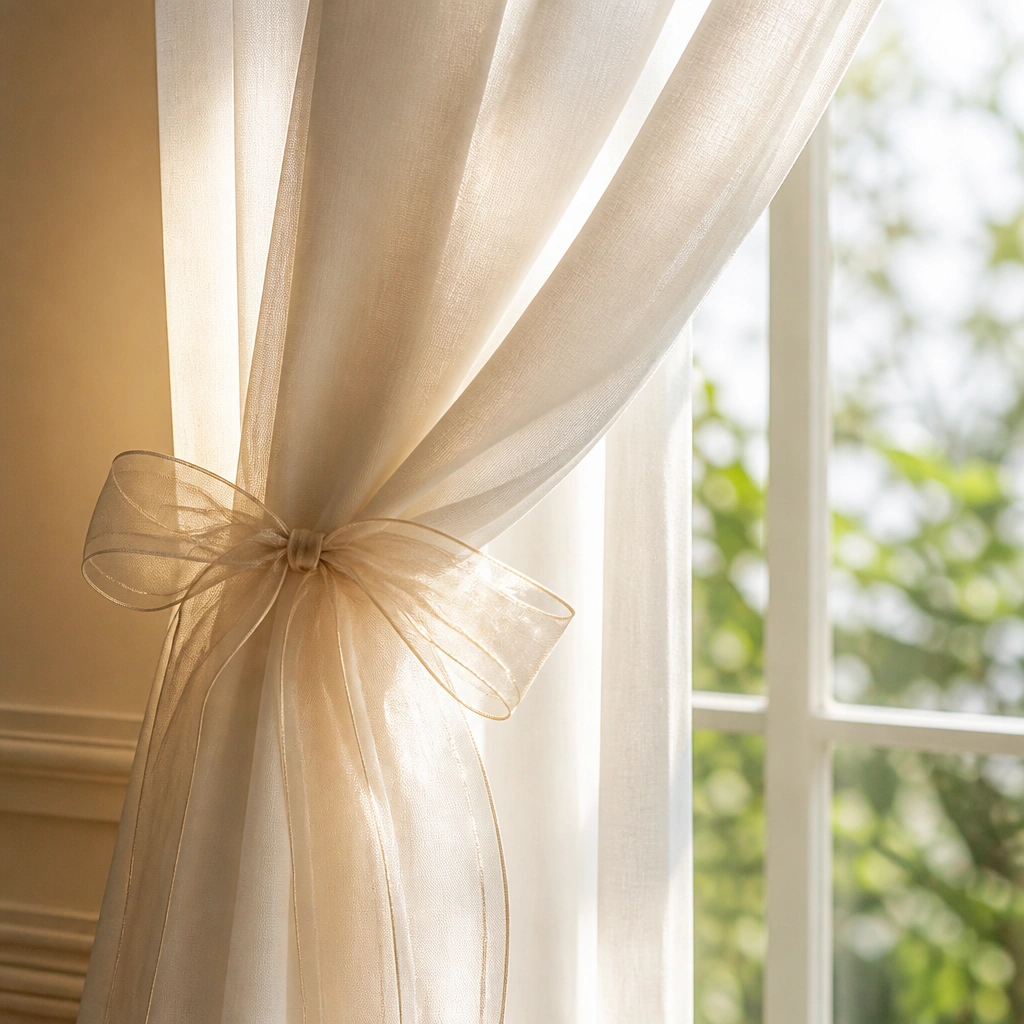
9. Curtain-Edge Tieback with Organza Ribbon (Quick Swaps)
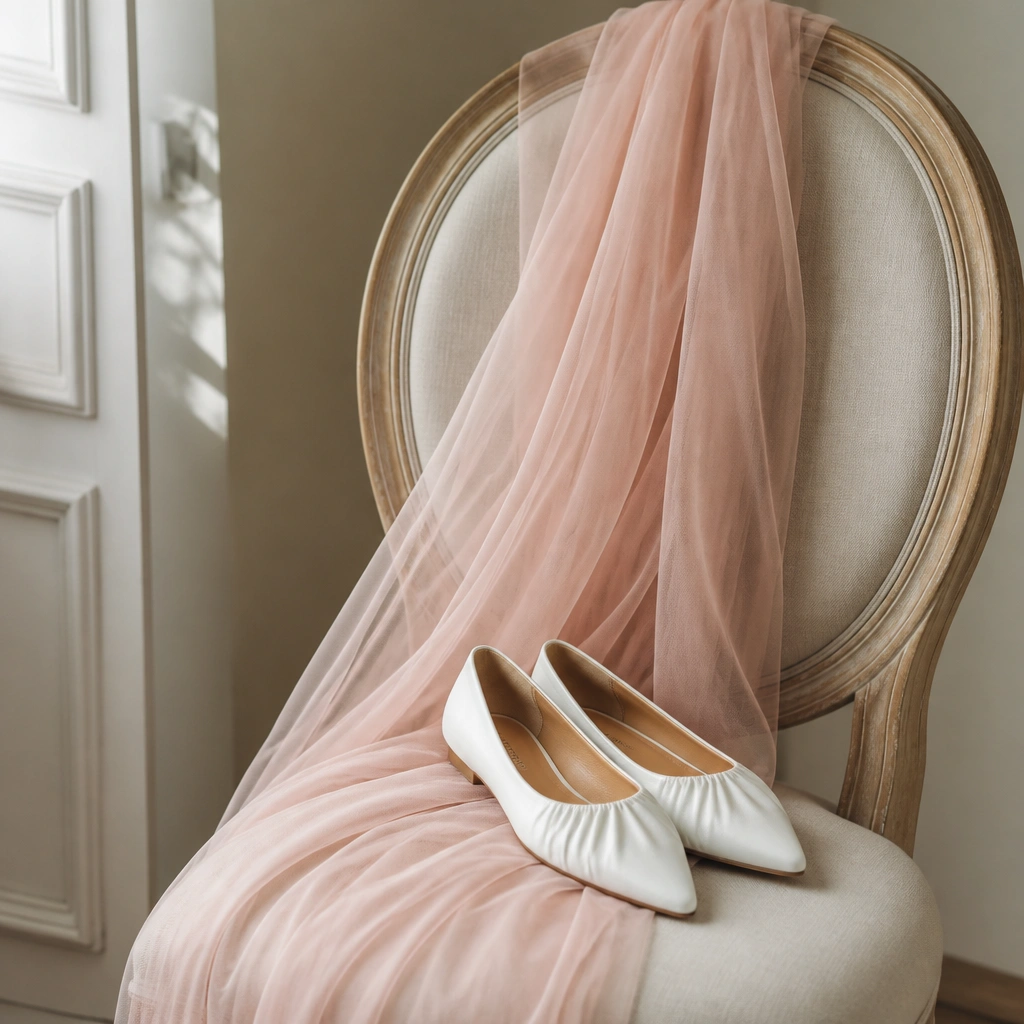
A chair becomes a mini styling station for shoes, jewelry, or a robe photo. Tulle hides wrinkles and adds a soft backdrop without needing wall mounting.
Add one decorative pin (through fabric) to keep the tulle from slipping while you move around.
Quick answers
How long do these no-drill decorations usually last on rental surfaces?
Removable hooks and putty typically hold for a full day at a time, especially indoors with stable temperatures. For best results, press putty firmly for 10 seconds and avoid humid rooms where adhesive can weaken.
What’s the total cost for DIY Bride Room Decorations for the Wedding Morning for_renters?
Most people can keep it around $25-$80 depending on whether you already own ribbon, lights, or greenery. If you buy only the sign materials and a small light pack, you can often stay under $40.
Where can I get renter-safe supplies like removable hooks and putty?
Look in big-box home stores, craft stores, and online for “removable adhesive hooks” and “removable mounting putty.” Choose medium-weight options for garlands and lightweight cardstock/foam board signs.
Is this beginner-friendly if I’ve never done DIY decor?
Yes. The core steps are simple: cut a sign, mount with removable hardware, then drape tulle and add lights. You don’t need power tools or precise measurements.
Will removable tape or hooks leave residue on painted walls?
They usually won’t if you remove them correctly: pull slowly at a low angle and remove within the first day or two. If residue remains, use a light dab of oil on a paper towel, then wipe clean.
How do I care for string lights and greenery so they look good for photos?
Fluff greenery gently and wipe dust before setup. For lights, test the full strand before mounting and keep the plug accessible so you can adjust brightness or placement without touching the adhesive.